Create Rings Index
Use the Create Rings Index option to create an index of a section line. The index identifies a reference position, such as the origin of the drillhole pattern (for Section view) or the position of rings with respect to the origin of the blast (Plan view). The index is stored as an object in the section line layer and can therefore be used for plotting.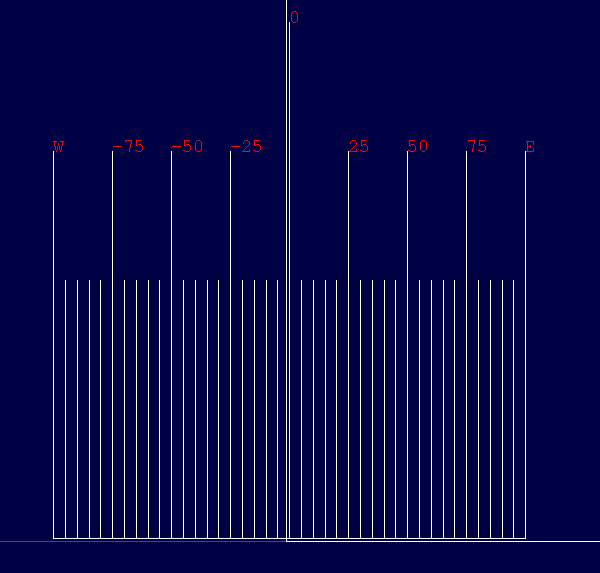
Figure 1 : Indexed Section Lines
Instructions
On the Underground menu, point to Ring Design, and then click Create Rings Index to display the Index generator panel.
Major
Enter the interval for the major check marks. Major check marks are labelled.
Minor
Enter the interval for the minor check marks. Minor check marks are not labelled.
Use middle point of section line
Select this option to use the middle point on the centreline as the origin of the drillhole pattern or blast. Alternatively, you can manually indicate the origin.
Indicate index origin
Select this option to manually indicate the origin of the drillhole pattern or blast.
Extent
Enter the extent of the check marks on either side of an indicated origin point.
Section indexes
Select this option to create a section index. You will need to specify the section line index prefix. The default prefix is SLI. Section indexes are stored with the object name of <prefix><section line number>. The section line number is automatically added. The maximum size of the prefix is 4 alphanumeric characters.
Plan view index
Select this option to create a Plan view index. Plan view indexes are stored as two sets of objects. One set being the check marks (object name PVINDEX) and the other being the labels (object name PVLINDEX ).
Select OK.
The Multiple Selection box is then displayed.
Use this to select the section lines by category.
If you checked the Indicate index origin check box, then you will be asked to indicate the index origin followed by the index height. The indicated height, which you can modify, is then displayed through the Plan view index panel.
Select OK to accept the index height.
The section index displays.
You will then need to confirm whether you want to retain, cancel or adjust the index.
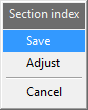
Save Stores the index in the section line layer. Adjust Prompts for the index origin point and the index is then displayed at the new position. You can keep adjusting the index until you are satisfied. Right-click to Cancel when finished. Select Retain to store the index. Cancel Cancels any actions and exits the option.
Notes- Section indexes can be removed through the Delete option (under the Design > Object Edit submenu). Use the Feature selection category as the check marks are assigned the feature DIG$EX_SDX and labels are assigned the feature DIG$EX_SLX.
- Plan view indexes can also be removed through the Delete option. Use the Feature selection category as the check marks are assigned the feature DIG$EX_LDX and labels are assigned the feature DIG$EX_LLX.

