Inquire
This option allows you to pick a location on the screen and report the grid values to the report window as well as display the information to the screen.
Instructions
On the Grid Calc menu, point to Grid Query, then click Inquire.
This panel is always the first panel displayed in Grid Calc regardless of the option selected. For information regarding this panel, see Grid Calc > Edit Model Defaults > Access Grid Specifications.
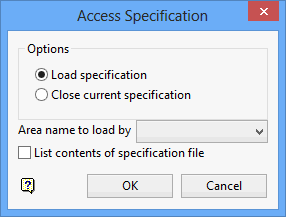
After the initial Access Specification panel has been closed, the following panel will be displayed.
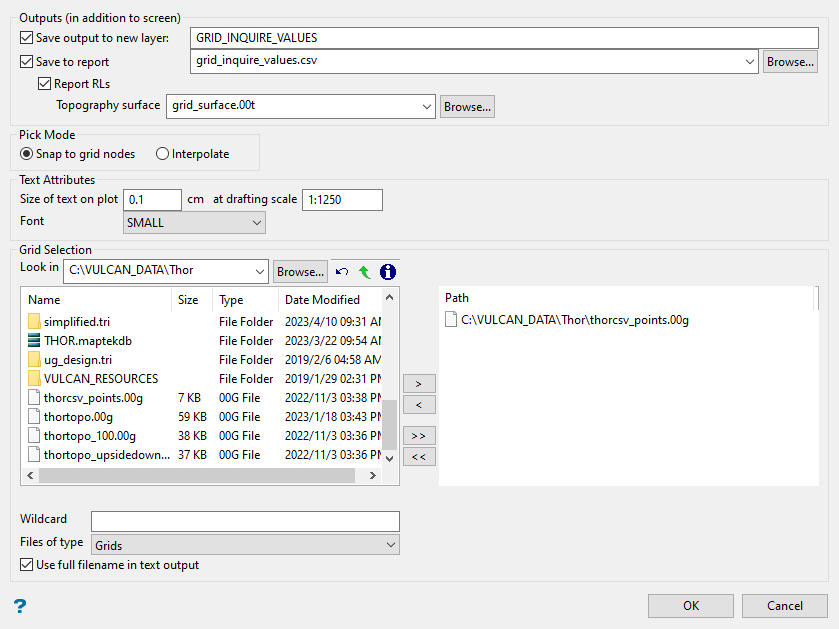
The only steps that are required is that you select a grid and click OK. The outline of your grid will be displayed on the screen where you will be able to click anywhere within the boundaries of the grid to display the grid values for that location. All other parameters on the panel control the options that are available regarding how the information is displayed, whether or not you want to save the results.
Follow these steps:
-
Click Save output to new layer if you want the labels showing the grid information to be saved to a layer as text. Enter the name of the new layer in the space provided.
-
Click Save to report to save the grid information to a CSV file. Enter the name of the CSV file in the space provided.
-
Click Report RLs if you want to include the reduced level information in your report. You will need to indicate the surface triangulation or grid from which the elevations will derive by using the Topography surface drop-down menu, or clicking the Browse button.
-
Select the Pick mode.
-
Snap to grid nodes - The location you select will automatically be shifted to the grid node nearest to where you click.
-
Interpolate - The location will not be shifted to the nearest grid node, and the information will be interpolated.
-
-
Set the text size using the settings in Text Attributes. The Size of text on plot and drafting scale will only affect the text on a printed plot. Use the drop-down list labelled Font to adjust the size of the text seen onscreen.
-
Use the Grid Selection table to select your grid.
File Selection
Browse for files using the Browse button, or use the interface showing the available grid files in the current working directory.
Click on the name of the file(s) you want to select. Use the
 icons to go to the last folder visited, go up one level, or change the way details are viewed in the window.
To highlight multiple files that are adjacent to each other in the list, hold down the Shift key and click the first and last file names in that section of the list.
To highlight multiple non-adjacent files, hold down the Ctrl key while you click the file names.
Move the items to the selection list on the right side of the panel.
- Click the
 button to move the highlighted items to the selection list on the right.
 - Click the
 button to remove the highlighted items from the selection list on the right.
 - Click the
 button to move all items to the selection list on the right.
 - Click the
 button to remove all items from the selection list on the right.
Wildcard
Enter any characters used as wildcards. Wildcard characters can be an * as well as regular characters.
If the
topo_*were used as a wildcard, the result might betopo_area2_aerial,topo_min, ortopo_with_pit.Files of type
Use this to filter the file types that display in the search list.
- Click the
-
Click Use full filename in text output to include the project prefix in the report when describing the seam.
ExampleUsing full filename: THORTOPO
Not using full filename: TOPO
-
Click OK, then select your points.

