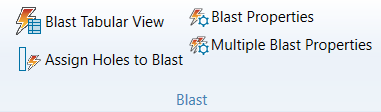
Blast
The Blast group of the Home ribbon contains tools that allow you to view blast data and edit blast properties.
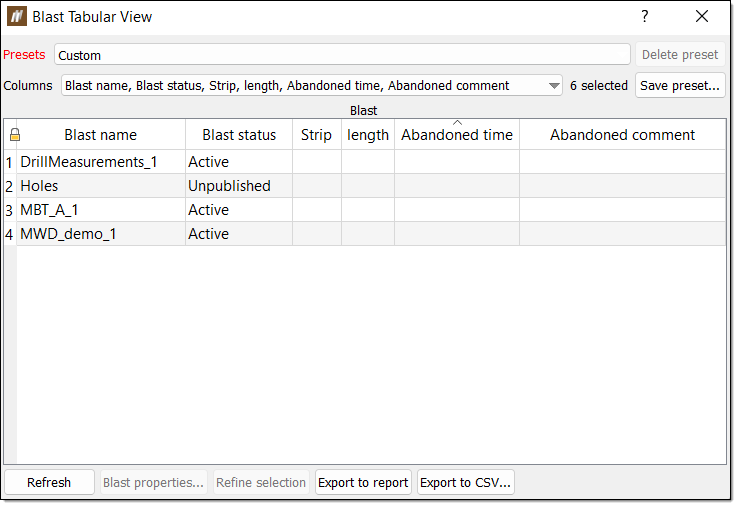
 Blast tabular view
The Blast Tabular View tool allows you to view the data of selected blasts. You can then export this data as a PDF or CSV.
To view blast data using the blast tabular view, follow these steps:
-
Select a set of blasts in the data explorer.
-
On the Home ribbon, in the Blast group, select
Blast Tabular View. Alternatively, you can use the keyboard shortcut Ctrl + Shift + T or select Blast Tabular View, from the Data group, on the Query ribbon. The Blast Tabular View panel will appear.
-
Select a preset from the Preset drop-down. The preset contains the information BlastLogic displays. You can also create a custom preset by selecting the columns you wish to display via the Columns drop-down.
-
Interact with the Blast Tabular View panel.
-
To view the properties of a single blast, select the blast in the table and click Blast properties.
-
To further refine the selection of blasts, select the desired rows and click the Refine selection button.
-
To export the data as a PDF, click Export to report.
-
To export the data as a CSV, click Export to CSV....
-
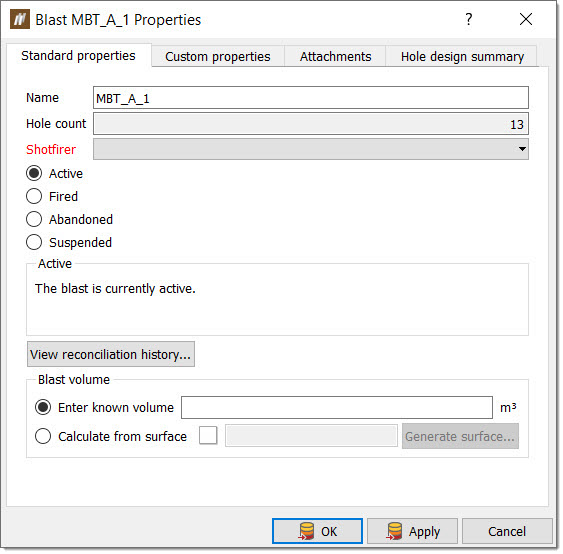
 Blast properties
The Blast Properties tool allows you to edit the properties of a single blast.
To edit the properties of a blast, follow these steps:
-
Select the desired blast in the view window or data explorer.
-
On the Home ribbon, in the Blast group, select
Blast Properties. Alternatively, you can use the keyboard shortcut Ctrl + P or right click on a blast container or blast boundary and select Edit properties of <blast name>... from the context menu.The Blast Properties panel will appear.
-
Edit the panel tabs as desired. The Blast Properties tab contains the following sub-tabs which you can edit:
-
Standard properties
The Standard properties tab displays the built-in blast properties.-
To mark a blast as fired, click Fired, then set the Fired date and Shotfirer and click OK. To unfire a blast, click Active and then click OK.
-
Click Abandoned to abandon a blast. BlastLogic will cancel all pending entries.
-
Click Suspended to suspend a blast.
-
Click View reconciliation history to open the Inventory History panel. The history is filtered to only show product usage for that particular blast.
The Blast volume section allows you to enter the blast volume for the selected blast. If the blast volume is not known, you can approximate it by selecting the Calculate from surface radio button. You can enter an existing surface by dragging the surface from the cad container in the data explorer into the field using the middle mouse or by specifying the surface location using the format /cad/<surface name>.
Alternatively, you can create a new surface by clicking Generate surface. The Create Blast Volume for <blast name> panel will appear. You can configure the panel to create a surface. Click OK to create the surface and BlastLogic will automatically enter the surface into the Calculate from surface field.
For more information on creating and using surfaces, see the Surfaces page.
-
-
Custom properties
The Custom properties tab displays the custom blast properties. There may be more than one tab, depending on the number of properties in the setup. You can edit these properties by modifying the property fields or drop-downs. -
Attachments
The Attachments tab displays the attachments currently linked to the blast. For more information on the options on this panel, refer to the Attachment page.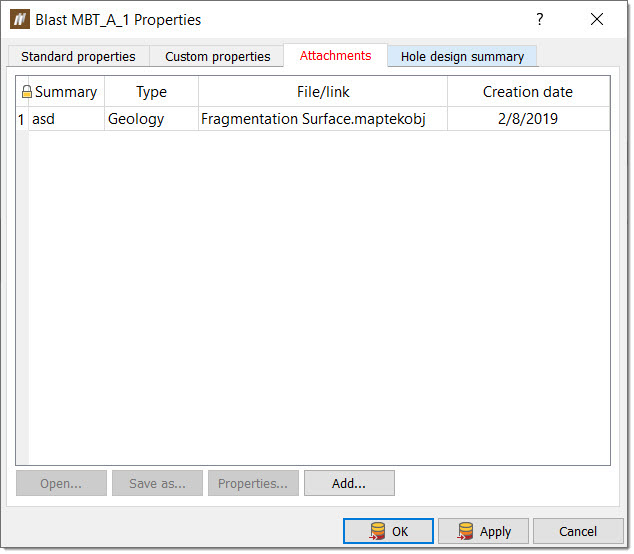
-
Hole design summary
The Hole design summary tab displays a basic summary of the design information for the holes in the blast.
-
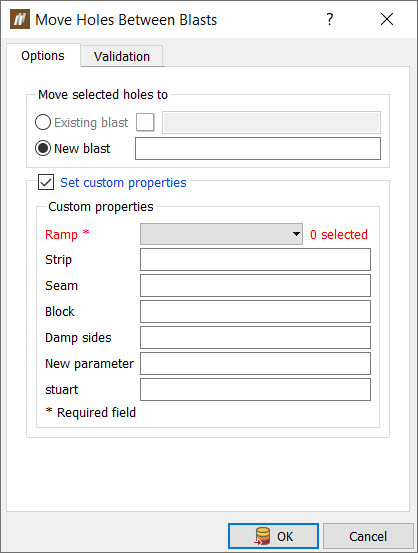
Assign Holes to Blast
To move holes between blasts or create a new blast, follow these steps:
-
Select the holes you wish to move in the data explorer or view window.
-
On the Home ribbon, in the Blast group, select Assign Holes to Blast. The Assign Holes to Blast panel will appear.

-
Select the desired blast radio button. If you wish to move the holes to an existing blast select Existing blast and specify the blast in the corresponding field. You can do this by dragging the desired blast from the blasts container in the data explorer into the field using the middle mouse button or by entering the location of the blast into the field, using the format /blasts/<blast name>. Alternatively, if you wish to create a new blast, select New blast and enter a new name into the corresponding field.
-
Optionally, select the Transfer reference design checkbox. By selecting this option, BlastLogic will transfer the hole information in the reference design snapshot to the blast.
-
If you wish to specify custom properties for the holes, select the Set custom properties checkbox and enter the desired information into the Custom properties fields.
-
Click OK.
 Multiple Blast Properties
The Multiple Blast Properties tool allows you to view and edit the properties of multiple blasts. You can use this tool during the data entry and reporting periods.
To edit the properties of multiple blast properties, follow these steps:
-
Select a set of blasts in the data explorer.
-
On the Home ribbon, in the Blast group, select
Multiple Blast Properties. The Multiple Blast Properties panel will appear.
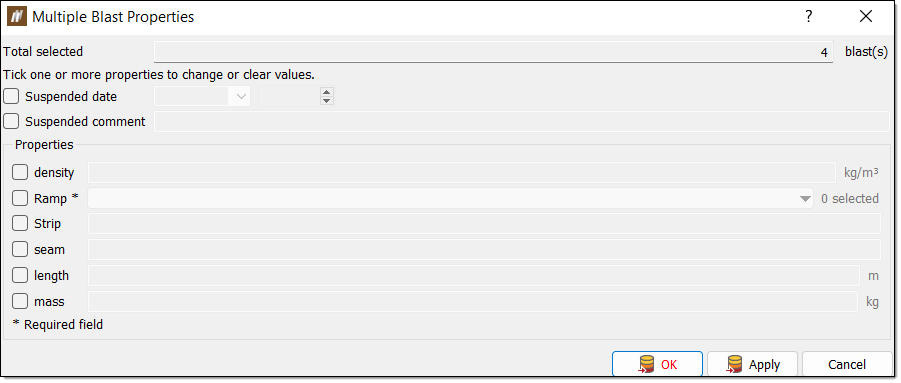
- Edit the properties of the blasts. Select the checkbox of a property to enable editing. You can then modify the value of this property for all the selected blasts.
-
Click OK or Apply to save the properties.
