Resource Groups
Source file: epoch-setups-resources-resource-groups.htm
Use the ![]() Resource Groups subtab to define the usage and productivity of equipment and process flow components.
Resource Groups subtab to define the usage and productivity of equipment and process flow components.
Resource group categories
Epoch considers the following categories as resource groups:
-
Diggers
-
Trucks
-
Drills
-
Custom Resources
-
Mills
-
Stockpiles (including Overflow Stockpiles)
-
Virtual Waste Dumps
-
Waste Dumps
You can configure the resource groups in your setup by using the following controls:
|
|
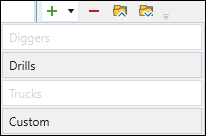
Add Resource
Note: To prevent duplication, the resource categories that you have already added will be greyed out. |
|
|
Delete Resources
Removes the selected item from the list. |
|
|
Collapse all
Hides all resource group items so that only category names are visible. 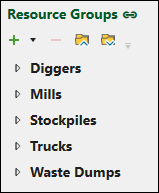 Note: You can also hide the items included in an individual resource group or fleet by clicking the |
|
|
Expand all
Note: You can also bring the previously hidden items included in an individual resource group or fleet by clicking the |
 button.
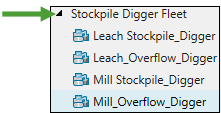
 button.
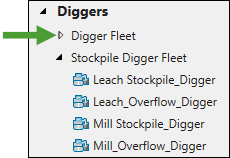
Adding resource group fleets and items
Once you have added a resource group to the list, you must add at least one resource fleet that will include items for your resource. To add a resource fleet, select the resource group from the list on the left-hand side of the screen and then click the Add <Resource Name> Fleet button (Add Drill Fleet in the example).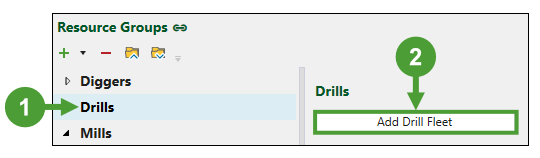
Note: You can only add fleets to equipment resource groups (Diggers, Drills, Trucks, and Custom). To add new items to process components’ resource groups (Mills, Stockpiles, and Waste Dumps), you have to add new process components in the ![]() Material Flow and configure them in the
Material Flow and configure them in the ![]() Configuration subtab. See Material Flow and Configuration for more information.
Configuration subtab. See Material Flow and Configuration for more information.
Important: You can only add truck fleets that you have already included in your project. If there are no truck fleets in your project yet, you will be prompted to add them. See Creating Trucks for more information on generating trucks in Evolution.
Note: The name of the newly added fleet will be assigned according to the <Resource Group name> Fleet convention. Fleets with the same name will be assigned with a consecutive number. You can rename the fleet by clicking on it and entering a new name.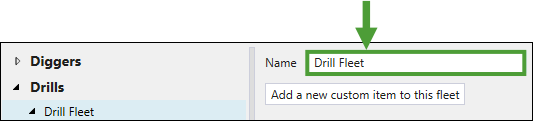
After adding the required fleet to your resource group, you must add items that will constitute the given fleet. To do so, select the fleet from the list on the left-hand side of the screen and then click the Add a new <item name> to this fleet button.
Note: As in the example below, the button can be named Add a new custom item to this fleet in some resource groups.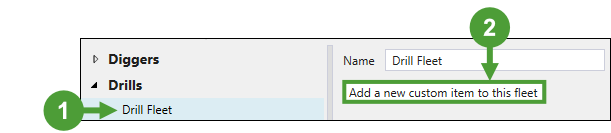
Note: The newly added fleet item will be named according to the corresponding resource group, for example, Digger. You can rename the item by clicking on it and entering a new name.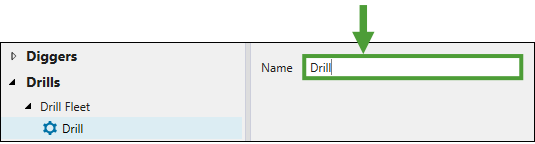
Configuring fleet items
You can configure the schedule for each fleet item by selecting either the Appointments Calendar or Single Coverage Calendar button.
Appointments Calendar
Use the Appointments Calendar to schedule events that render the resource item unusable for a certain time frame.

You can add events manually or import them from a CSV file.
Adding calendar entries manually
To add an entry to the calendar, click on the fleet item to which you want to assign a calendar entry, select one of the predefined categories in the Appointments Calendar workspace, and drag it to the required time slot.
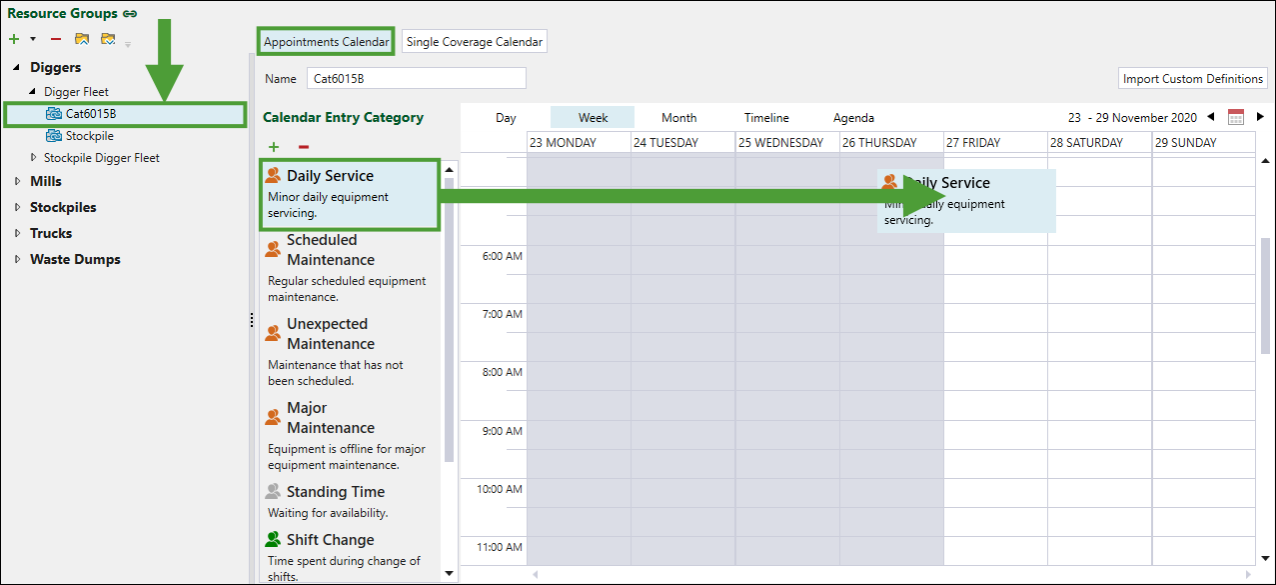
Tip: You can add or remove calendar entry categories by clicking the ![]() (Click to add a category) or
(Click to add a category) or ![]() (Click to delete the selected category) buttons in the Appointments Calendar workspace.
(Click to delete the selected category) buttons in the Appointments Calendar workspace.
Alternatively, you can also add calendar entries by completing the following steps:
-
Click on the fleet item to which you want to assign a calendar entry.
-
Double-click the appropriate cell in the Appointments Calendar workspace.

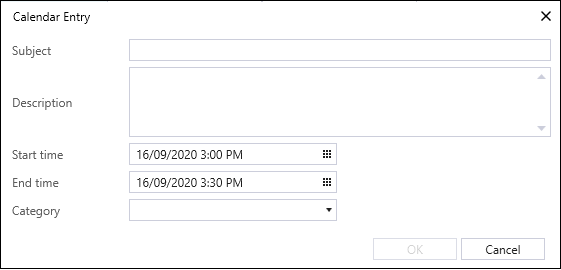
This will open the Calendar Entry window. -
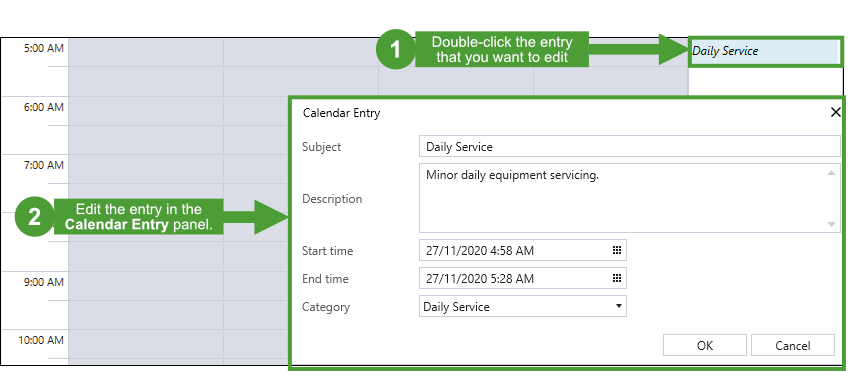
Provide a Subject, Description, Start time, End time, and Category for the calendar event.
-
Click OK to apply the entry in your calendar.
Importing calendar entries from a CSV file
To add calendar entries from a CSV file, complete the following steps:
-
Click on the fleet item to which you want to assign a calendar entry.
-
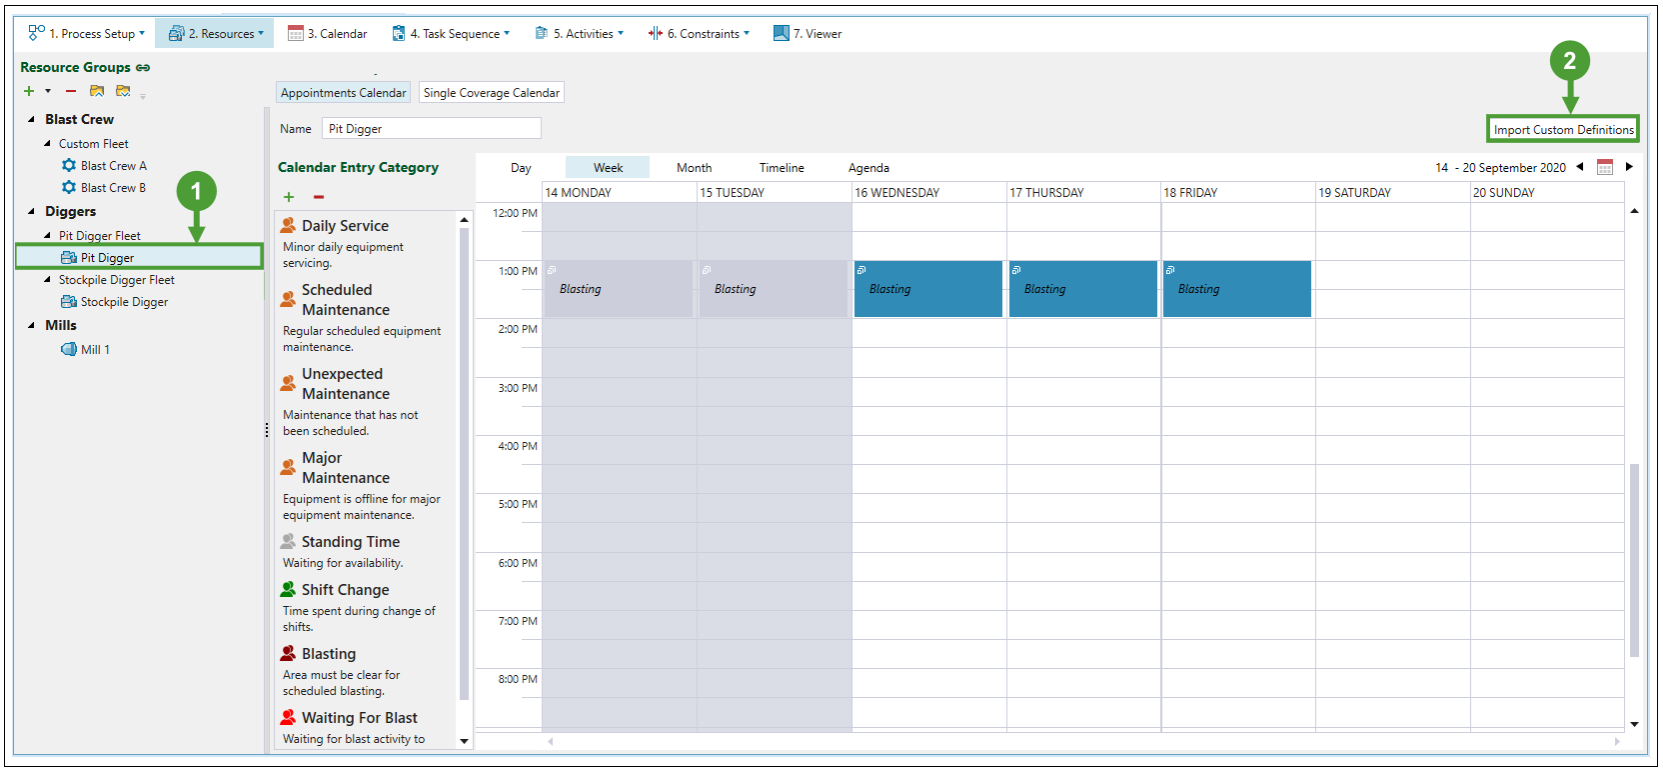
Click the Import Custom Definitions button.
-
In the Import Custom Definitions panel, click Browse to select a CSV file.
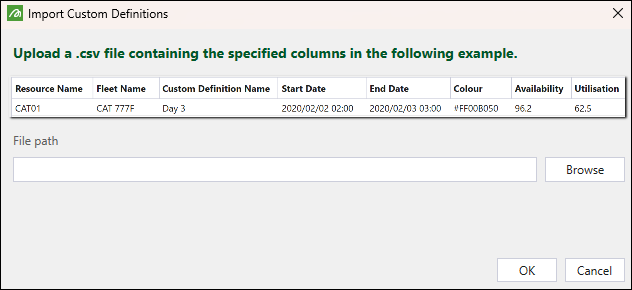
-
Set the Resource Name, Fleet Name, Skip Rows, Appointment Types, and other optional fields (if required), and then click OK. In the Appointment Types, select the Is Percentage checkbox if you want the values to be a percentage.
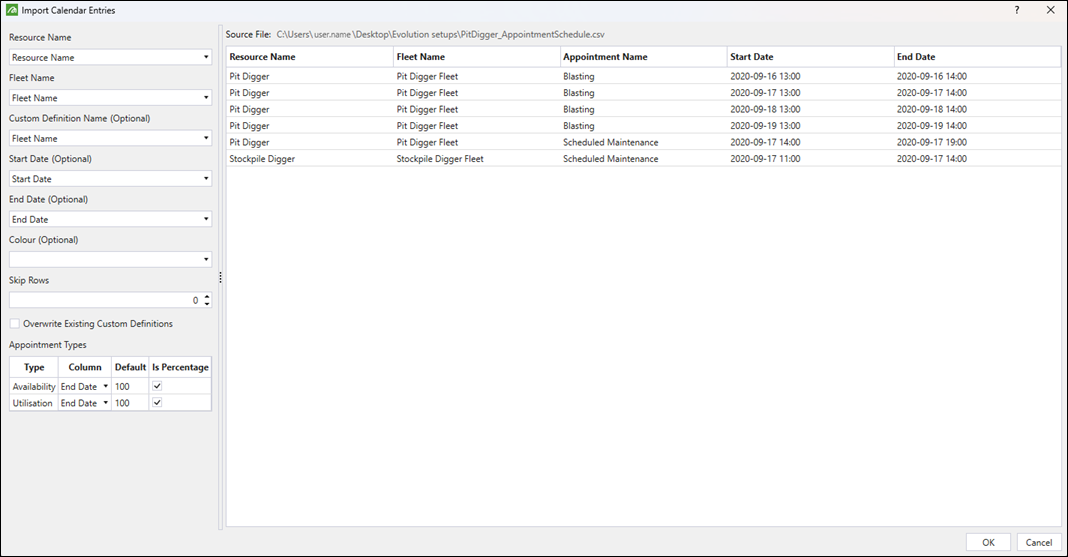
The appointments will be added to the calendar as shown below.

Editing the existing calendar entries
You can edit the existing calendar entries the following way:
-
Double-click on the entry in the Appointments Calendar workspace. This will bring up the Calendar Entry panel where you can apply the required changes.
-
To change the time slot of a calendar entry, drag the entry to a different cell in the Appointments Calendar workspace.
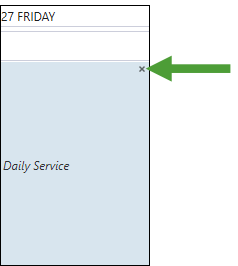
-
To delete an entry from the Appointments Calendar workspace, hover over it and click the x button in the top right corner.
Note: You can modify calendar entries only at the fleet item level.
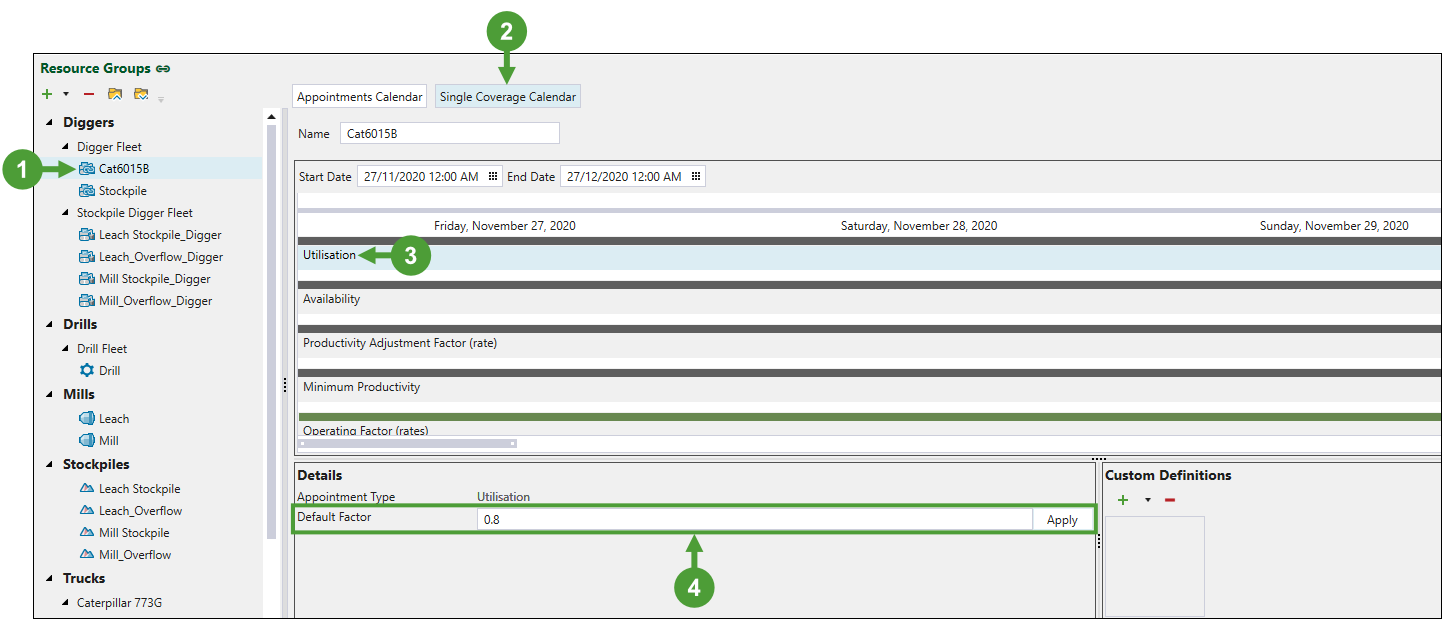
Single Coverage Calendar
Use the Single Coverage Calendar to set resource parameters.
Each resource group has a specific set of parameters that have a said value over defined time frames. You can specify a default value as a backup in the event that production occurs outside of the defined time frames.
Important: For trucks, the Single Coverage Calendar is only available on the truck fleet level, and it cannot be set for individual trucks.
The following table displays a description of each resource parameter available in the Single Coverage Calendar.
| Resource parameter | Resource groups | Definition |
|---|---|---|
| Utilisation | Diggers, Trucks, Drills, and items in the Custom Resource Group | Refers to the amount of time a resource item is used during production. When the utilisation is defined between 0 and 1, it is treated as a percentage. If you set the Utilisation to a value greater than 1, Evolution will treat it as a factor and you will have to adjust the scripts in the |
| Availability | Diggers, Trucks, Drills, and items in the Custom Resource Group | The amount of time a resource item is able to be used during production. When the availability is defined between 0 and 1, it is treated as a percentage. If you set the Availability to a value greater than 1, Evolution will treat it as a factor and you will have to adjust the scripts in |
| Productivity Adjustment Factor (rate) | Diggers | Suggests that different diggers have different productivity rates. Use the Productivity Adjustment Factor to calculate the Operating Factor (rates). You can set productivity rates using either the Productivity Adjustment Factor or the |
| Operating Factor (rates) | Diggers, Trucks, Drills, and items in the Custom Resource Group | You must determine the Operating Factor for each equipment item. This parameter is calculated by multiplying the Availability by the Utilisation. For Digger items, the Operating Factor is further modified by multiplying the Utilisation and Availability by the Productivity Adjustment Factor. |
| Minimum Productivity | Diggers | The minimum productivity rate that a resource item can work at. |
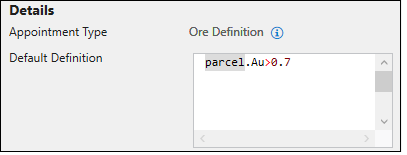
| Ore definition | Mills, Stockpiles |
States the criteria of material that can be processed by a mill or stockpile. You must write it in a script in the Default Definition field as an equation, usually referring to parcels. According to the example definition below, parcels containing gold with grade above 0.7 will be sent to a given destination. See Formulas and Scripts for more information.
|
| Waste definition | Virtual Waste Dumps | States the criteria of material sent to a waste site. You must write it in a script in the Default Definition field as an equation, usually referring to parcels. See Formulas and Scripts for more information.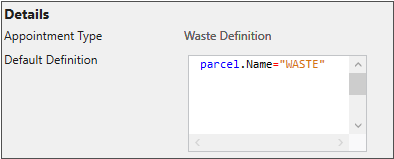 |
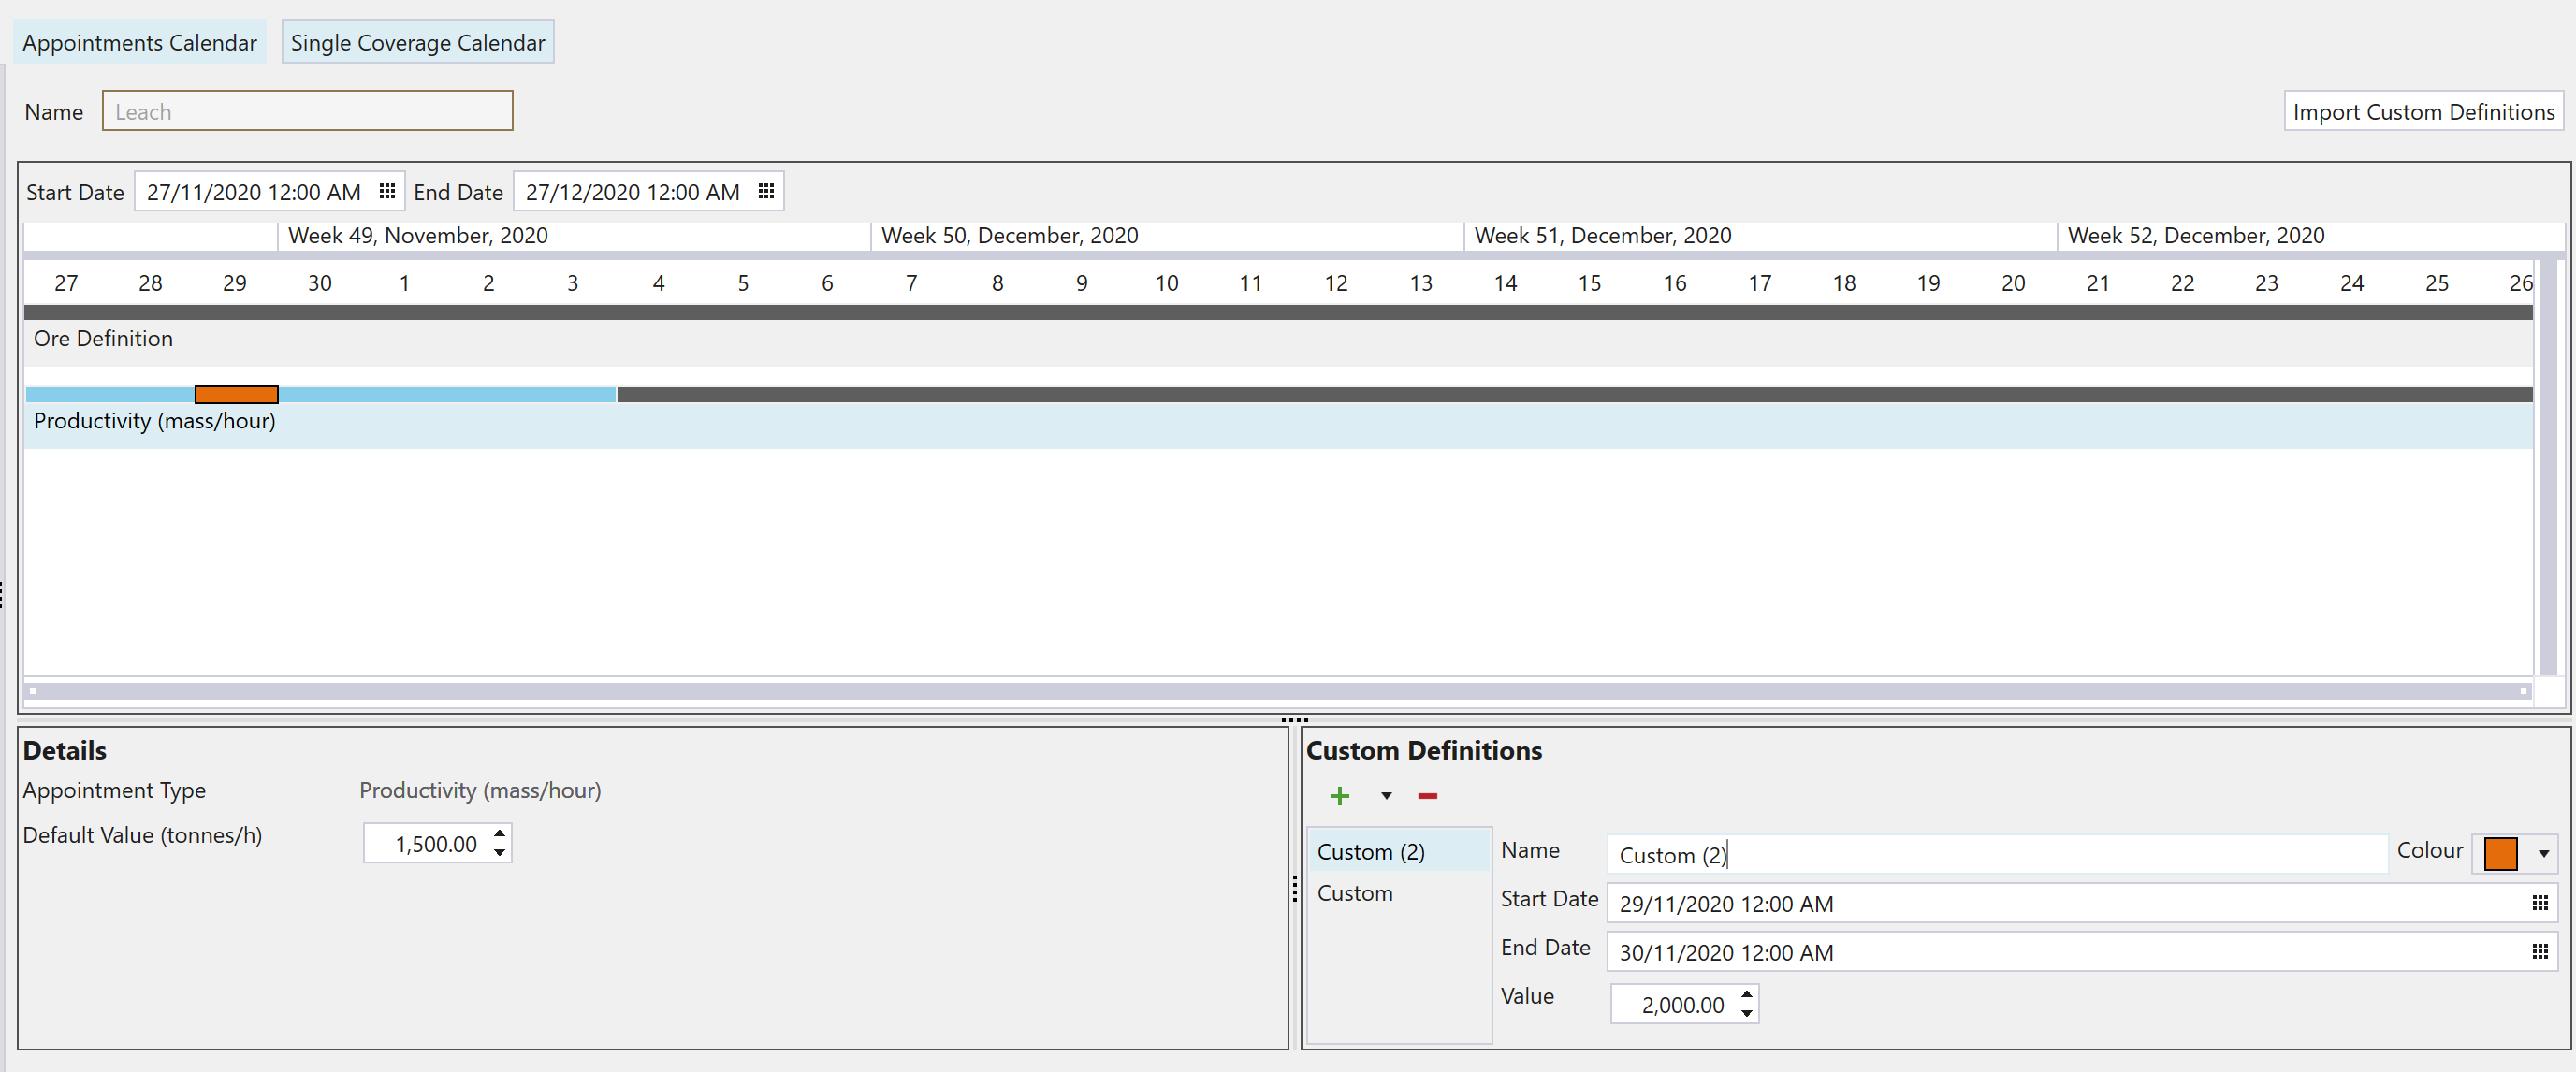
| Productivity (mass/hour) | Mills, Stockpiles (including Overflow Stockpiles) | For each mill in a setup, you have to set the Productivity to dictate the amount of tonnes (per hour) that a given mill is able to process. If the productivity of the equipment transferring material from the pit to the mill is greater than the mill productivity, the material will be split between the mill (at the mill productivity rate) and the mill overflow (at the equipment productivity rate minus the mill productivity rate). If the mill overflow capacity does not allow splitting the material, the remainder will go to other destinations.
In a different scenario, if the material is not being sent to destinations based on parcel type, and the productivity of the equipment transferring material from the pit to the mill is less than the mill productivity, all material is expected to be sent to the mill in the absence of parcel-based rules. In this case, material will be sent to the mill at the equipment productivity rate that you can set in the |
Follow these steps to add the Single Coverage Calendar for a resource group item:
-
Select the required item on the Resource Groups list.
-
Click the Single Coverage Calendar button.
-
Select the required parameter from the list.
-
Under the Details, apply the value in the editable field.
Note
Depending on the parameter type that you have selected, the field will be named Default Factor, Default Value, or Default Definition.- For the Default Factor, click the Apply button after specifying the value.
- For the Default Definition, apply the script.
-
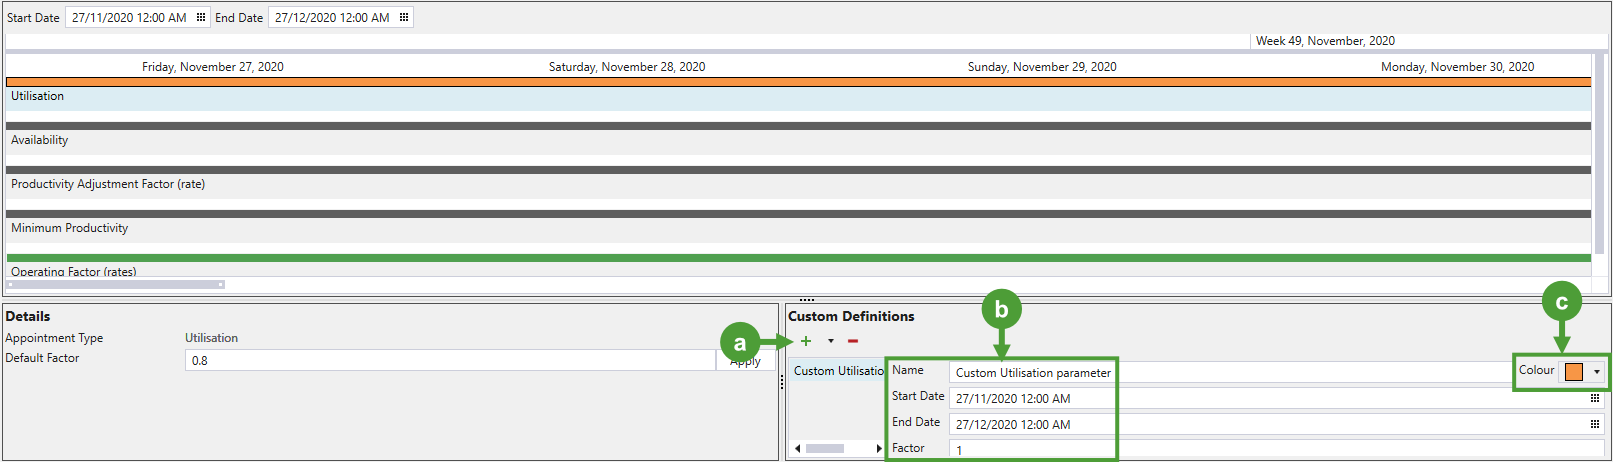
Optionally, add a custom definition on the right side of your screen by doing the following:
-
Click
 to add one or multiple custom definitions.
 -
Specify the name of your custom parameter, time frames when it should be used, and its Factor value.
-
Optionally, set the colour that will be assigned to the custom parameter in the timeline above.
Note: You can also apply overlapping definitions. In this case, the top-most definition will take the priority.
Tip: You can change the order on the Custom Definitions list by dragging and dropping the added definitions.
-
Importing custom definitions from a CSV file
Like entries in the Appointment Calendar (see Importing calendar entries from a CSV file for more information), you can import custom definitions from a CSV file by following these steps:
-
Select a resource item.
-
Click the Single Coverage Calendar button.
-
Click the Import Custom Definitions button.
-
In the Import Custom Definitions panel, click Browse to select a CSV file.
-
Set the Resource Name, Fleet Name, Skip Rows, Appointment Types, and other optional fields (if required), and then click OK. In the Appointment Types, select the Is Percentage checkbox if you want the values to be a percentage.
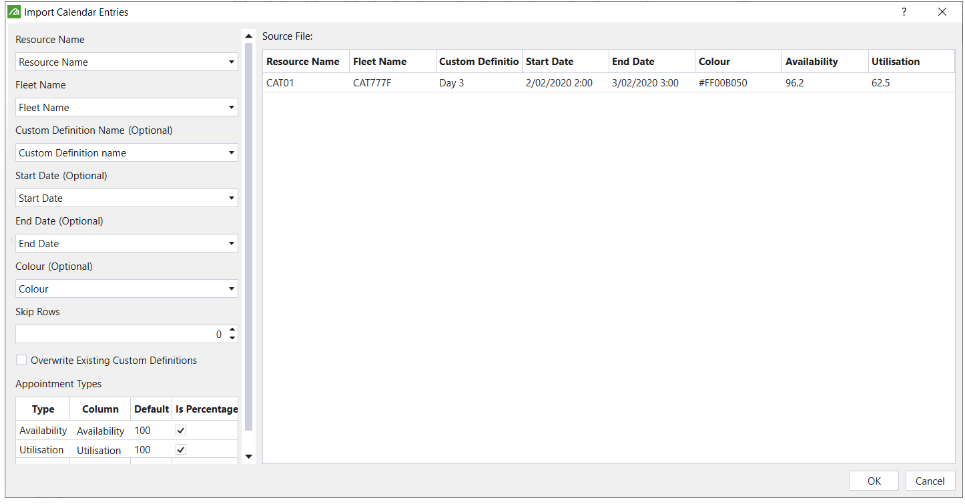
Evolution will reflect your custom parameter definition in the Single Coverage Calendar.
