Import LIDAR Data : Load Point Data Into Layer
Use this option to import point data into a set of Vulcan layers. The data can be found in LAS files, CSV files, DEM files, or your own selection.
Instructions
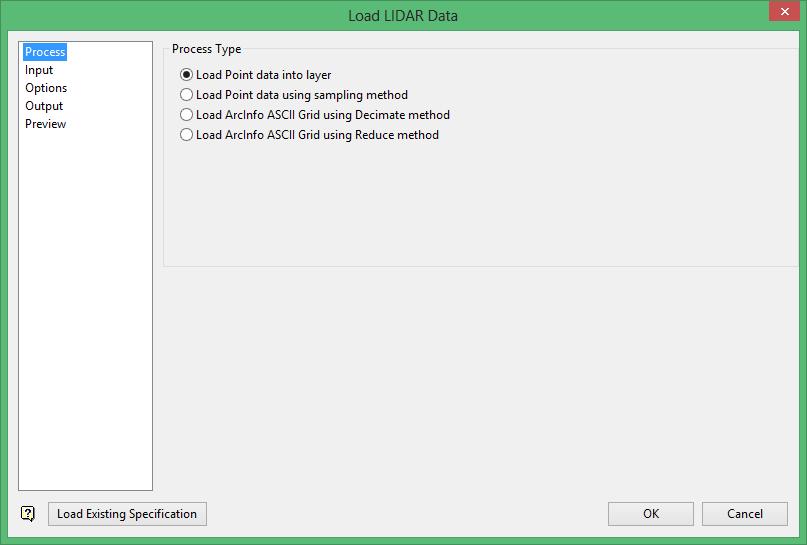
There are five branches on the Load LIDAR Data panel.
Process
Click on the Process branch on the left side of the panel, and select Load Point data into layer.
Input
Click on the Input branch on the left side of the panel.
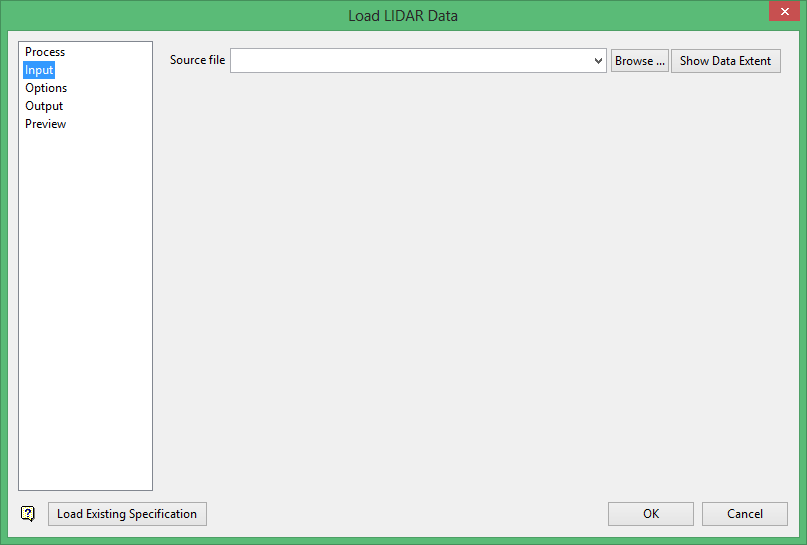
Source File
Select the source file which contains the point data to be imported. The drop-drop list contains a list of available files ( .las,.asc,.csv,.txt ).
Click Browse to select a file from another location.
Show Data Extent
When user clicks this option, the specified file will be read into Vulcan and a bounding box will be calculated and projected onto the screen.
When the user selects a LAS file, it will validate whether the LAS file is a LIDAR LAS file, or a Log Ascii Standard file. If the user selected a Log Ascii Standard file, a popup dialog will appear stating that the selected file is a Log Ascii Standard file, and not a LIDAR file. If the user tries to proceed with the importing process, the same error dialog will appear, and prevent the importing process proceeding further, and the user will be returned to the main Process page.
Options
Click on the Options branch on the left side of the panel.
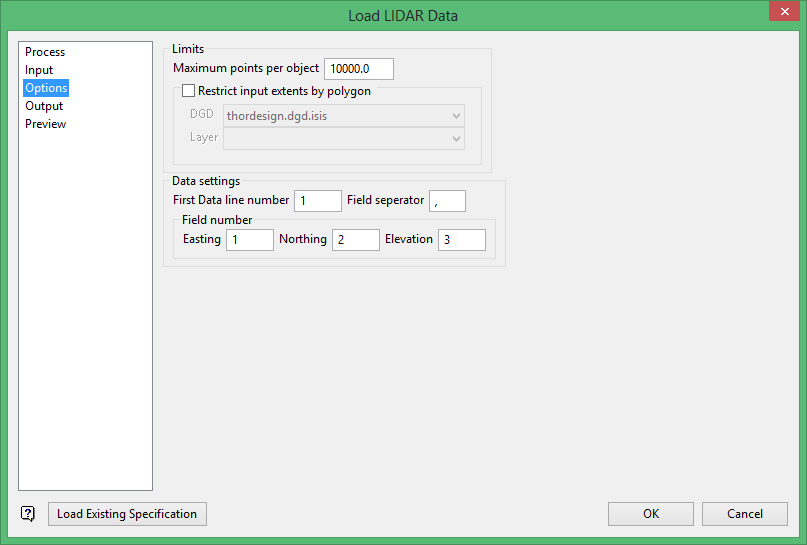
Limits
Maximum points per object
This option allows user to specify the number of points included in a single object when they are being imported into the Vulcan layer.
Restrict input extents by polygon
This option allows user to specify a design database ( DGD ) and a layer that holds a set of closed polygons. Each polygon will have a newly created layer based on the polygon name, and the content of the layers will include all the points that the polygon encloses.
Data settings
First Data line number
This option refers to the line the first data point is located at. This can be used to skip any headings that may be present.
Field Separator
This is used to differentiate between each field in the file. The default value is a blank space.
Field number
The Easting, Northing, and Elevation fields refer to the X, Y, and Z columns respectively, and determines which column they can be found in.
Output
Click on the Output branch on the left side of the panel.
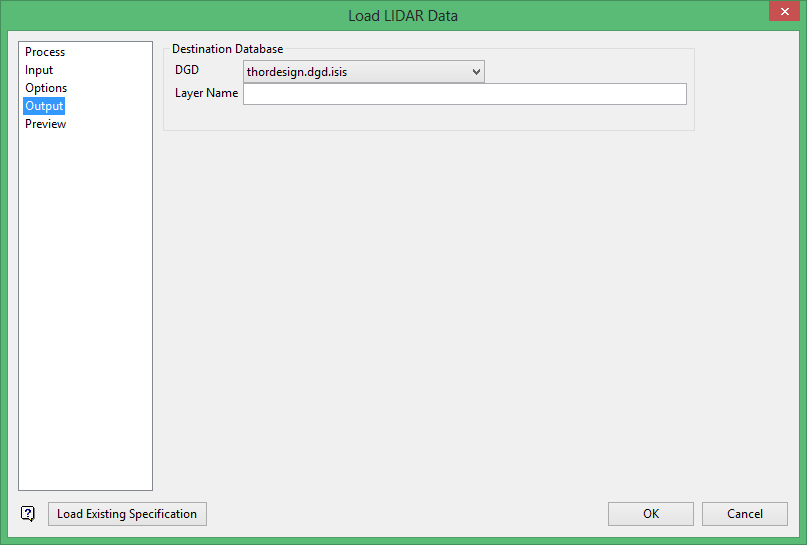
Destination Database
Select a design database (DGD) from the drop-down list in which the new layers will be created. An existing database is required to be selected for the Layer Name field to be enabled.
Preview
After completing the panels for the selected mode, click the Preview branch on the left side of the panel.
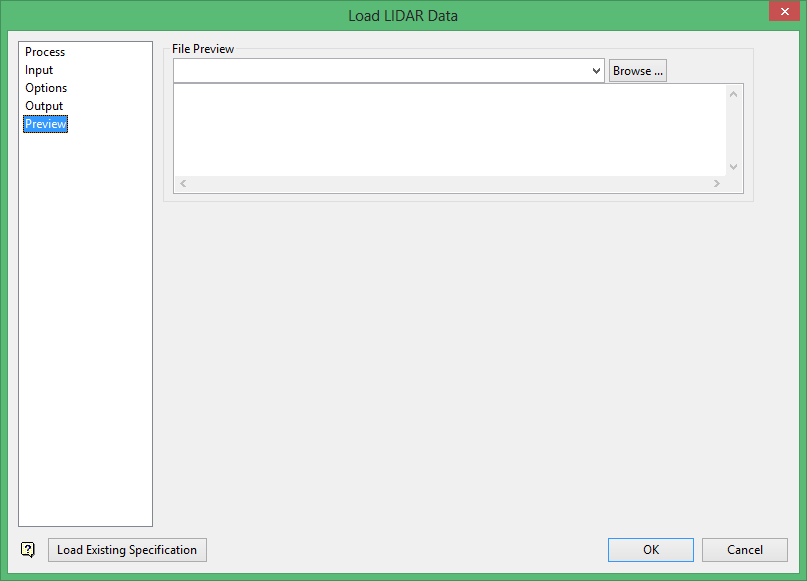
File Preview
Select a file from the File Preview list, or click Browse to select a file from a location other than your working directory. The first ten lines of text of the selected file will display in the box. This text is unformatted and will be populated directly as the data is represented in the file. This can be used to determine the specific format for ASCII files when trying to use the Point Sampling or Layer Importing options.
Click OK to complete the process.
Related Topics
- Load Point Data Into Layer
- Load Point Data Using Sampling Method
- Load ASCII Grid Using Decimate Method
- Load ArcInfo ASCII Grid Using Reduce Method

