Load
Use this option to load sample groups onto the workspace in Vulcan.
Instructions
Note: A samples database must be opened prior to using this option. If a database is not open, you will be prompted to open one. You can open a samples database by using Geology > Sampling > Open Database....
On the Geology menu, point to Sampling, then click Load.
Follow these steps:
-
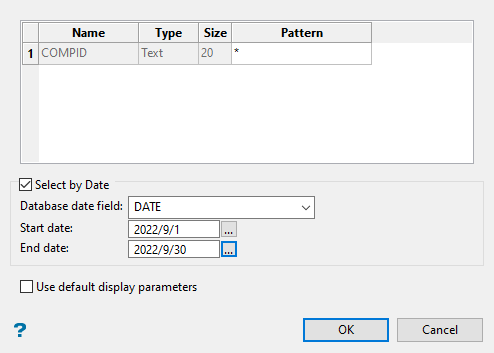
Enter a text pattern into the Pattern column of the table. When you click OK, the text entered into Pattern will be compared to the entry in the field listed in the Name column. All records that match will be loaded as samples.
By default, an asterisk is already entered into this field. The asterisk is a wildcard character that captures all possible entries. You can use any character as a wildcard.
A pattern of
LK*will load all samples with a name starting with LK, followed by a string consisting of any number or letter:LK001,LK002,LKDEV,LK004D, etc. -
Enable Select by Date to limit the samples to only those that fall within the dates provided. This is optional.
Click the small icon to the right of the space provided to display an interactive calendar, or type in a data using the format
YYYY/MM/DD. -
Enable Use default display parameters to use an existing display parameters scheme.
If this checkbox is selected, you will be prompted to select a scheme after samples are selected.
If this checkbox is not selected, additional panels will be displayed after sample selection to manually enter the display information. Manually entered display information is not stored in the sample file (.smp).
If you do not enable the Use default display parameters option, you must specify the display parameters using following panels.
-
Click OK to display the selection panel.
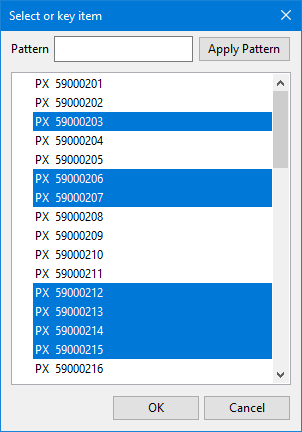
Select the groups that you want to load from the list, then click OK.
Note: To select multiple groups, press the SHIFT key while selecting items that are listed in sequence, or press the CTRL key while selecting individual items.
If you do not select the Use default display parameters option on the Load Sample Groups panel, you must specify the display parameters using following panels.
-
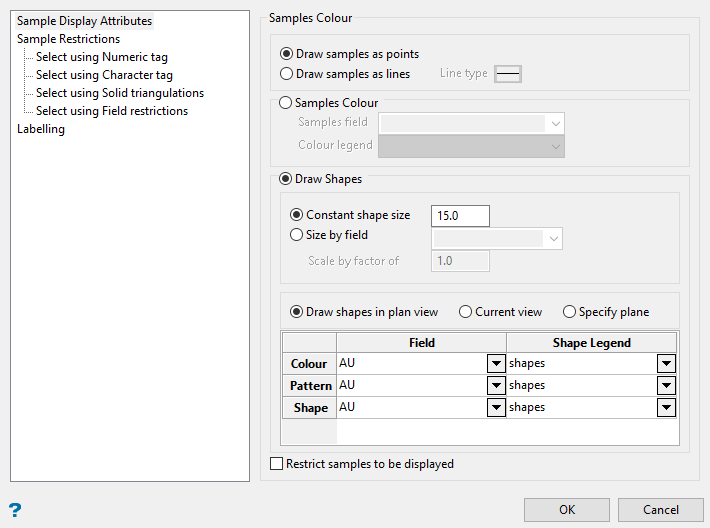
Format the look of the samples using the options found on the Sample Display Attributes pane.
-
Select whether to display the samples as points or lines. If you display as lines, then select the line type.
-
Select how you want the samples to be displayed.
Samples Colour will load the points or lines by colour based on the SAMPLES legend selected.
Draw Shapes will apply shapes to the samples instead of using points or lines. The colour and style of the shapes will be based on the SHAPE legend selected.
The size of the samples can be determined by two methods:
-
Constant shape size - All samples will have the same size.
-
Size by field - The sample sizes will vary according to the values found a field selected from the samples database.
The Scale by factor of option will be applied of the value of the database field. A larger value in the database field will result in a larger shape size.
If the database field has a value of
0.5, applying a scale factor of10would result in the sample being displayed with a size of5.0.0.5 * 10 = 5.0If the database field has a value of
0.9, applying a scale factor of10would result in the sample being displayed with a size of9.0.0.9 * 10 = 9.0
-
-
Select Draw shapes in plan view, Current view, or Specify plane as the viewing plane.
The shapes have the same characteristics as 3D text, therefore the viewing angle can effect their visibility.
Draw shapes in plan view - Shapes will be displayed in plan view.
Current view - Shapes will be displayed in the same viewing orientation that you are currently in.
Specify plane - You will be prompted to specify the plane.
-
Use the Field and Shape Legend drop-down lists to select the database field and legend that will be used to display the shapes.
Note: There are three parameters that determine what the shape will look like: Colour, Pattern, and Shape. The database fields and shape legends do not need to be the same. However, if for some reason one of the fields or shape legends is invalid, then the samples will not display.
-
Enable Restrict samples to be displayed to activate the Sample Restrictions panes. If this is not enabled, then the Sample Restrictions panes will not be available.
-
-
Set up any Sample Restrictions.
 Select using Numeric tag
Click Numeric tag to apply numeric restrictions to any field you select from the Field drop-down list.
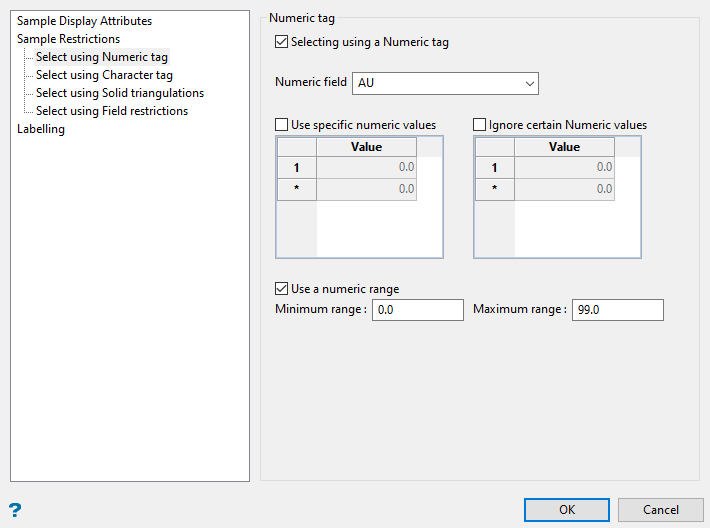
You can use specific values, a range of values, or both.
Note: Only numeric fields will be shown in the drop-down list.
Select the option Use specific values to include or exclude whatever values you list under Values in the table.
To use a range of values, select Use numeric range, then enter the minimum and maximum values.
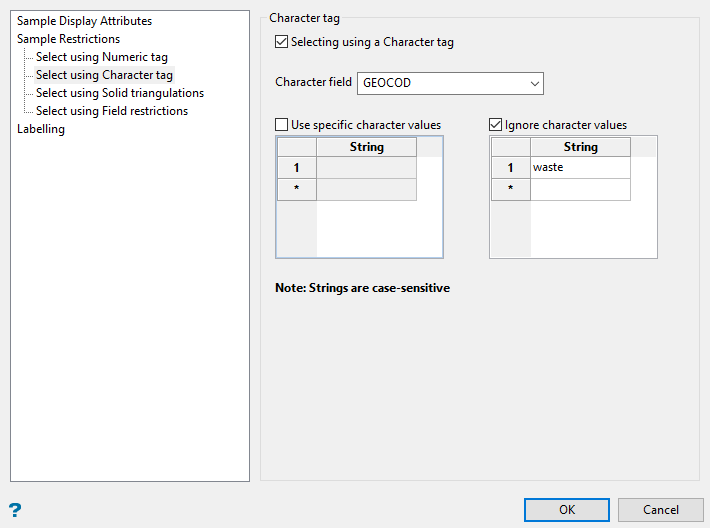
Select using Character tag
Click Character tag to limit the data by a character string found in the selected database field.
-
First, select the database field from the Field drop-down list. Only character fields will be listed.
-
Then, decide whether you want to include or exclude the text string.
Important: The text strings are case sensitive and must be entered exactly as they will be found in the database.
-
Finally, enter the string without quotation marks in the space provided. You can have multiple strings.
Example: In the image above, our database is populated with four GEOCOD values: TQ1, TQ2, TQ3, and WASTE. We have opted to include all values except those samples which have a value as WASTE. Any sample that contains a GEOCOD value of WASTE will be excluded from our sample population.
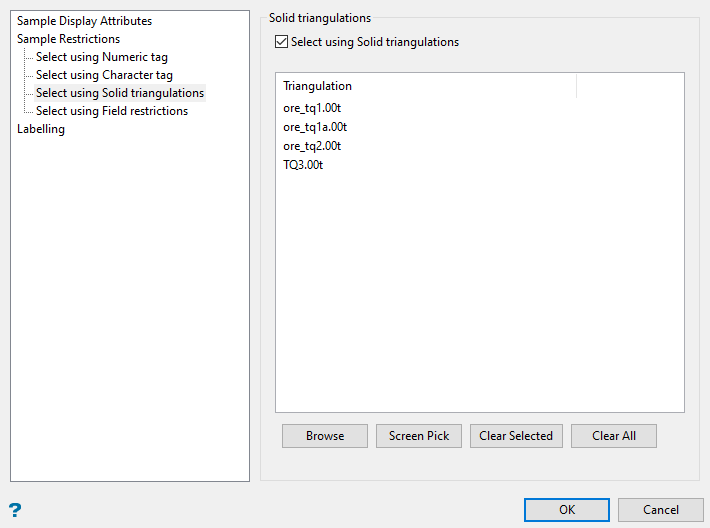
Select using Solid triangulation
Click Solid triangulation to limit the data by triangulation.
-
Clicking the Browse icon will display the following panel. From here you can select your triangulations. All triangulations found in the current working directory will be listed in the selection panel that will be displayed.
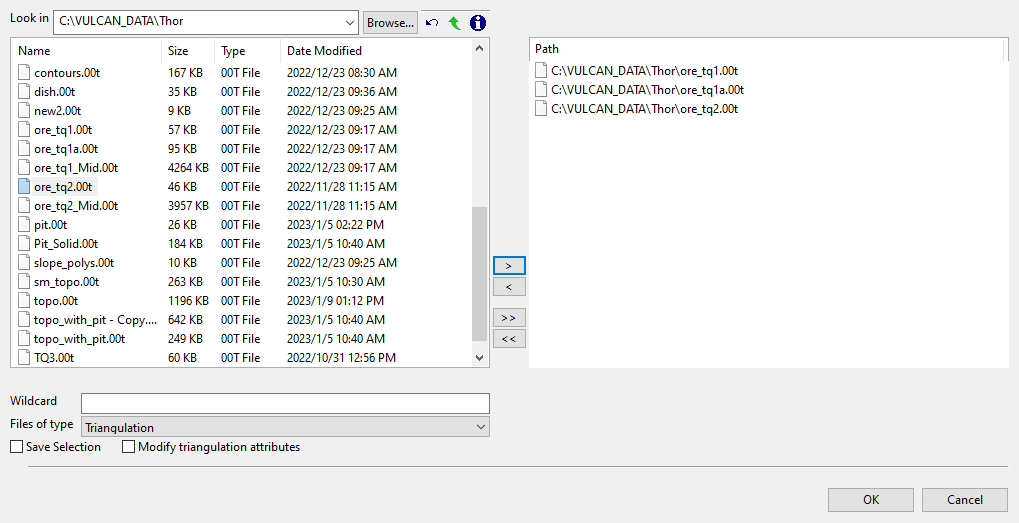
Click the Browse button to search for any triangulation not found in your current working directory.
Click on the name of the file(s) you want to select. Use the
 icons to go to the last folder visited, go up one level, or change the way details are viewed in the window.
To highlight multiple files that are adjacent to each other in the list, hold down the Shift key and click the first and last file names in that section of the list.
To highlight multiple non-adjacent files, hold down the CTRL key while you click the file names.
Move the items to the selection list on the right side of the panel.
- Click the
 button to move the highlighted items to the selection list on the right.
 - Click the
 button to remove the highlighted items from the selection list on the right.
 - Click the
 button to move all items to the selection list on the right.
 - Click the
 button to remove all items from the selection list on the right.
- Click the
-
Wildcard characters can be used to limit what appears on the list. Use an * for multiple characters or a % to replace a single character.
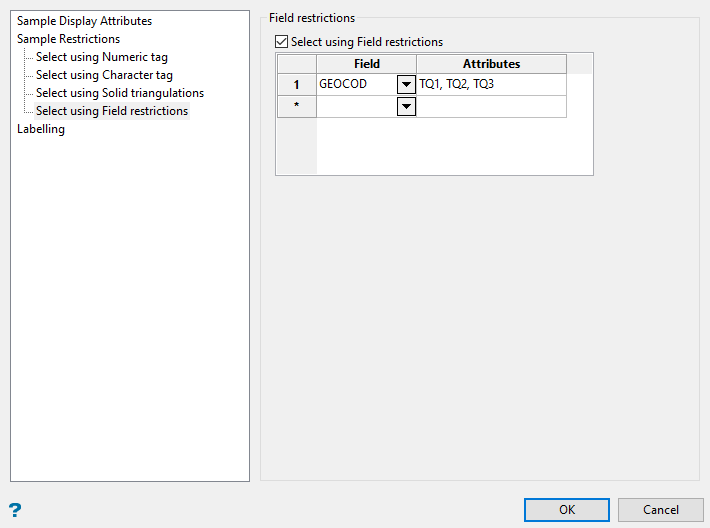
Select using Field restrictions
Select Field Restrictions to restrict the data by field attribute.
-
Select this checkbox to limit the samples to those with fields that match certain selection criteria. Select a Field from the drop-down list and enter applicable selection criteria in the Attributes column.
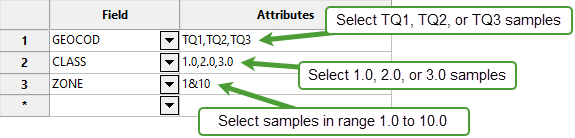
Include spaces in the entries in the Attributes column only if spaces are included in the desired field values.
When entering a range, always enter the smallest number specified before the largest number.
Example:
-792&-720since-792is smaller than-720. This range is evaluated as-792.0 ≤ VALUE < -720.0.
-
-
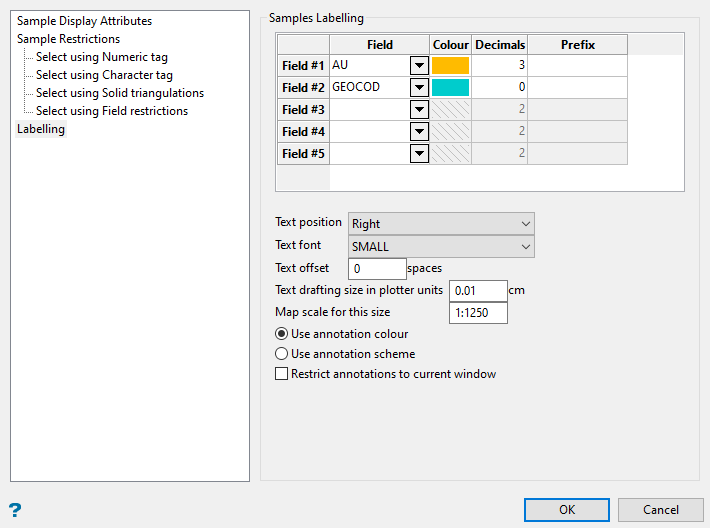
Format the labelling. (Optional)
The Labelling pane allows you to assign multiple labels to each sample. These parameters are optional. By default, no labels will be displayed.
-
Select the database Field to use as a label. When the label is displayed, whatever value is in this field will be displayed beside the sample or interval.
-
Choose a Colour for the label.
-
Enter the number of Decimal places.
-
Enter a Prefix.
Note: A prefix is not necessary, however, if you are displaying multiple numeric labels then using a prefix can help distinguish them apart.
-
Use the parameters below the table to control the font format and how it will be displayed.
-
-
Click OK to display samples.

