Scheduling Workflows Using the Windows Task Scheduler
You can automate workflow tasks in the background at regular intervals using the Windows Task Scheduler.
This document contains procedures for:
Creating a Task
To create a task, follow this steps:
-
Open Windows Task Scheduler.
Search for "Task Scheduler" in the Windows Search Bar.
-
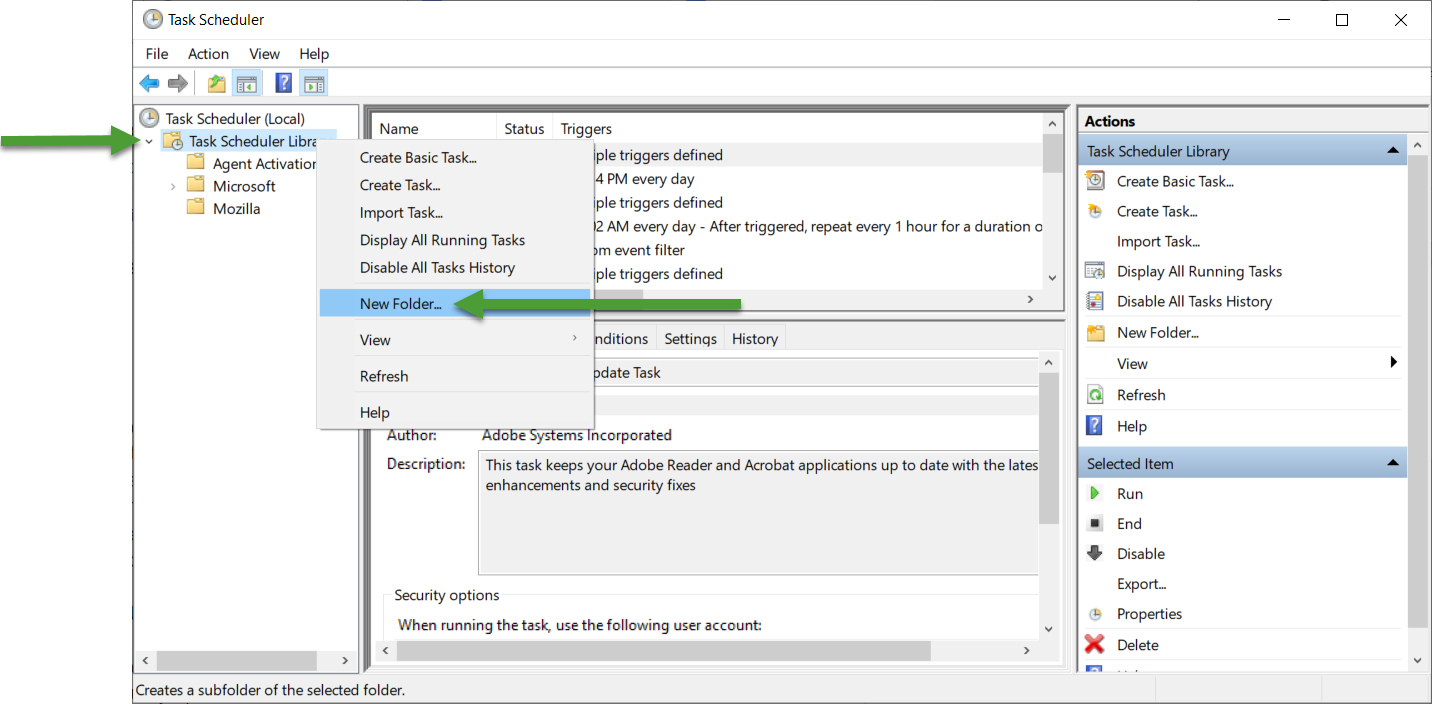
Create a folder that will contain your tasks.
Right-click the folderTask Scheduler Library on the left and select New Folder.
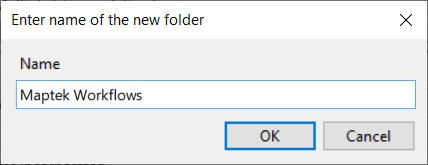
Enter the name of the folder under Name and click OK.
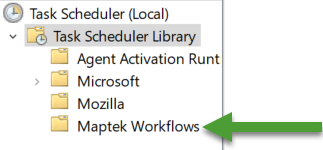
The new folder will appear under Task Scheduler Library.
-
Create a new task.
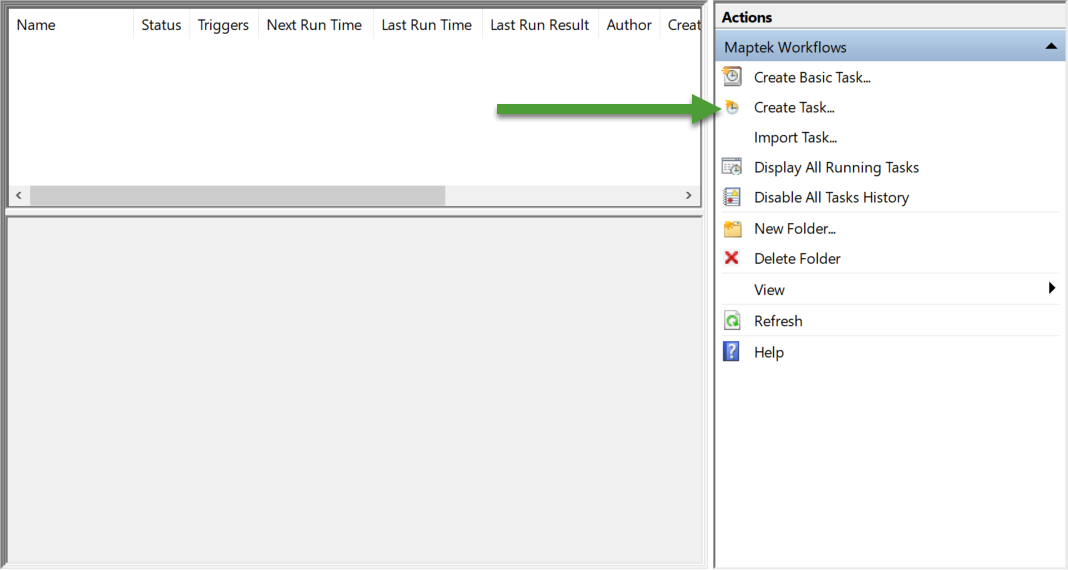
Click the newly created folder from the previous step.
Under Actions, on the right-hand side of the panel, click Create Task. This will open a new panel.
-
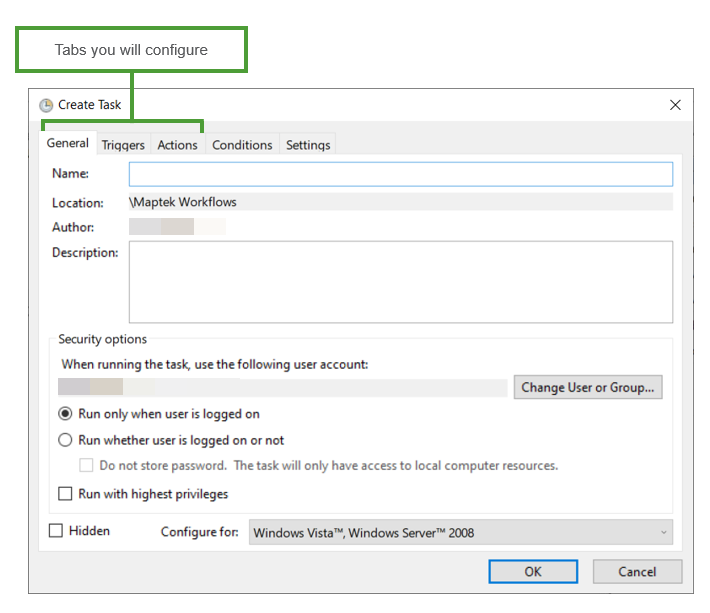
Configure the task.
You will configure the following tabs:
General — Define basic settings about the task.
Trigger — Define how often the task is run and under what circumstances. If you want to disable your task, go here.
Actions — Specify the action that will occur. This is where you will add your command-line execution of the workflow.
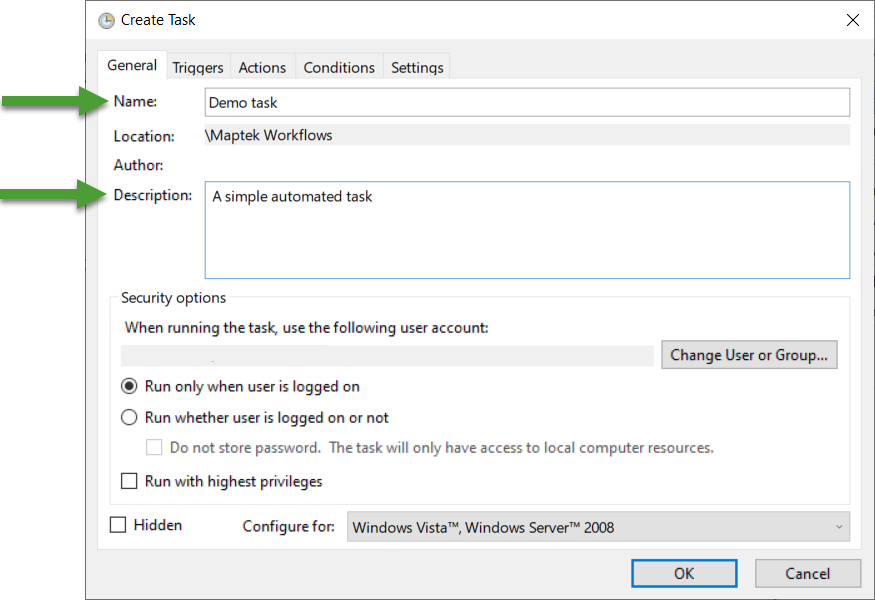
Under General:
Enter the name of the new task under Name.
Optionally, provide a description of the task under Description.
Under Triggers:
Click New. This will open a new panel.
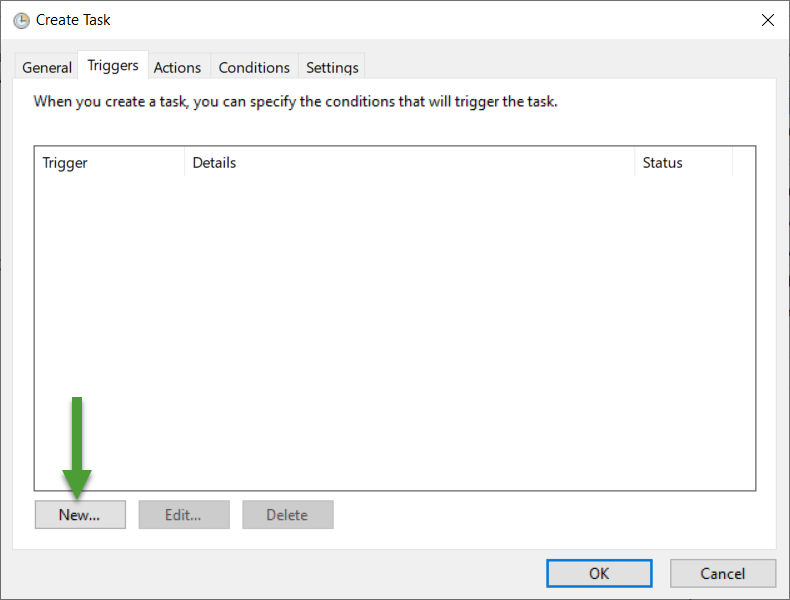
Windows will automatically set Begin the task to On a schedule.
Under Settings, specify how frequently you want to schedule the task from the following options: One time, Daily, Weekly and Monthly. For example, in the image below, the task has been scheduled on a daily basis at 7:00 AM starting from the 14th of October 2021.

Under Actions:
Click New. This will open a new panel.
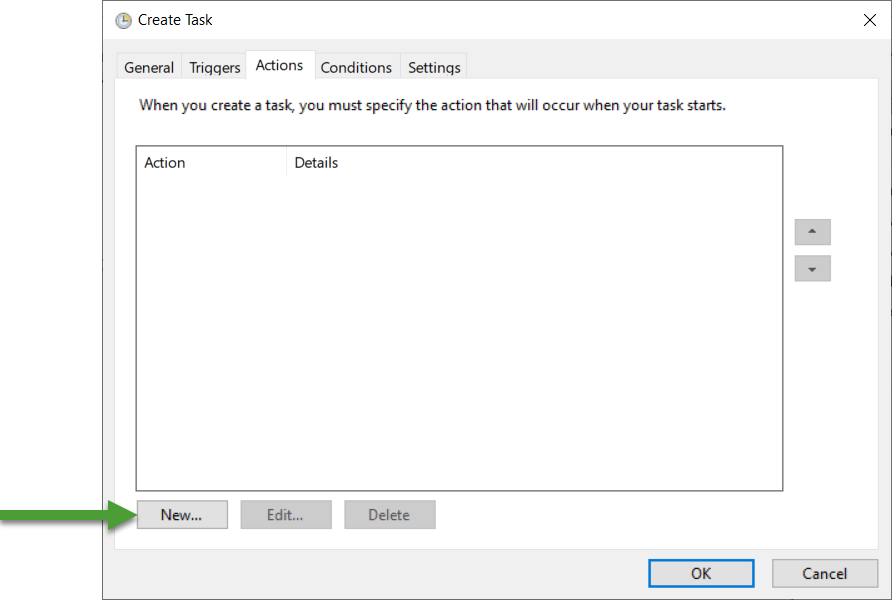
Windows will automatically set Action to Start a program.
Under Program/script, paste the following:
"C:\Program Files\Common Files\Maptek\Workbench\Shell\WbCommand.exe" -c Maptek.Workbench.Workflow.Commands.WorkflowDefaultRun -f "<insert path to your workflow>"Where it says
<insert path to workflow>, add the path to your workflow.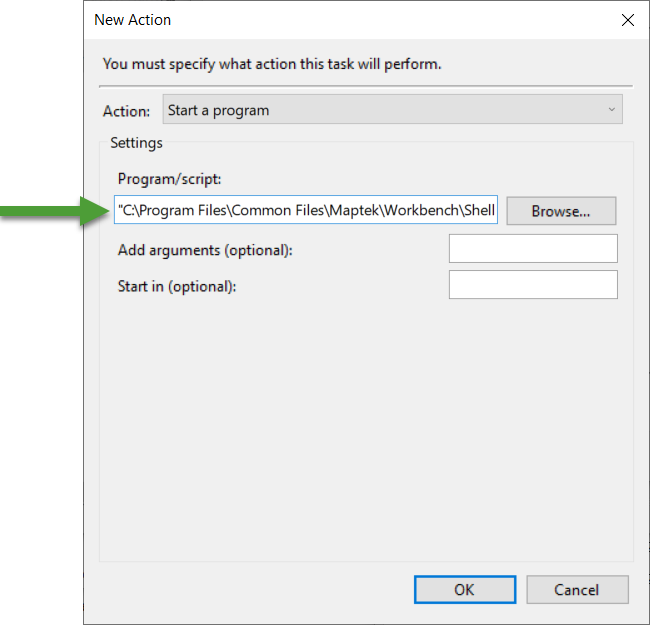
This will run using the project you have opened.
You will be prompted with a dialog box similar to the following:
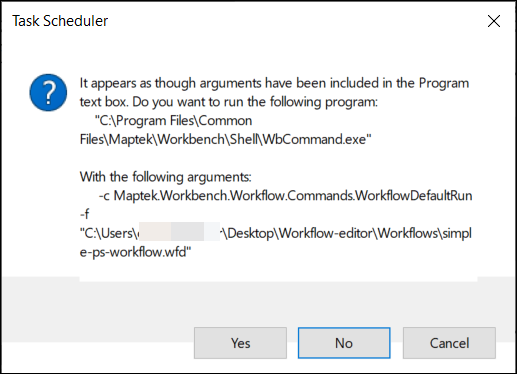
Click Yes.
Click OK to add the action.
-
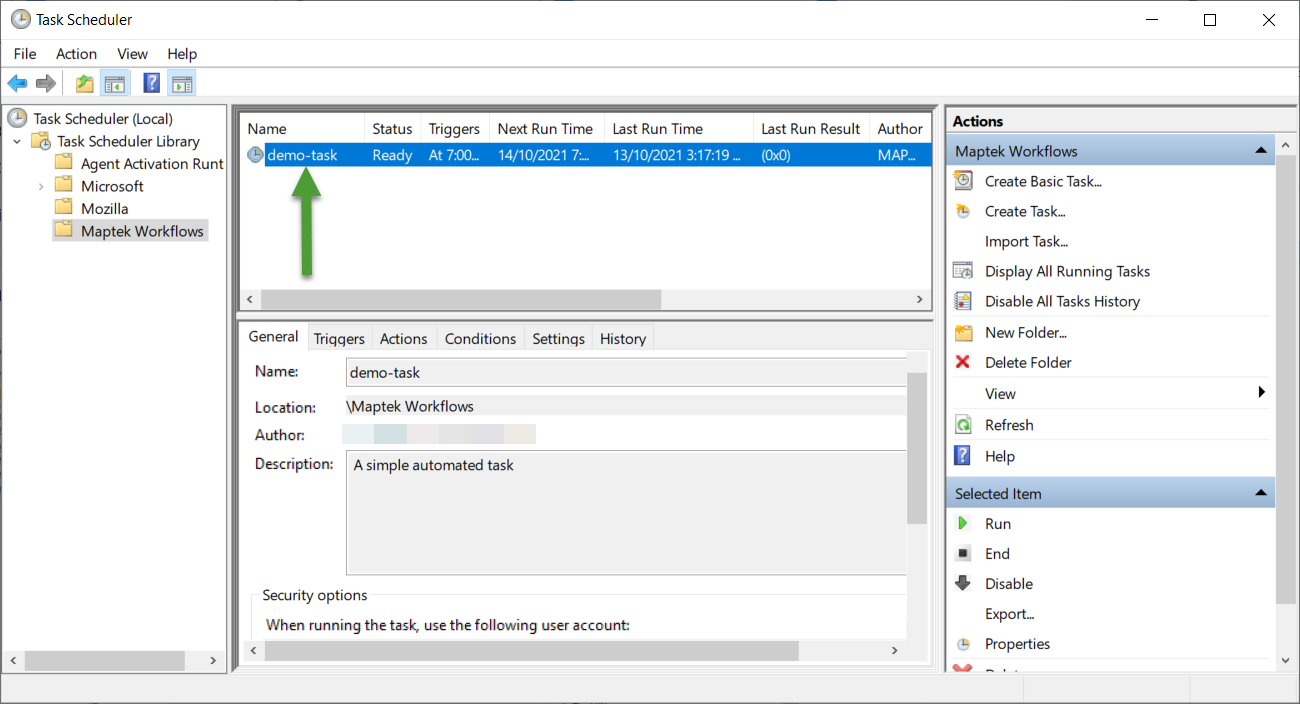
Click OK on the Create task panel.

Your task will be added to the table.
Performing a Test Run
You can perform a test run prior to your schedule by selecting the task and clicking Run. You will need the Workbench and the Workbench applications you are using open.
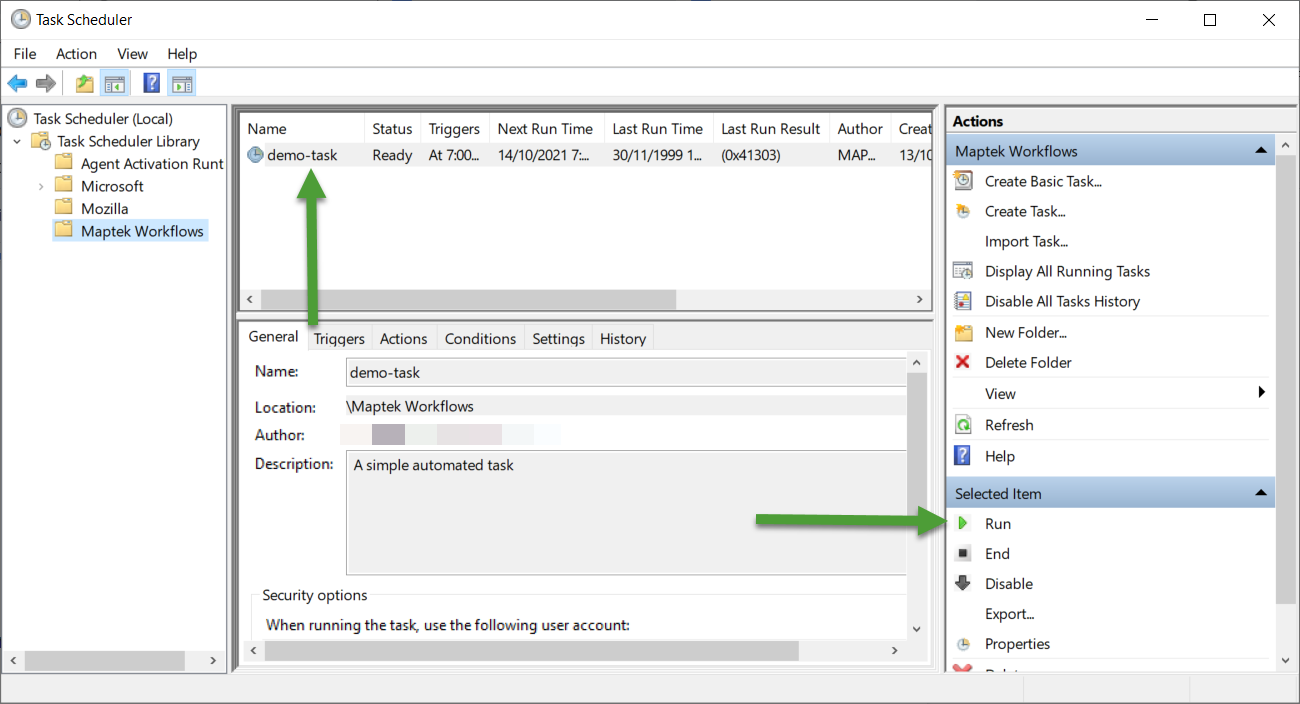
Click Refresh to check the time of the run to make sure you have executed the task.
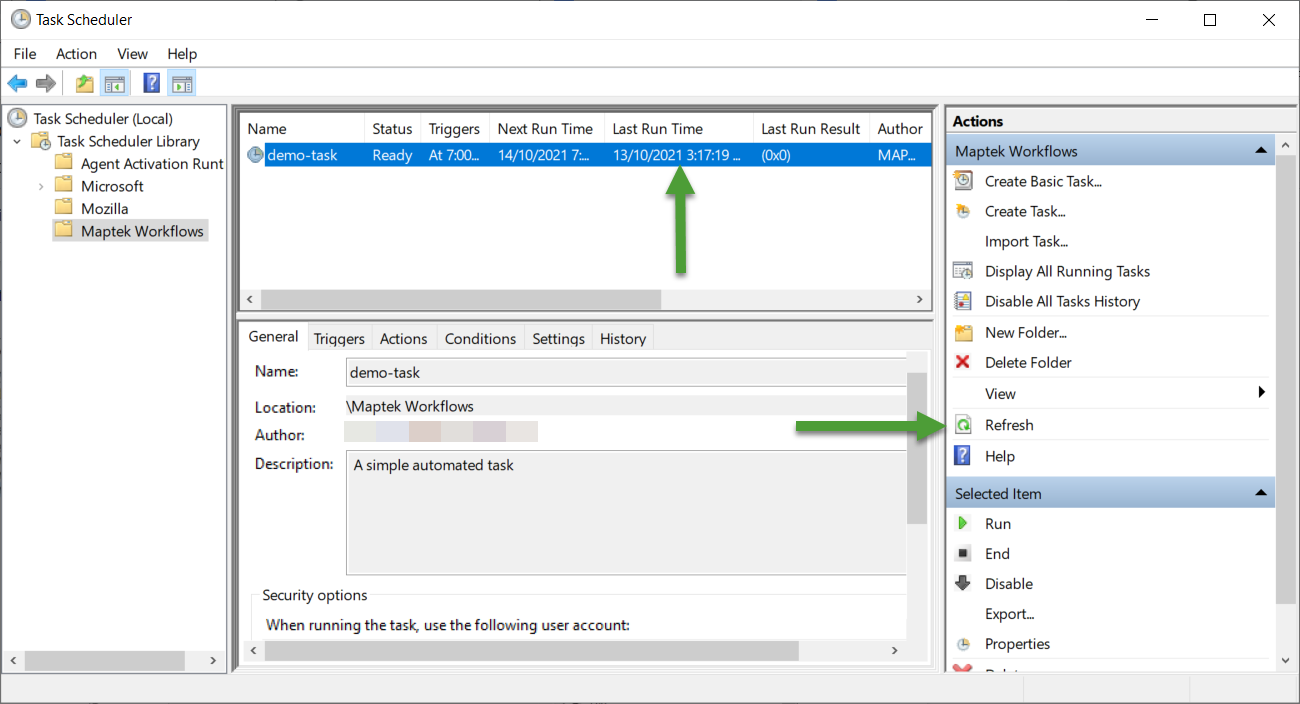
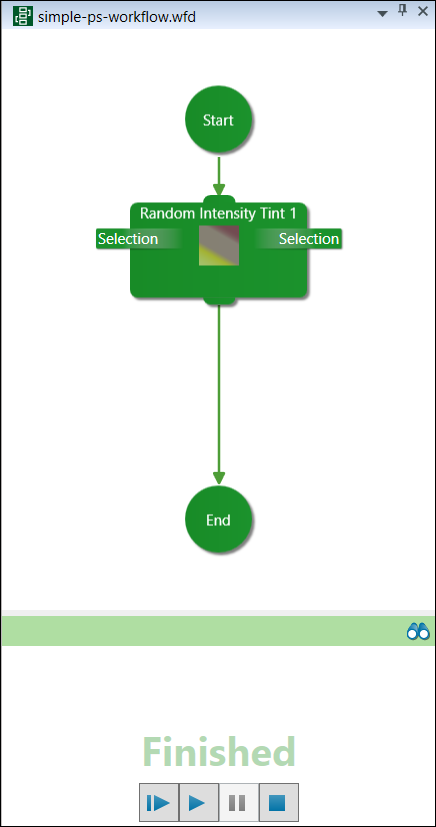
Check the Workbench to see if your workflow is running on the right of your screen.
Editing a Task
To edit a task, double click the task. This will open up its properties.
Running Workflows Using a Batch Script (Advanced)
In the method described above, the Workbench and the project containing the workflow need to be open. To fully automate the task of opening the Workbench, opening a PointStudio project, then running the workflow and finally closing the application, you should create a batch script (.bat file).
An example batch script is given below:
"C:\Program Files\Common Files\Maptek\Workbench\WorkbenchLauncher.exe"
timeout /T 40
"C:\Program Files\Common Files\Maptek\Workbench\Shell\WbCommand.exe"
start Maptek.PointStudio.Application --file
"C:\Work\temp\Workflow test\WorkflowProj.maptekdb"
timeout /T 30
"C:\Program Files\Common Files\Maptek\Workbench\Shell\WbCommand.exe"
-c Maptek.Workbench.Workflow.Commands.WorkflowDefaultRun -f
"C:\Work\temp\Workflow test\colour.wfd""
timeout /T 30
taskkill /IM WorkbenchClient.exe /F
Replace the bold items with your specific:
-
Project
-
Workflow
-
Time limit to run workflow
