Step 6: Publish the Model
![]()
![]()
![]()
![]()
![]()
![]()
After generating and validating your model, you’ll want to publish it for further analysis back in Vulcan.
The ![]() Publish to Vulcan tool helps you do this efficiently, ensuring that only new or changed data is published.
Publish to Vulcan tool helps you do this efficiently, ensuring that only new or changed data is published.
You can publish surfaces ![]() (including solids), block models
(including solids), block models ![]() , and drillhole databases
, and drillhole databases ![]() .
.
The tool is located in the Publish group in the Modelling, DomainMCF and Stratigraphic ribbon tabs.
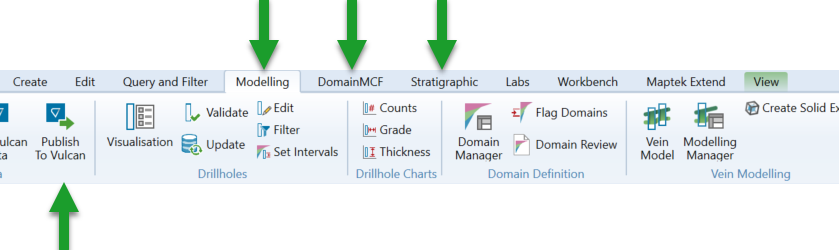
To publish your data, follow these steps:
-
Click
 Publish to Vulcan.
The Publish to Vulcan panel appears.
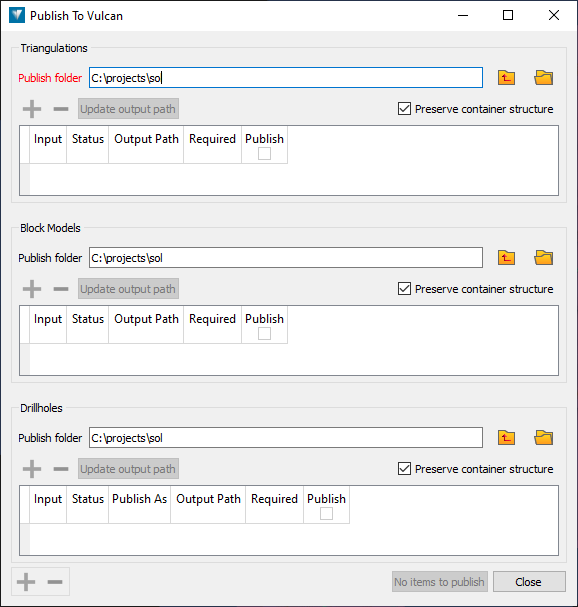
There are three sections on the panel in which you can specify different object types for publishing.
-
Add the objects you want to publish to the appropriate lists under Triangulations, Block Models or Drillholes.
To do this, select the objects and then either:
-
Click
 above the list you want to add to.
 -
Click
at the bottom of the panel to automatically filter each object type in the selection into the appropriate list.
Unsupported object types will be ignored.
You can also drag and drop an object selection directly onto a list.

The tool will detect whether each object has previously been published, and if it has, whether it has changed since it was last published and needs to be re-published.
If a publish is required, there will be a
 next to the object in the Required column. If not required, there will be a
  .
.-
Select which objects you want to publish by selecting the checkbox in the Publish column for each object.
-
Each object type can be published to a different folder. Specify the folder to publish to in Publish folder for each object type.
Drillholes can be published either to an Isis database or CSV files. Select an option from the drop-down in the Publish As column.
Note: The drillhole group selection objects can be used to allow a selection of drillhole (rather than an entire database) to be exported as ISIS or CSV.
-
-
Click Publish n items to publish the files.
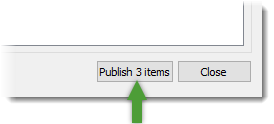
When publishing is complete, click Close.
The next time you run the tool, it will remember the objects you published previously, and update their status appropriately.
Congratulations! You are at the end of the Vulcan GeologyCore workflow.
The work of model generation is not complete, however. As new data becomes available, reload it into Vulcan GeologyCore, and run through the workflow again to update and re-publish your model.
 Step 5: Validate the Model