Point Label
Use the Point Label option to display point labels for the points contained in a chosen object. The resulting labels, which are coloured according to the settings under the Graphics : Colours section of the Tools > Preferences option, will be displayed using the 'Fixed font type'.
Fixed fonts, also known as non-transformable fonts, remain the same size onscreen regardless of the current zoom and will always appear 'face on' (horizontal) regardless of the screen orientation. If you want to change this, then we recommend that you use the Point Label to Text option and place the labels in a layer. Doing so will allow you to change the font, as well as print the labels, since the Point Label to Text option will convert the labels into text objects.
Unlike the Point Label to Text option, which to display multiple labels, the Point Label option only allows for one set of labels to be displayed at any given time.
Instructions
On the Analyse menu, point to Label, and then click Point Label to display the Label Object Point(s) panel.
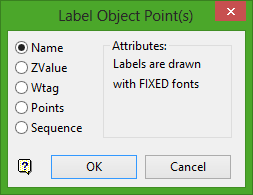
This panel is separated into 2 sections; the labelling methods on the left and the Attributes section on the right. The options displayed under the Attributes section are dependant upon the labelling method chosen.
Name
Select this option to label the points with their point names. Point names can be assigned through the Name option (under the Design > Point Edit submenu) or the Point Name option (under Design > Object Edit submenu).

Figure 1 : Points labelled with their Point Names
ZValue
Select this option to label the points with their Z (RL) value. Z values, which are assigned through the Status toolbar when the object was initially created, can be edited through the Z Value option (under the Design > Object Edit submenu).
The resulting labels can contain up to 6 decimal places. The default numbers of decimal places is derived from the Miscellaneous section of the Tools > Preferences option.
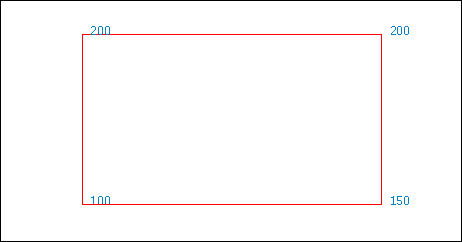
Figure 2 : Points labelled with their Z value
Wtag
Select this option to label the points with their W tag value. W tag values, which are assigned through the Status toolbar when the object was initially created, can be edited through the W Tag option (under the Design > Object Edit submenu), the W Tag option (under the Design > Point Edit submenu) or the Assign W Tag (under the Design > Attribute Edit submenu).
The resulting labels can contain up to 6 decimal places. The default numbers of decimal places is derived from the Miscellaneous section of the Tools > Preferences option.
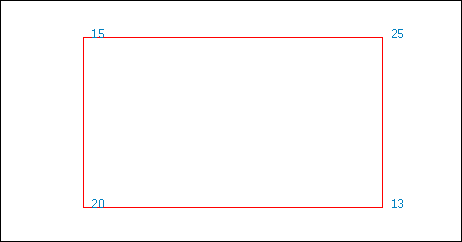
Figure 3 : Points labelled with their W tag value
Points
Select this option to display all of the points contained in the chosen object. The point settings under the Graphics section of the Tools > Preferences option will be used to control the size and appearance of the point markers.
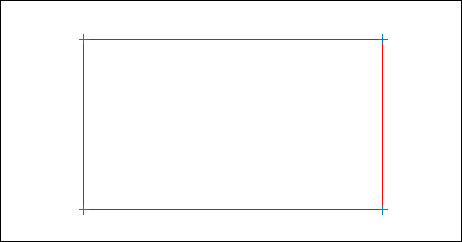
Figure 4 : Displaying point positions
Sequence
Select this option to label the points with their sequence number, that is, the order of digitising. Knowing the order of digitising or the location of the first and last points, may be necessary when, for example, appending objects.
Choosing the display the sequence number will require you to specify whether to label all points in the chosen object or just the first and last points.
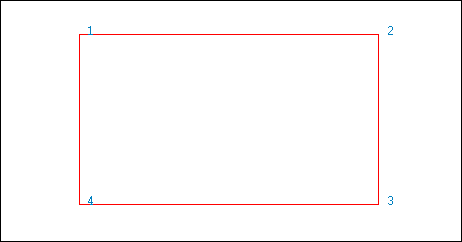
Figure 5 : All points labelled with their sequence number
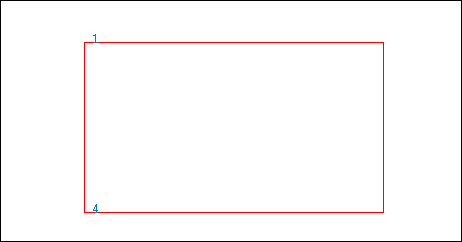
Figure 6 : Start and end points labelled with their sequence number
Click OK.
The Multiple Selection box displays. Choose a method to select the objects, and select the objects.
The labels are then displayed.
Note: The Remove option (under the File > Layers submenu), or the Remove Layer button on the Standard toolbar, can be used to remove the legend from the screen.
Tip: It is also possible to label objects through the Vulcan context menu by right-clicking on an object and selecting the labelling method from the context menu.

