Labels

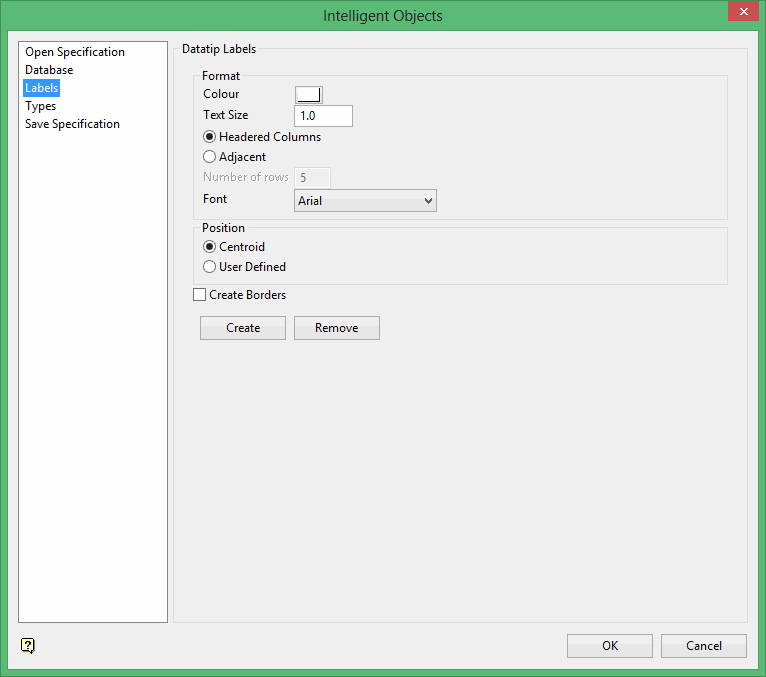
Format
Colour
Select the colour for the datatip labels. The colour is selected from the current colour table.
Text Size
Enter the size of the text (in real world coordinates) for the datatip labels.
Headered Columns
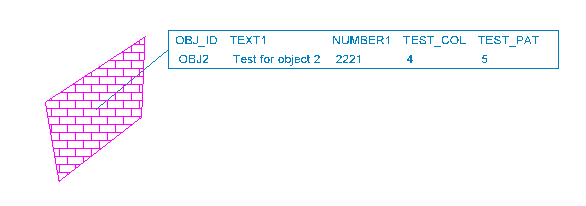
Select this option to have headered columns in the datatip labels.

Adjacent
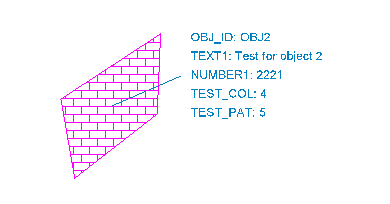
Select this option to have datatip labels displayed in adjacent columns.
Number of rows
Enter the number of rows for each label.

Font
Select the font to be used for the datatip labels.
Position
Select where to position the label.
Selecting the Centroid option will position the label to the centre of a 2D or 3D object. If the chosen object is an open line, then the label will be placed next to the first point in the object.
Selecting the User Defined option will allow you to indicate where the label is to be displayed.
Create Borders
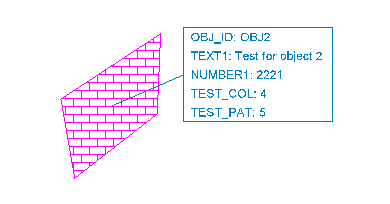
Select this check box to display a border around the datatip labels.


Create
Select this button to create assign a datatip label to an object. Once selected, the Multiple Selection box displays. Select the object(s) by category, i.e. by object name, layer name etc. Right-click when you have finished selecting the desired object.
The datatip labels are then displayed at the centre of the selected object(s). If you chose to use the User Defined option, then you will be required to indicate the position at which to display the labels.
If you have chosen to select the objects by layer name, group code etc., then you will only be required to indicate the label position for the first object with subsequent objects using the same position. Using the Object selection method will require you to indicate the label position for each of the selected objects.
Remove
Select this button to remove a datatip label from an object. Once selected, the Multiple Selection box displays. Select the object(s) by category, i.e. by object name, layer name etc. Right-click when you have finished removing datatip labels.
If you haven't saved any recently made changes, then you will be prompted to do so in order for the changes to take effect.
Related topics
Intelligent Objects Editor panels
Tutorials

