Polygon Morph Tutorial
This tutorial provides step-by-step instructions on how to use the Polygon Morph feature. The Polygon Morph tool allows you to interpolate polygons of various shapes to create smooth transitional polygons and solids. This tool is designed to assist a resource geologist in the creation of orebody interpretations when the geologic shapes are changing. It supports multiple polygons and user control through the use of tie lines.
Inputs, Outputs, and Algorithms for the Polygon Morph Feature
Inputs, Outputs, and Algorithms for the Polygon Morph Feature
The inputs for the Polygon Morph feature are:
- Semi-coplanar polygons ( two or more )
Note For best results it is recommended that all input polygons have a consistent point order direction. If necessary, you can use Design > Object Edit > Reverse or Design > Object Edit > Consistent to change the point orders.
The outputs for the Polygon Morph feature are:
- Interpolated polygons between each set of input polygons ( one or more )
- Solid triangulation based on the input and morphed polygons (optional)
The optional inputs for the Polygon Morph feature are:
- Tie lines to give the user more control to define a basis for the interpolation. You can select pre-existing CAD lines or create them manually when using the polygon morph option.
Note Tie lines must be digitised in the same direction.
There are two algorithms provided to help calculate the morph polygons: Preserve points or Preserve polygons.
- The preserve points algorithm uses all original points on the input polygons as the basis for interpolation.
- The preserve polygons algorithm dynamically interpolates points at an even spacing along the input polygons and then uses those points as the basis of interpolation, providing a smoother morphed output.
The high-detail polygons option dynamically interpolates additional points at a tighter spacing along the input polygons to use as the basis for interpolating the morph polygons.
Opening Your Data File in Vulcan
Instructions
The first step is to prepare and open your data file in Vulcan.
-
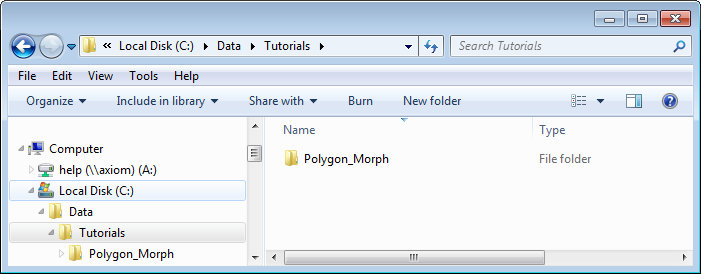
Create a new folder on your local drive. For this tutorial, we will use a folder called C:\Data\Tutorials\Polygon_Morph\.
-
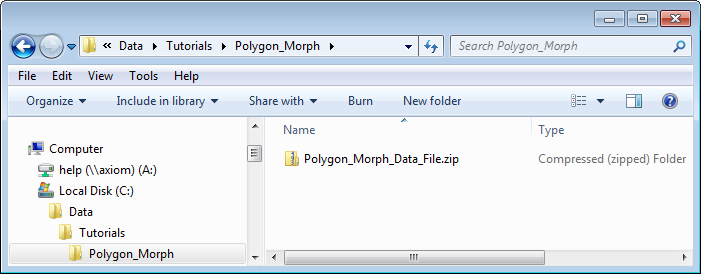
Download the sample tutorial by clicking the following link and saving the.zip file on your local drive: Polygon_Morph_Data_File
-
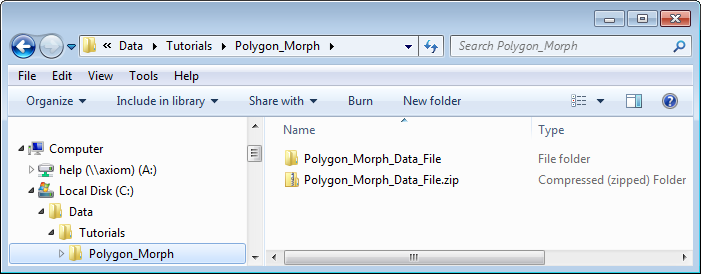
Extract the data from the.zip file to C:\Data\Tutorials\Polygon_Morph\Polygon_Morph_Data_File that contains the files required for this tutorial.
-
Open the Vulcan application using the unzipped files using one of the following methods.
To open Vulcan directly and browse to the data file folder:
- Double-click the Vulcan button on your desktop to open Vulcan.
- Browse to your data folder by clicking Browse in the Work Area Section of the Vulcan Launcher window.
- Select your data folder C:\Data\Tutorials\Polygon_Morph\Polygon_Morph_Data_File and click OK.
- Click Vulcan.
- Select thorpolygons.dgd.isis in the Design File drop-down menu.
To open Vulcan by clicking and dragging the data file:
- Click on your C:\Data\Tutorials\Polygon_Morph\Polygon_Morph_Data_File folder that you created in Step 3 and drag it on top of the Vulcan button in your desktop to launch Vulcan with the data from the folder.
- Click Vulcan.
- Select thorpolygons.dgd.isis in the Design File drop-down menu.
Result:
The tutorial data that you extracted from Polygon_Morph_Data_File.zip is now loaded.
Next step:
You can now load the layer containing the polygon you want to morph using the Polygon Morph feature.
Loading the Layer with the Polygons
Instructions
Now that you have opened your data file, the next step is to load the layer containing the polygons you want to morph using the Polygon Morph feature.
-
Open all the layers in the thorpolygons.dgd.isis design database using the Windows Explorer pane on the left side of the screen.
- Double-click Design Databases.
- Double-click thorpolygons.dgd.isis to open the design database.
- Double-click TQ1_A to load the layer.

-
If necessary, click the Zoom Data Extents button (
 ) on the Graphics toolbar on the right side of the screen. This will re-centre the layer in the centre of the screen and zoom to fit the entire object on the screen.
Result:
The polygons are now loaded and ready for morphing.
Next step:
You are now ready to morph the polygosn using the Polygon Morph feature.
Morphing the Polygons Using the Polygon Morph Feature
Instructions
-
Select Design > Polygon Edit > Morph to display the Allocate Layer panel.
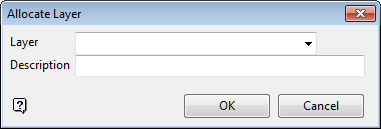
- Enter MORPH in the Layer field on the Allocate Layer panel to specify the name of the layer for the output polygons to be stored in.
- Click OK.
- Click All on the Select By menu.
- Click Cancel on the Select By menu to exit the menu and display the Generate Morph Polygons panel.
- Complete the Generate Morph Polygons panel as specified below:
- Enter 3 in the Number of morph polygons box.
- Select the Create triangulation solid check box.
- Select Preserve polygons.

- Click OK to save changes.
- Click Retain to confirm the output.
- Enter morph.00t as the triangulation name on the Save Triangulation panel.
- Click OK on the Save Triangulation panel.
Result:
The morphed polygons are displayed.
Related topics

