Streamlined Stratigraphy
Streamlined Stratigraphy offers a guided workflow to simplify the creation of geological models. Essentially, it serves as a shortcut for developing models from a database.
The option guides new or non-geologist users through a series of questions, directing them to the appropriate Vulcan menu items to correlate, interpolate, and model the output (as grids, triangulations, or HARP). The panels have been simplified, and all background setup has been automated and linked between steps in the process, meaning users need no prior Vulcan knowledge to successfully create useful outputs.
Instructions
-
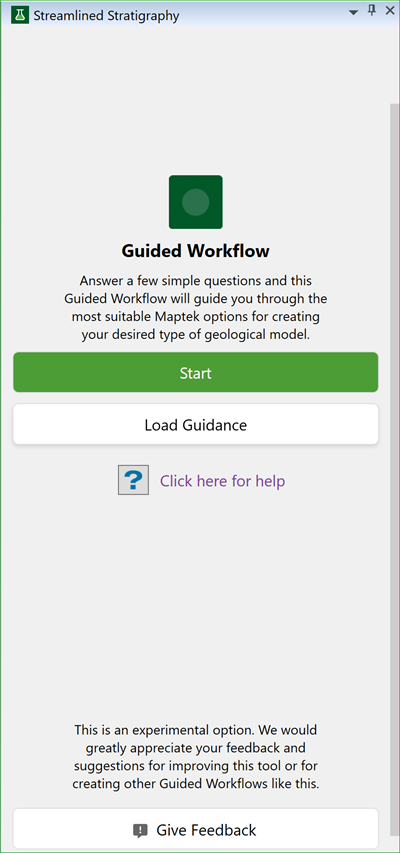
On the Labs menu, click Streamlined Stratigraphy. The following panel appears.
-
Click on Start to create models from scratch or Load Guidance to use a pre-saved workflow. For now, let's build models from scratch. Once you press Start, the following screen appears.
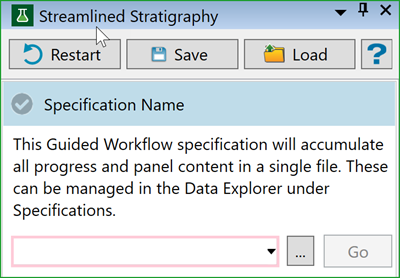 You can restart the process, save your progress, or load a workflow at any point during the workflow guidance by pressing the respective buttons at the top.
 -
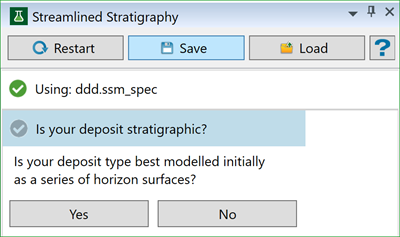
Provide a specification name or choose one from the drop-down menu for an existing specification file. Once the file is selected, the workflow will guide you through a series of questions to build the model. The first prompt will ask if the deposit is stratigraphic, meaning whether the deposit should initially be modelled as a series of horizon surfaces.
-
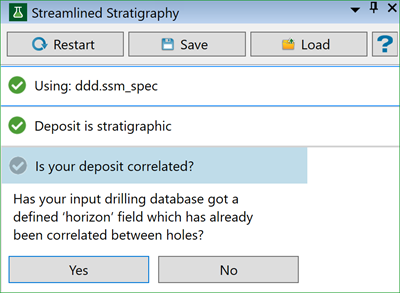
Select Yes or No based on whether the deposit is stratigraphic. If you select Yes, you will be guided to the next prompt, asking whether the deposit is correlated. The drilling database must have a defined horizon field that is already correlated between holes.
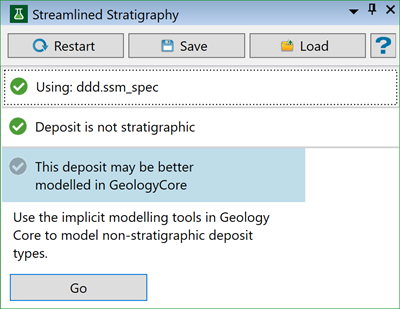
If you select No, the deposit will need to be modelled using the Implicit Modelling tool in GeologyCore. Press Go to launch Maptek GeologyCore.
-
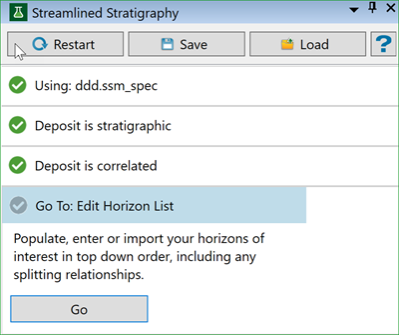
If the deposit is correlated, select Yes. The workflow will then guide you to the next step of editing the horizon list. You can populate, enter, or import your selected horizons in top-down order, including any defined splitting relationships. PressGo to open the Project Setup panel.
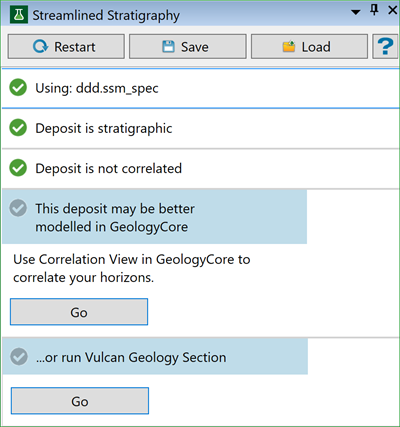
If the deposit is not correlated, select No. You will then be guided to use either the Correlation View in GeologyCore or Vulcan Geology tools. Press Go to launch these tools. If you select GeologyCore, Maptek GeologyCore will be launched. Otherwise, you will need to use Geology Drilling tools to check and edit correlations.
-
Once the horizon list is edited, the workflow will guide you to the next step: confirming whether the deposit dip is less than 30 degrees. Ideally, the dip must be less than 30 degrees to model the deposit. It is highly recommended to use horizon and split interpolation before modelling.
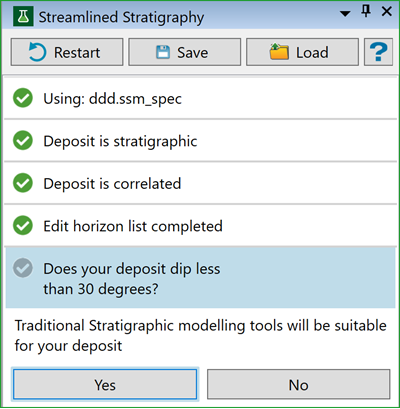
-
If the dip is less than 30 degrees, select Yes. The workflow will then guide you to the next step, which involves checking if the deposit has splits or poorly represented horizons.
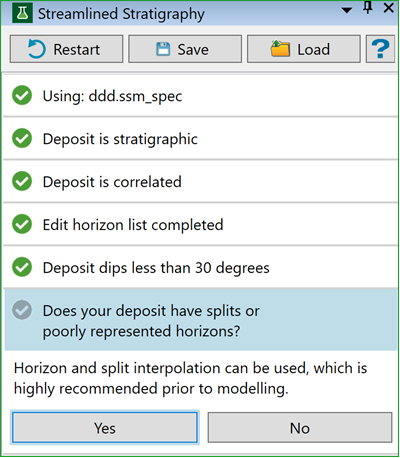
If the dip is more than 30 degrees, select No. You will then need to use the Vulcan Steep Horizon Modeller to stratigraphically model the horizons in any orientation.
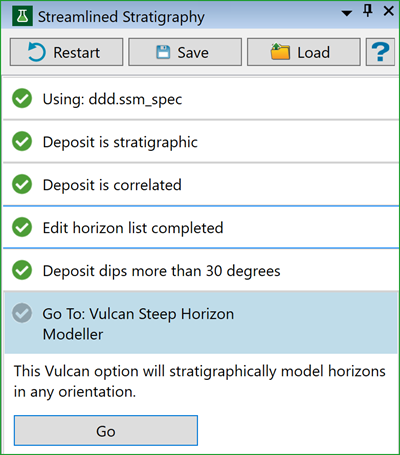
Press Go to open the Steep Horizon Modeller panel.
-
If your deposit has splits or poorly represented horizons, then you will need to use Drillhole interpolation (FixDHD) to fix them. The split and horizon interpolation will ensure that all horizons, both estimated and actual, are present in all holes.
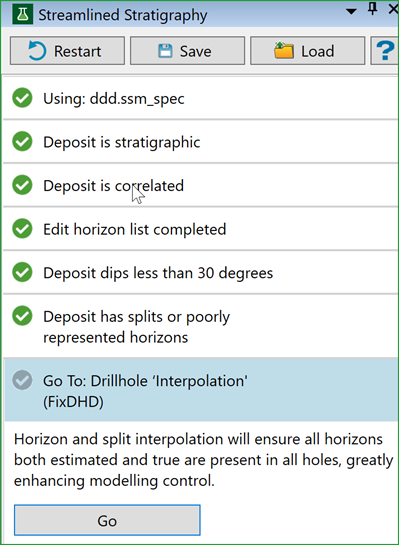
Press Go to open the Interpolate Data - FixDHD panel.
If your deposit has no splits or poorly represented horizons means your deposit is simple. Simple geology (such as blast patterns) can be modelled directly in GeologyCore.
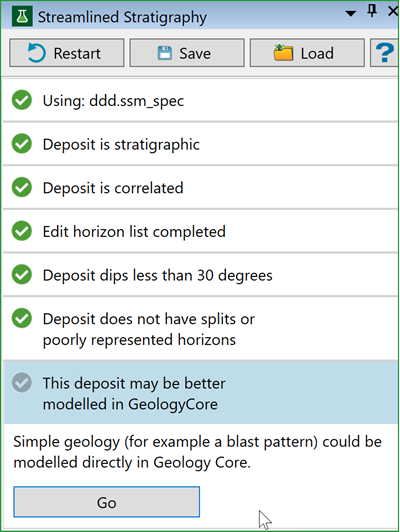
Press Go to launch Maptek GeologyCore.
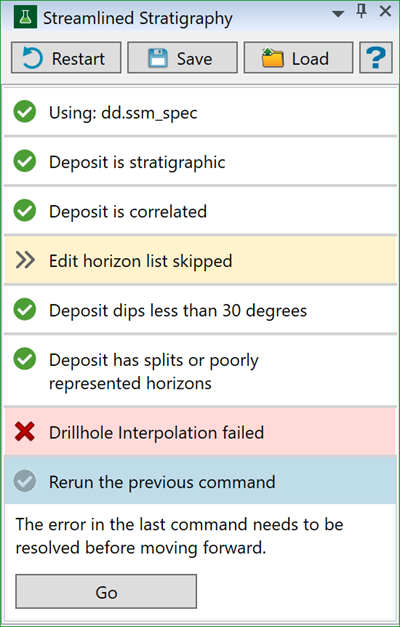
Note: Interpolation may fail due to a corrupt dataset or other issues, causing the process to halt. If a failure occurs, the workflow will prompt you to rerun the previous step to correct the fault.
-
Once you complete Drillhole interpolation, the workflow will guide you to the next step: performing stratigraphic modelling. Stratigraphic modelling creates an integrated set of horizon surfaces, removing crossings while honouring splits, faults, and other data constraints.
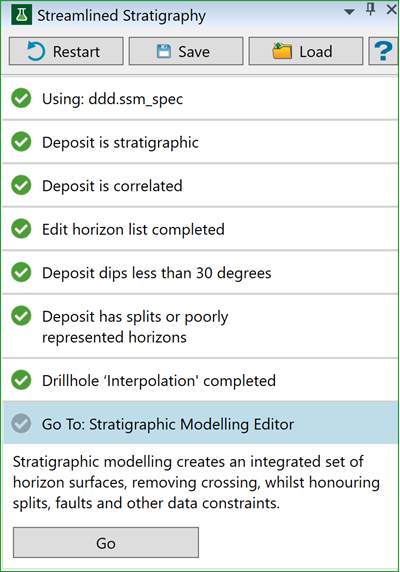
Press Go to open Stratigraphic Model Editor panel.
-
Once stratigraphic models are created, the workflow will guide you to the next step: confirming whether all models are finalised. Interpolation and modeling are often iterative processes. You can return to previous steps, adjust parameters, and rerun the modelling until you are satisfied.
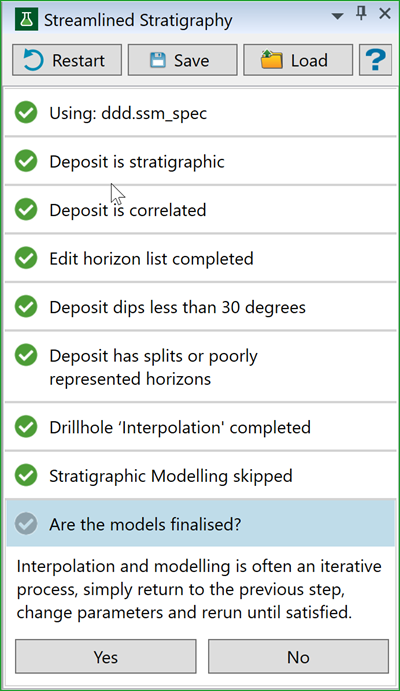
If finalised, select Yes which will take you to creating the HARP model. Horizon Adaptive Rectangular Prism (HARP) models are specialised stratigraphic block models perfectly suited to reserve and resource reporting, block calculation and manipulation, and Run of Mine evaluations.
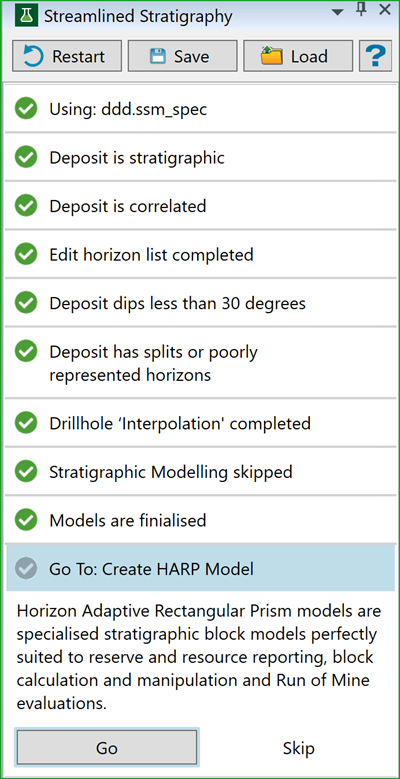
Press Go to open Create Stratigraphic Block Model panel.
-
If models are not finalised, click No which will take you back to the Drillhole interpolation.
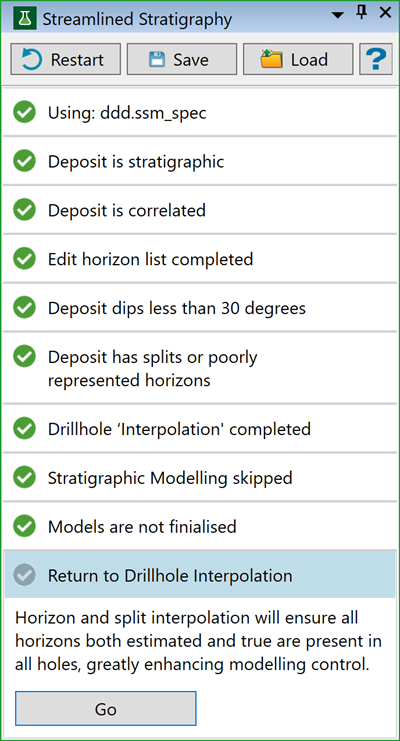
Press Go to open Interpolate Data - FixDHD panel and repeat the steps until satisfied.
-
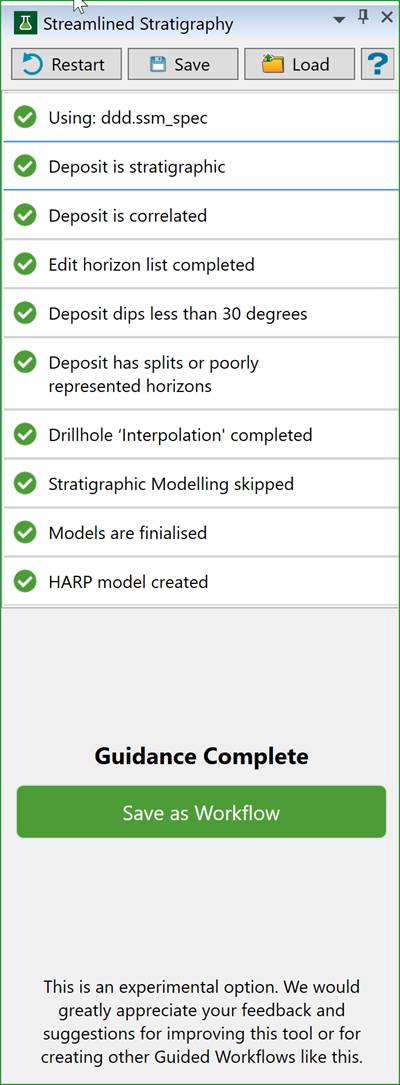
Once you are done creating all the models, the guidance comes to an end. You can save the workflow for future use. For details on using the workflow, refer to the Workflow Editor.