Groups
The Administration > Groups menu displays the groups for the organisation. Groups are sorted into tabs according to their settings, as follows:
-
All: Displays all groups in one alphanumerically sorted list.
-
Default: Displays only default groups.
-
Single-user: Displays groups designated as single-user.
-
Maptek Managed: Lists all groups managed by Maptek. Only authorised Maptek staff can edit these groups.
-
Demo: Lists only groups set up for demonstration purposes.
-
Other: Lists only groups that do not fit any of the other categories.
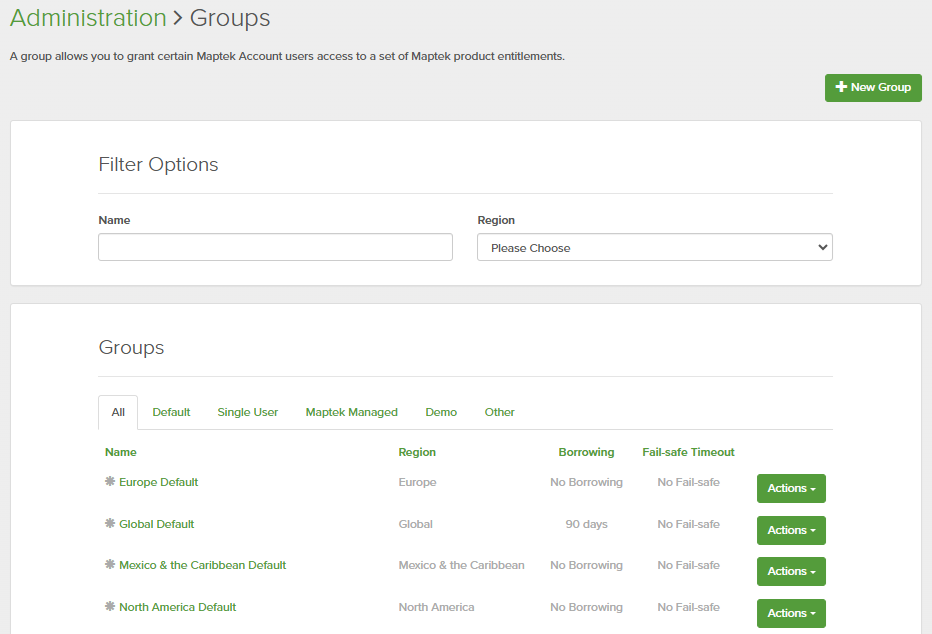
Default Groups are automatically created for each region, and are indicated by a leading asterisk (![]() ). Default groups cannot be manually created, but can be edited.
). Default groups cannot be manually created, but can be edited.
Note: Groups belonging to regions of which you are not a member will display with a leading grey asterisk (![]() ) and grey text. You will be unable to edit these groups.
) and grey text. You will be unable to edit these groups.
Filter Options
The Filter Options pane enables you to find specific groups easily.
To search for a group, start typing any part of the group name into the Name field. The filter is applied as you type. If necessary, narrow the search by selecting the group’s region from the Region drop-down.
New Group
-
Click New Group at the top right of the Groups page to open the New Group pane.
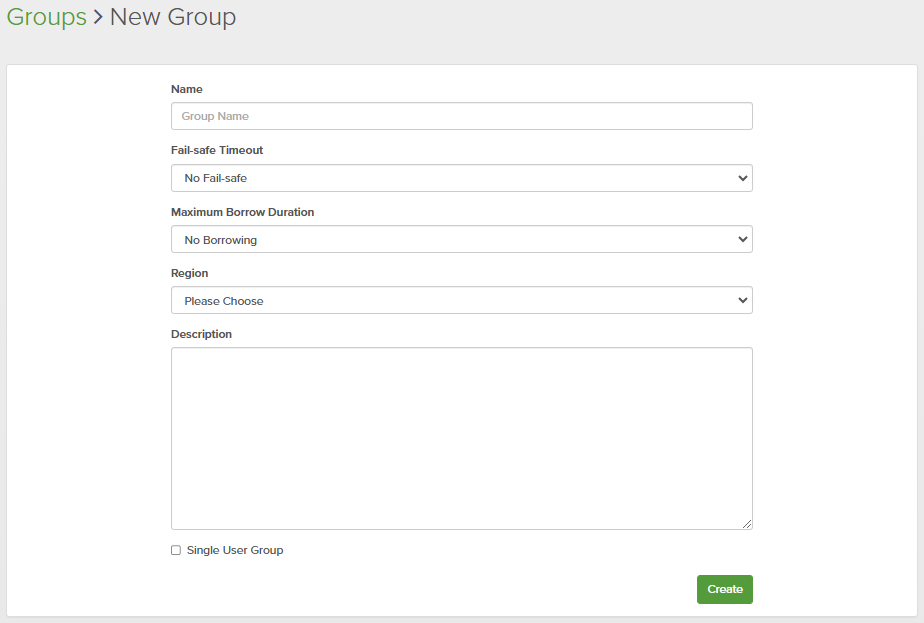
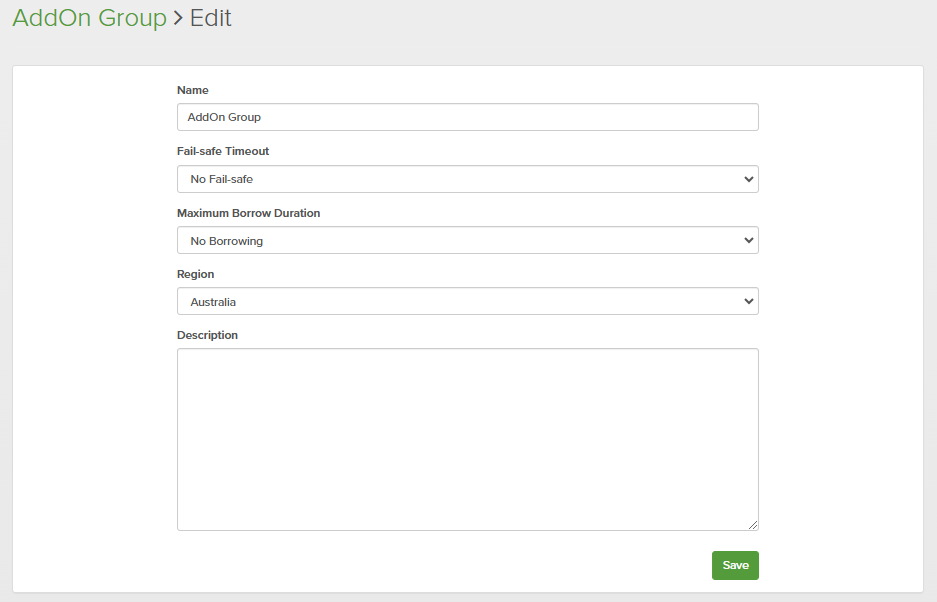
Configure the new group’s parameters as follows:
-
Name: Enter a name that describes the group and its purpose.
-
Fail-safe Timeout: Specify the time a user can operate a licence while off line and in fail-safe mode. If No Fail-safe is selected, fail-safe mode cannot be used for entitlements in this group.
-
Maximum Borrow Duration: Specify the maximum amount of time a user can borrow a licence. If No Borrowing is selected, borrow mode cannot be used for entitlements in this group.
-
Region: Specify the operating region for this group. Members must have a matching region to use entitlements in the group.
-
Description: Enter an appropriate description for the group.
-
Single User Group: Select to indicate that the group will only have one user.
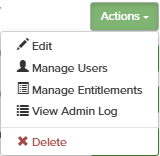
Actions
Each group in the list has its own Actions button with drop-down menu options for managing its parameters, users, and entitlements. These are described below.
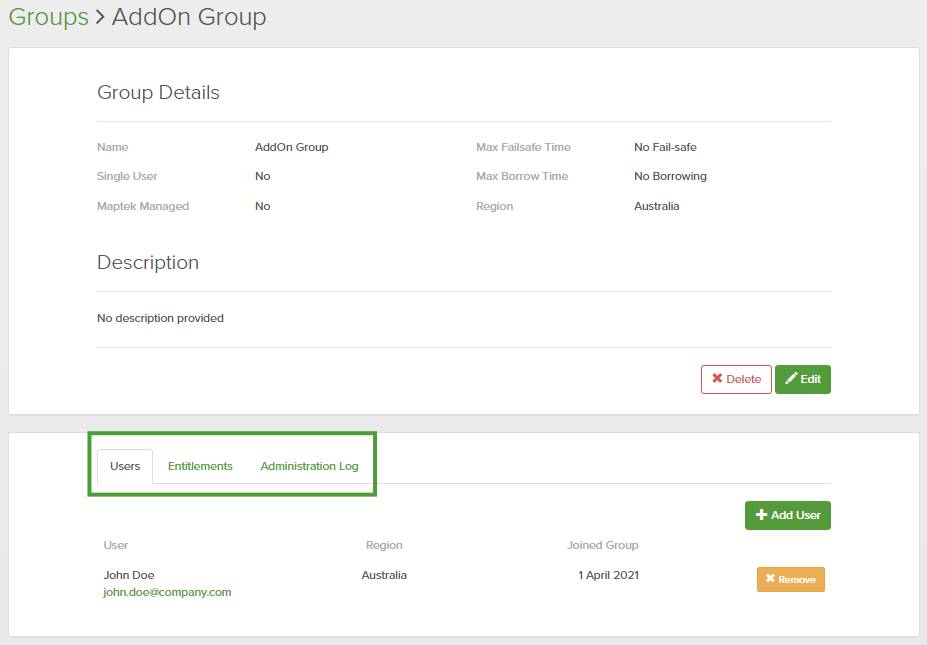
Tip: The Manage Users, Manage Entitlements, and View Admin Log options all open the Groups > Group name page, with the same Group Details pane, and each with a different tab selected. You can select these tabs directly, rather than returning to the groups page to select a different drop-down option.
Edit
IT administrators can edit the following group parameters: Name, Fail-safe Timeout, Maximum Borrow Duration, Region, and Description.
Manage Users
Add and remove users in the group.
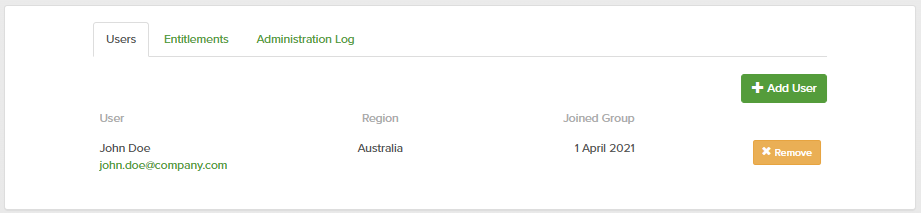
To add a user to a group, click Add User. In the pop-up search panel, type the first part of an email address or name and click Search to find matching users. Click Add next to a user to add them to the group.

-
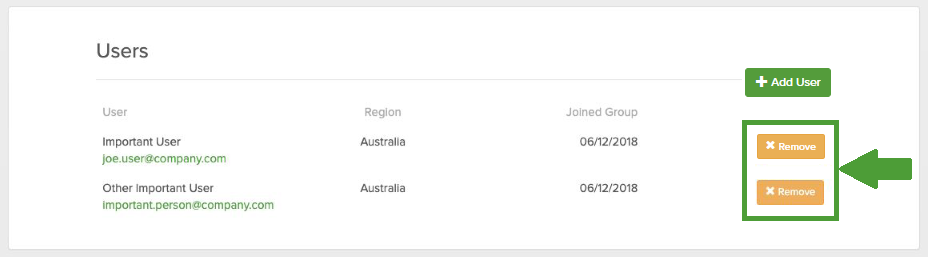
To remove users from a group, click Remove next to their names.
Manage Entitlements
On this tab you can add a new entitlement to the group and move a seat of an entitlement to another group.
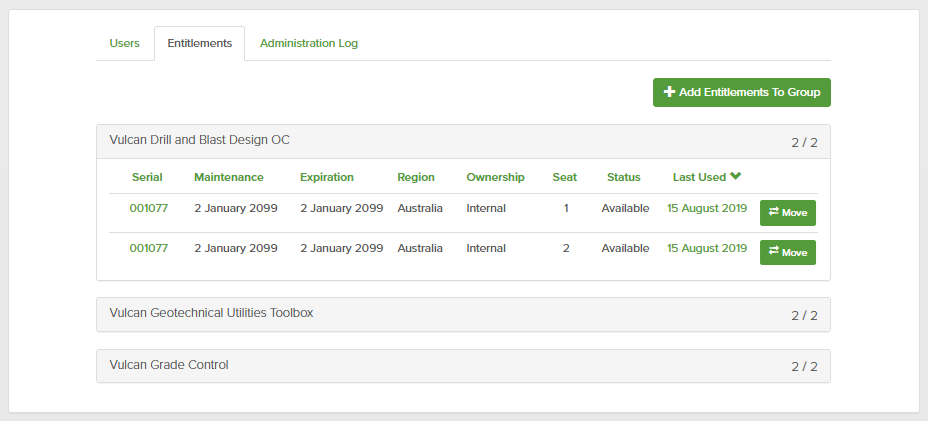
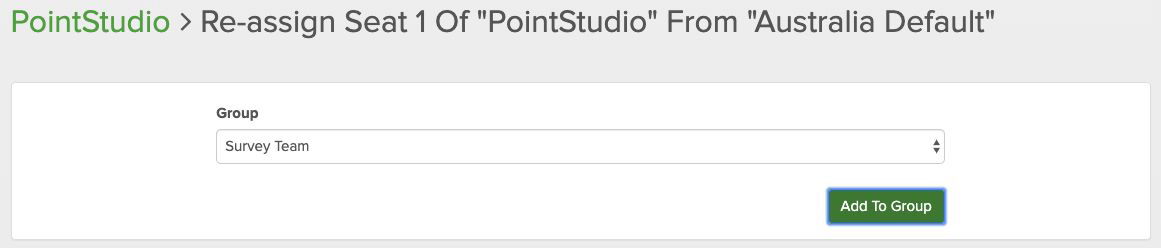
Moving an entitlement to another group
To move a seat of an entitlement to another group, do the following:
-
Select the entitlement to open its seats list.
-
Click Move next to the entitlement you want to move.
-
Choose the destination group from the drop-down list.
-
Click Add to Group.
Adding entitlements to a group
Click Add Entitlements to open the entitlement management page.
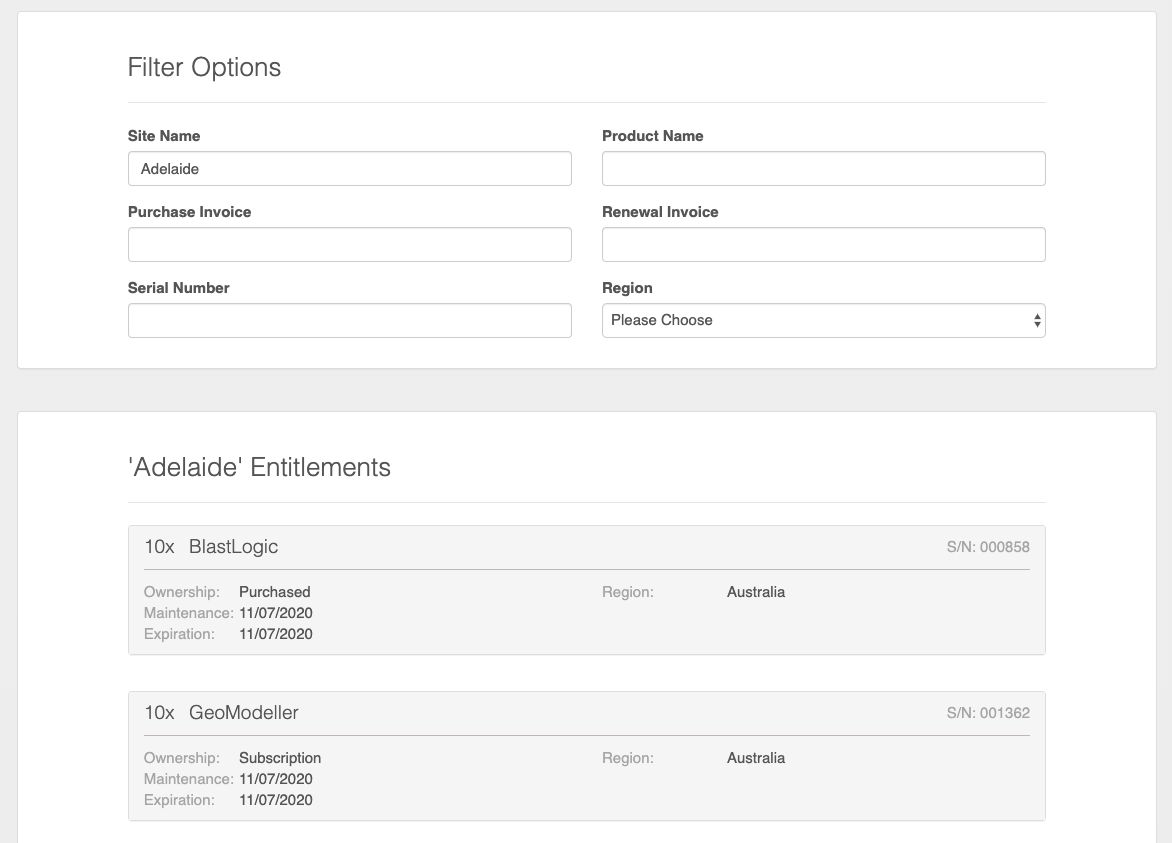
The entitlement management page has the following main panes:
-
Filter Options: Enter specific criteria in the relevant fields to search your organisation’s entitlements.
-
Entitlements: View all the entitlements for each site that match your filter criteria. Each site has a separate pane.
-
Click on an entitlement to show all of its individual seats and their associated groups.
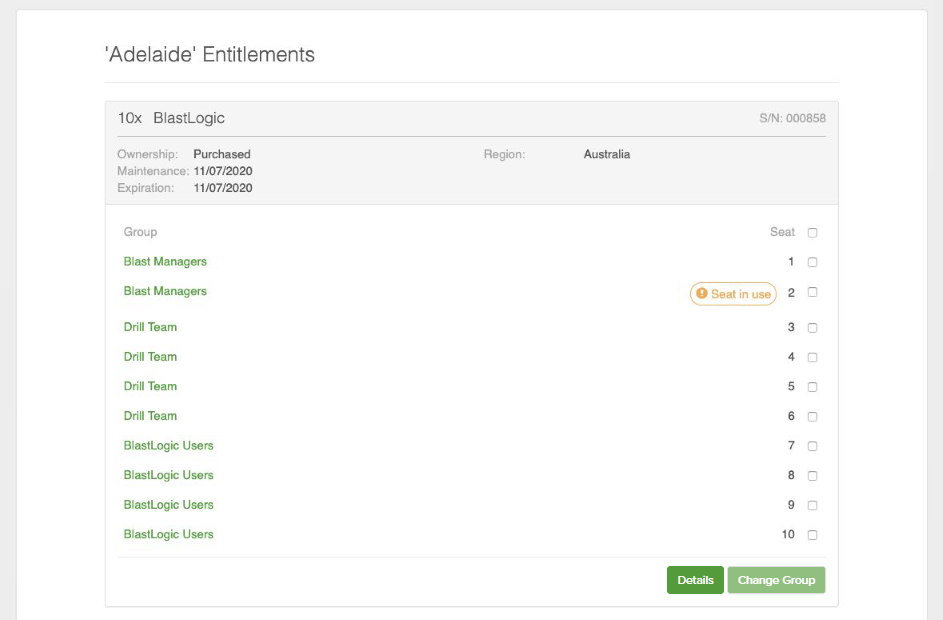
Note: Expired seats are highlighted in red.
To re-assign individual seats, do the following:
-
Select the checkbox for each seat to be moved.
-
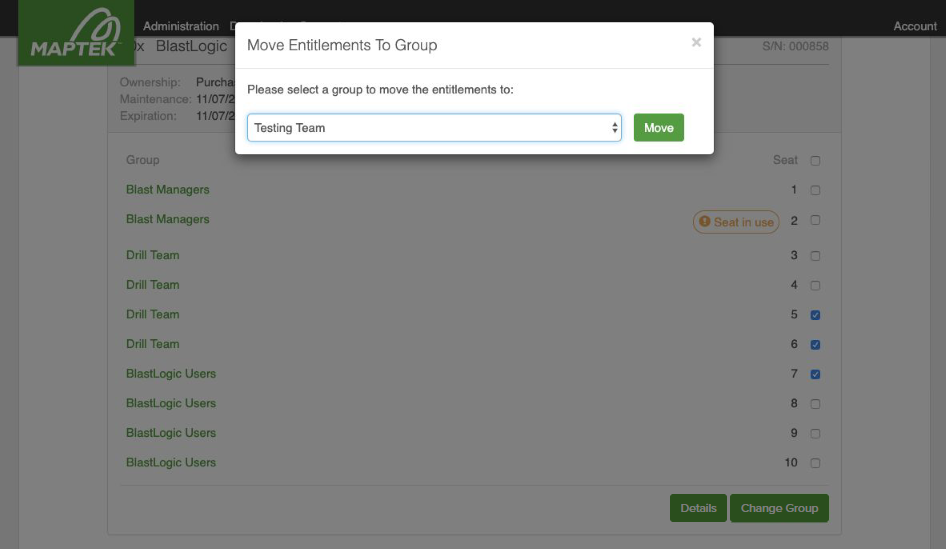
Click Change Group.
-
Select a group in the dialog that appears.
-
Click Move.
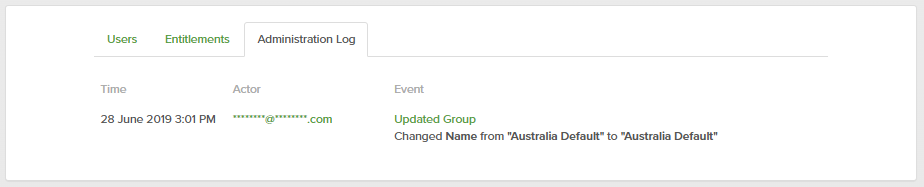
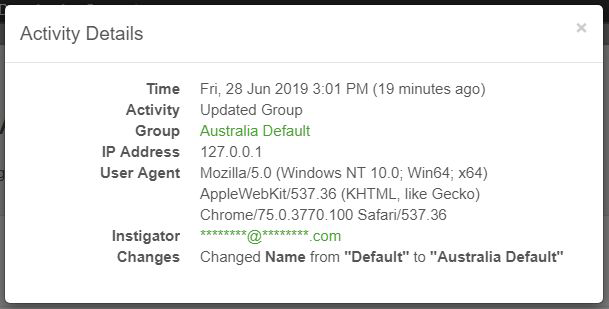
View Admin Log
Click View Admin Log to see the administrative changes made to the selected group. This will note the times of any changes, which administrators performed the actions, and the changes or events that occurred. Click on an event to display more information.
Delete
Delete an unused group.
Note: A group can only be deleted when it has no users and no entitlements. This action is permanent and cannot be reversed.
