Vulcan Quick Start Guide
Vulcan Installation
The GUI installation is the default installation mode for Vulcan. The installer checks in the background for software that needs to be installed without prompting on the screen. However, you can see the installation progress through the status bar.
-
Open the installer that comes with your licence purchase. For first-time installations, it’s best recommended to use the
.exeinstaller. -
A dialog appears asking permission to allow the program to make changes to the computer. Click Yes to continue.
-
Read the licence agreement. If you agree to the terms of the licence agreement, check I accept the terms in the license agreement.
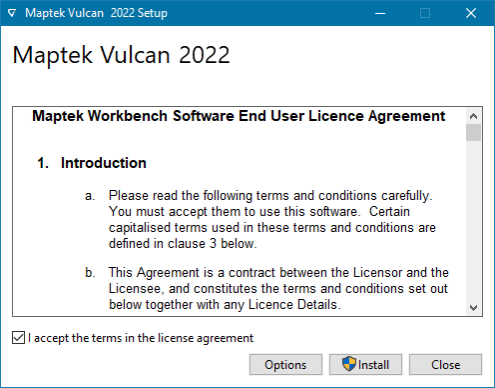
Note: The Options button allows you to change the installation folder. However, this is optional. If you need to install Vulcan in a different folder, browse a location and click OK.
-
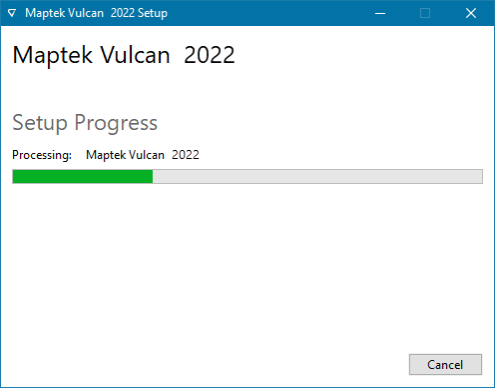
Click Install to begin the installation. The installer automatically checks for all the updates and installs the bundled versions of Vulcan, Workbench, MSP, MAP, and all prerequisites.
-
Once the installation is finished, you might be prompted to restart the computer. A system restart can be helpful but not necessarily required if you already have Vulcan installed on your system.
Configuring Vulcan
Once Vulcan is installed, you will need to configure several settings before running the software. For details on configuring Vulcan software, click here.
Running Vulcan
Once all settings have been configured, you can run Vulcan from the desktop or start menu.
-
For the first time installation, you will be prompted with an option to set your Vulcan Home Directory.
-
Then sign in to your Maptek Account and choose a licence that comes with your purchase.
-
On the Maptek Workbench dashboard, click on the Vulcan icon.

-
Select a data folder and then set up project details.
-
After the project is launched, supply a design database (
dgd.isis) to start using Vulcan.
Related topics

