Cropping
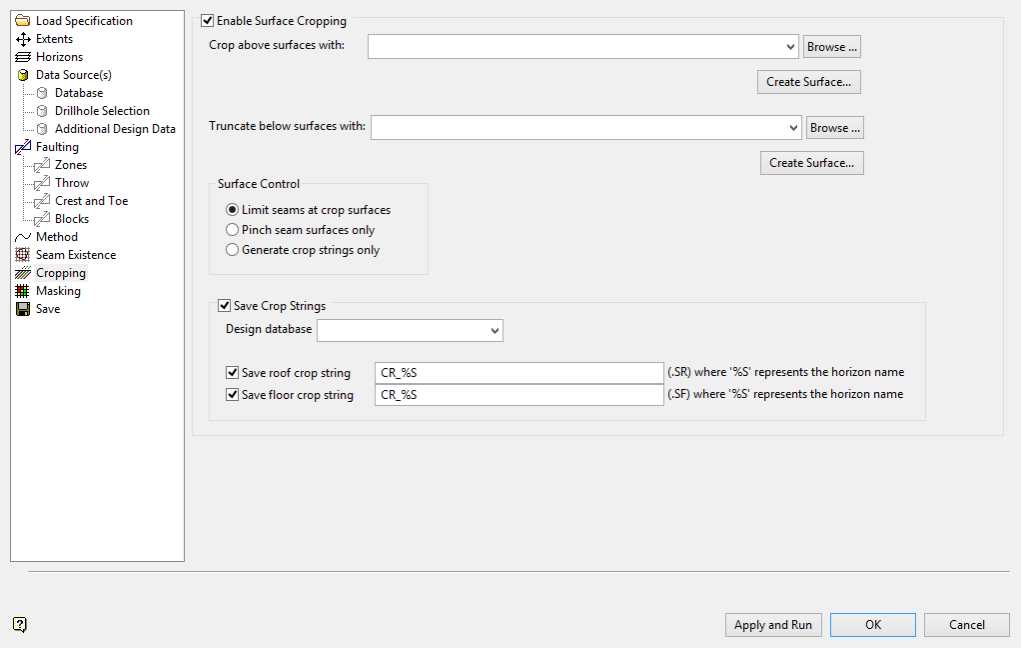
This option will truncate horizon surfaces against one or two nonconformable surfaces.
In a typical example, a base of weathering or topography surface is selected from the Crop above surfaces with drop down list. A basement surface or underlying stratigraphic sequence is selected from the Truncate below surfaces with drop down list.
Note: To view horizon structures above a weathering surface, do NOT crop the grids using Crop above surfaces.
If horizon volumes are required above the cropping surface, do not crop surfaces using the Cropping pane. Instead, create the Bstrat or HARP model and use Block > Transfer > Tri-Block to flag blocks in the model above a Depth of Weathering triangulation as weathered.
Crop above surfaces with
Specify the grid or triangulation surface that you would like to crop your resultant structural grids against. The drop-down list contains all supported grids and triangulations found in your current working directory.
The extent and cell size of the crop grid must match the values specified through the Extents section. If you do not have an existing cropping surface, or if there is a mismatching extent and/or cell size, then one may be generated ‘on the fly’ by selecting the Create Crop Surface button.
The Create Crop Surface button will allow you to automatically adopt the settings specified through the Extents section and place you directly into the Create Surface option whereby data sources, modelling methods, faulting and masking can be specified. Once this is run, a suggested cropping surface name will be presented, which may be changed. This new cropping grid will then be created and automatically placed into the general cropping panel ready for further use as a cropping surface.
Surface Control
Limit seams at crop surfaces
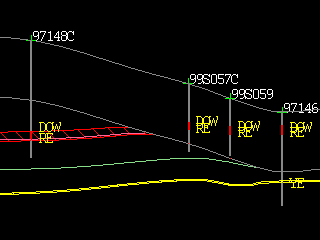
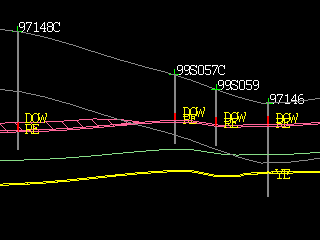
This clips horizons to exactly follow the cropping surface. For example, if a coal seam is initially modelled above a base of weathering surface, the seam is cropped to coincide with the base of weathering surface in the cropped region.
Use this setting if:
-
Reserves are not required above the cropping surface or below the truncating surface.
-
The horizon should report as weathered material.
|
|
|
|
Image shows horizons limited to lower grey cropping surface. |
Same section with cropping surface removed; horizons track the cropping surface. |
Pinch seam surfaces only
This option keeps the underlying structure of the horizons intact, but pinches horizon thickness to zero above the cropping surface.
-
When using a cropping surface, the position of the structural roof is dropped to the position of the structural floor.
-
When using a truncating surface, the structural floor position is raised to the location of the structural roof.
Use this option if:
-
The location of horizons above the cropping surface or below the truncating surface is important.
-
Reserves are not required above the cropping surface or below the truncating surface. Reserves cannot report due to zero thickness horizons.
|
|
|
|
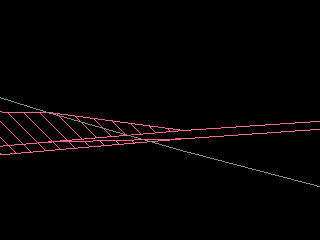
Image shows horizon pinched at a limiting surface. |
Detail of pinched horizon. |
Generate crop strings only
This option will not change the models. Instead, it will produce the polygonal crop limits for each horizon.
Save Crop Strings
Select to save strings created by the intersection of the horizon grids with the cropping surfaces. Intersections with the basal truncating surface will not save. Save either roof strings, floor strings, or both roof and floor strings for each horizon. Crop strings are often used in the Masking pane to automatically mask generated grids.
Tip: Layers are automatically named with an SF or SR extension to ensure crop layers are read by the Masking pane.
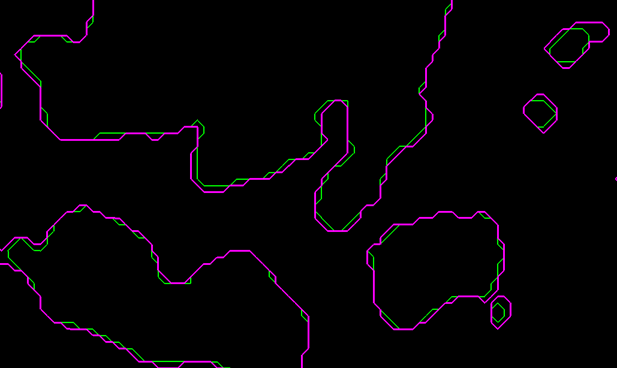
Detail of cropping layers - roof in green and floor in pink.
Related topics
-
Data Source(s)
-
Faulting
