Zones
Grid Calc > Integrated Stratigraphic Modelling > Model Stratigraphy provides four major ways to define faults in the model. If required, use several options in conjunction.
- Zones and Crest and Toe methods are all purely grid-based methods, and as such are not suited to modelling reverse or thrust faults.
- The Blocks and Throw methods are suited to more complex faulting scenarios, including reverse and thrust faults.
Note: Apply faulting to structural surfaces; never to thicknesses.

In the Zones method of fault definition, a series of mutually-exclusive, polygonal limits are applied. The faults are typically applied to an individual surface.
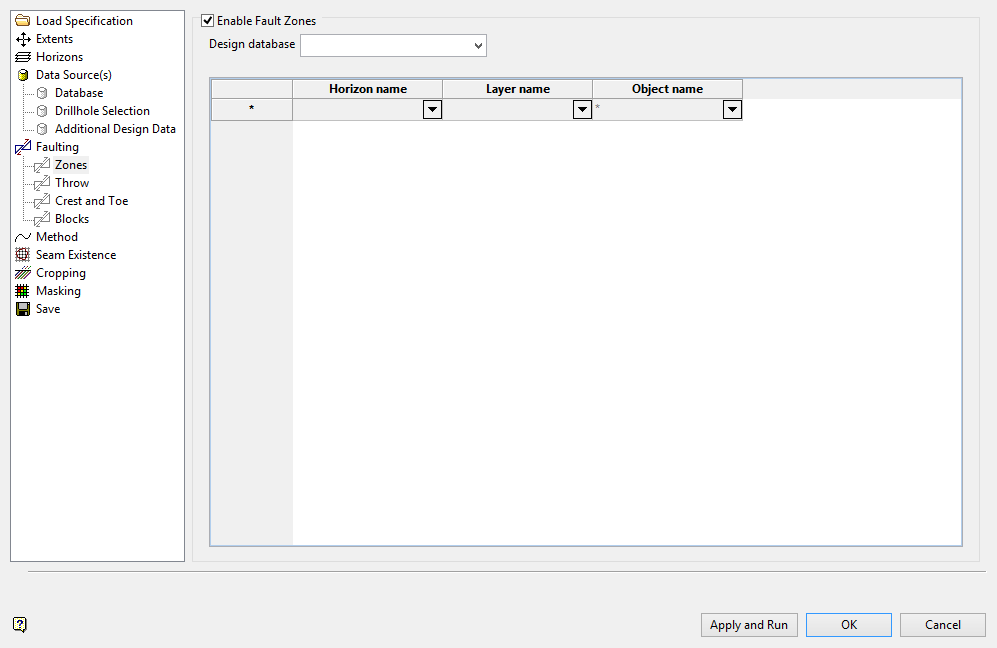
Enable Fault Zones
It is possible to define more than one set of zones for each horizon. This method builds a sub-grid within each zone and then stitches the resultant sub-grids together to form a final, faulted grid surface. The throw of the fault is dictated by the offset of the data on either side of the zone boundary.
You will need to specify the design database containing the zone polygons as well as the structural grid(s) that are to be faulted. The relevant layers and objects containing the zone polygons are then associated with each horizon.

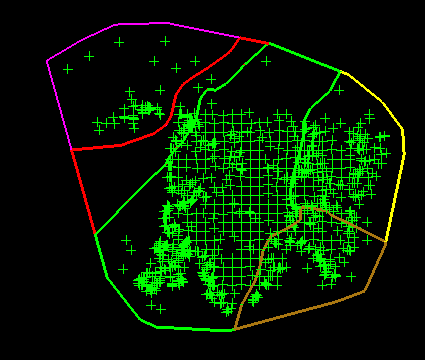
Polygonal zones displayed in Vulcan.
Each Zone in the figure above is a mutually-exclusive, closed polygon. Mapfile points are loaded, but this is not necessary for zone construction.

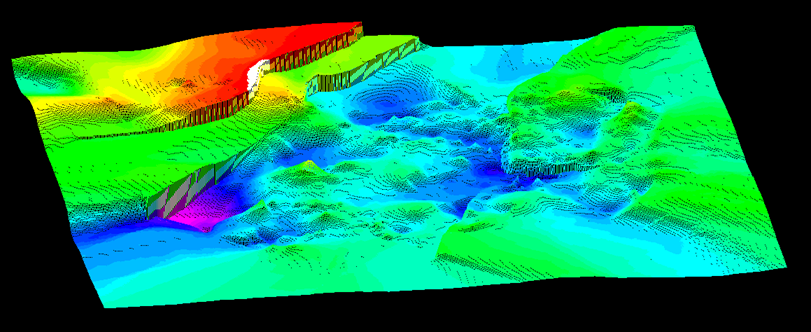
REL horizon faulted by defined zones.
Note: A good way to create zone style polygons is to create an overall bounding polygon and then use the Build option (under the Design > Polygon Edit submenu).
The available faulting options are not mutually exclusive.
Related topics
-
Data Source(s)
-
Faulting

