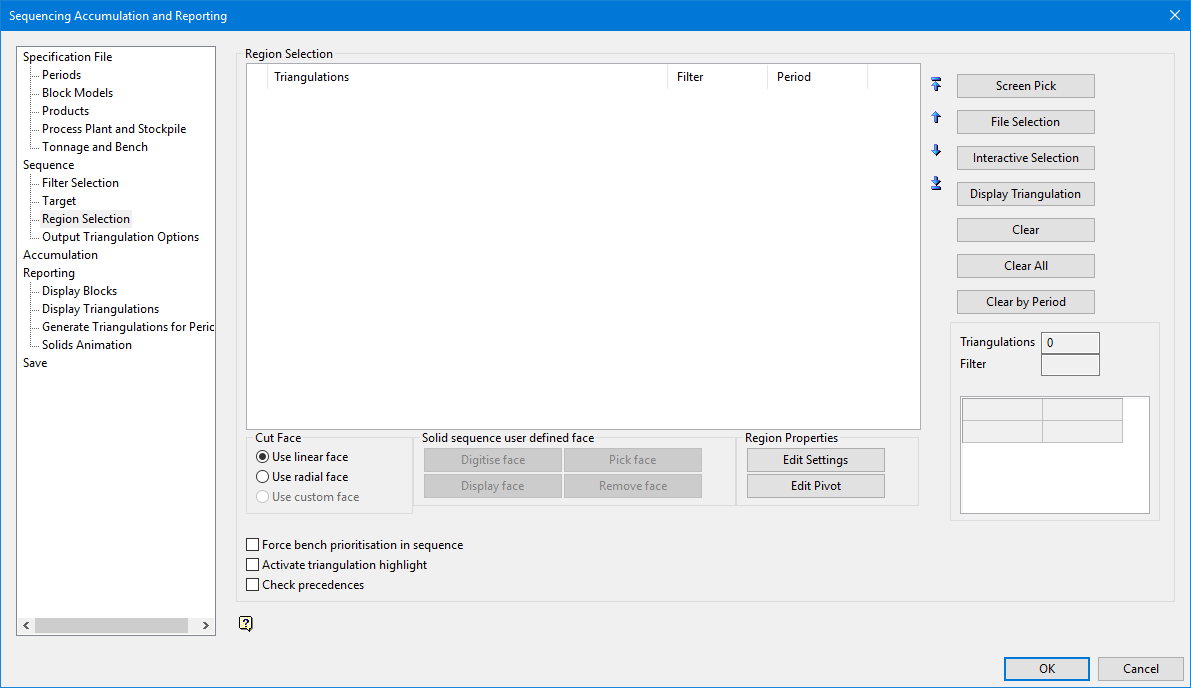
Sequencing Accumulation and Reporting
Region Selection
Use the Region Selection option to create the mined sequence of the plan.
Prerequisites
Before working in this option, it is recommended you first:
- Load the desired triangulations
- Load the desired Specification file
- If using the Interactive Selection method, define all targets using the Sequence > Target option
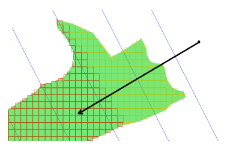
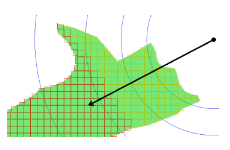
Screen Pick
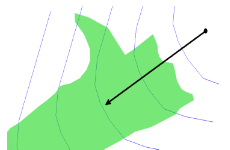
Select this option to define the mine sequence and the filter interactively from the Vulcan window. An example is shown below.
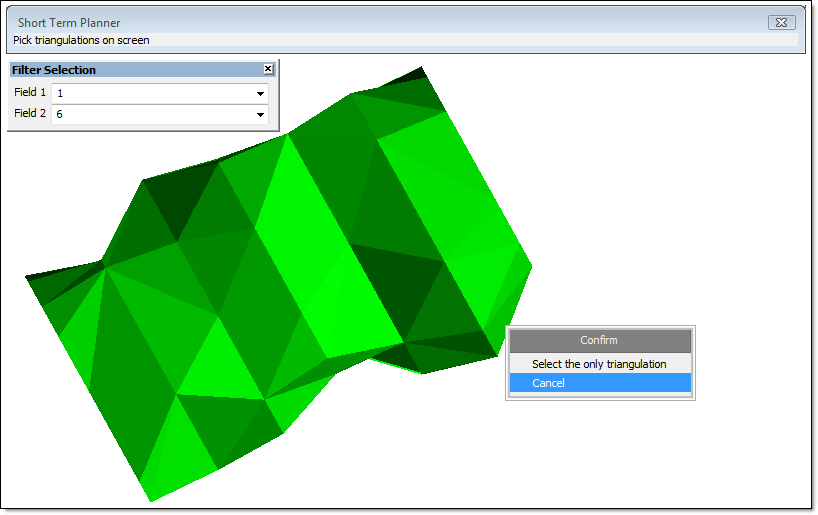
Figure 1 : Screen Pick Example
File Selection
Select this option to define the sequence from a listing of solids. Once you have selected at least two files, you will be prompted with the message, "Would you like to perform a custom sort?"
- Select No to process the solids as they are listed in the selection.
- Select Yes to sort the solids. The following panel displays.
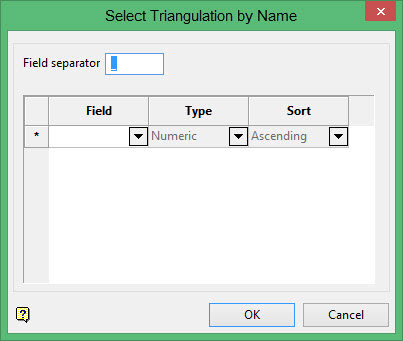
Select Triangulation by Name
This panel is used to sort the triangulations by name, based on fields separated by the Field separator value. It prompts you to select the desired fields and define its type, (Alphabetic or Numeric) and sort order (Ascending or Descending).
Click OK to save your settings.
Interactive Selection
Select this option to define the mine sequence and the filter interactively from the triangulations loaded into the Vulcan window. The following panel displays.
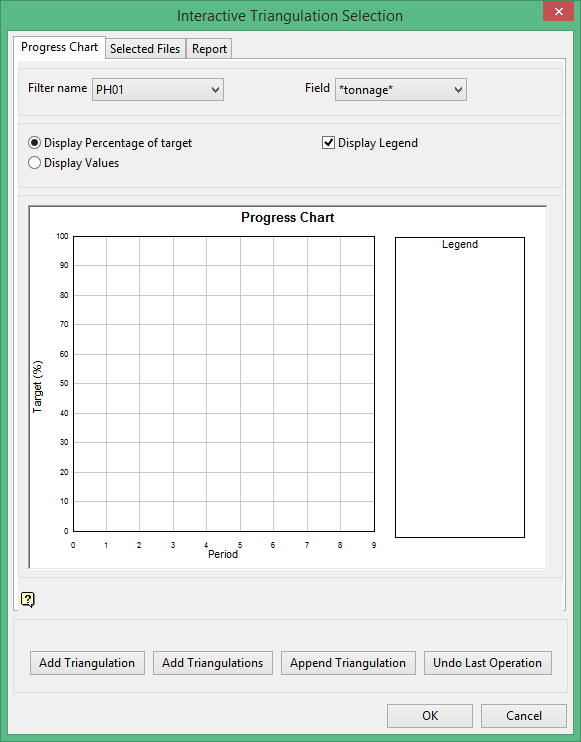
Figure 2 : Interactive Triangulation Selection panel with Progress Chart
Each solid group inserted to the sequence is automatically updated in the report and will show a progress chart of each filter, with respect to the mine targets defined.
Progress Chart
This tab contains a chart for each field per period and for all filters for all periods together. You can display one specific filter, or display all filters.
Filter name
Select the desired filter from the drop-down to view in the progress chart. Choose All to view all filters.
Field
This drop-down contains a listing of the fields used in the mine target that will be used in the chart.
Percent or Tonnage values
You can switch between percent of target or tonnages per period.
Display Legend
Select this option to display a colour legend for the chart.
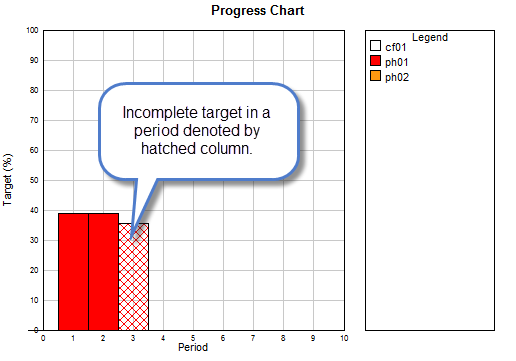
Figure 3 : Progress Chart example
Selected Files
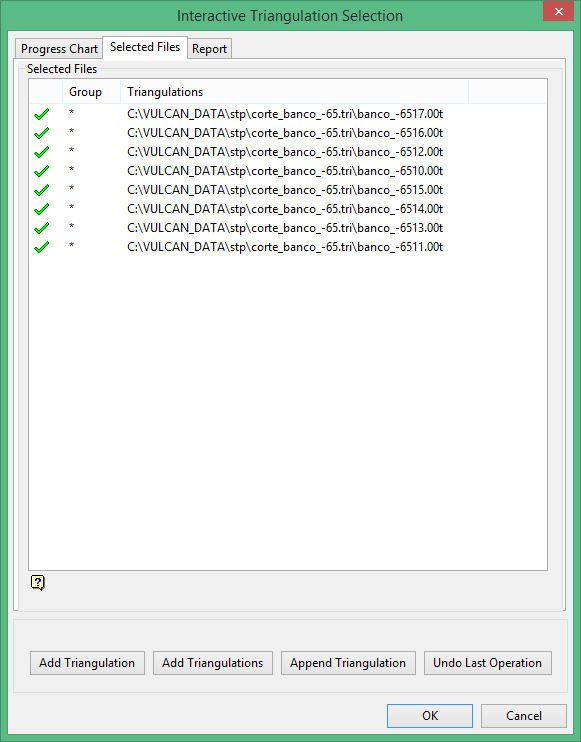
This tab contains a listing of processed triangulations and their groups.
Report
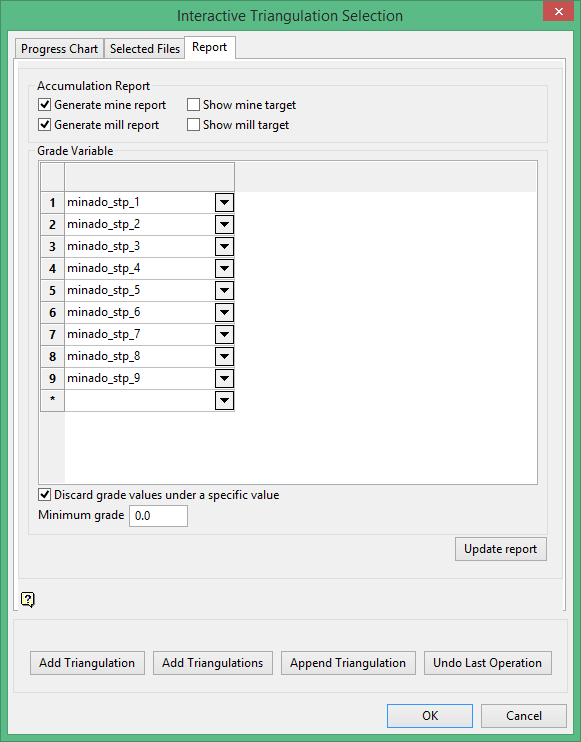
Accumulation Report
Generate report
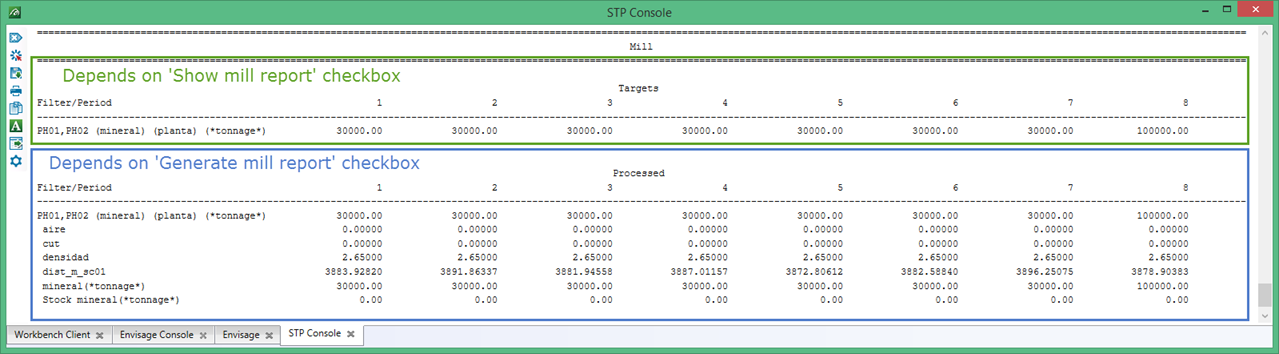
Select either of these options if you would like to generate a mine or mill report. If the option to generate the report has not been selected then the option to show the target will be disabled. The contents of the report is determined by the choices made on the Reporting panel.
Grade Variable
Select the grade variables from the drop-down lists. The variables come from the block model.
Update report
Click this button to generate an instant report in the STP Console window. Any changes made to the grade variable or minimum grade will be reflected in the report.

Discard grade values under a specific value
Select this option if you want to ignore grade values below a specific threshold. Enter the minimum grade in the box provided.
Buttons
Add triangulation
Select this option to add one triangulation to the sequence, select the filter to use, pick the triangulation to add to the sequence, and indicate the pivot point to define the mined direction.
By using the Finish current period only feature, a triangulation will stop accumulation after the current period is completed.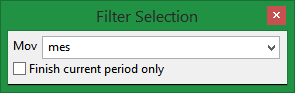
Finish current period only
Available when working using solids for sequence and accumulation mode.
This special scenario is for adding a single triangulation only.
Checkbox needs to be enabled before picking the pivot.
The original triangulation remains hidden & unchanged.
The result cuts are named target and remain. They are temporal triangulations and will be made permanent when closing the interactive panel with OK.
Cancelling the panel will revert the operation and delete the temporal triangulations.
Result triangulations will be placed in a specific folder on the current project folder.
The triangulations name contains the name of the original (parent) triangulation.
After finishing the interactive selection, the newly created triangulations can be used and will behave like normal triangulations.
Add triangulations
Select this option to add two triangulations to the sequence, select the filter to use, and pick the triangulations to add to the sequence. The mined direction is defined by the vector between the centroids of the solids selected.
Append triangulation
Select this option to add a triangulation to the last group on the sequence.
Undo last operation
Select this option to unschedule the last solid(s) added to the sequence.
Display triangulation
Select this option to load and display one or more triangulations in Vulcan.
Clear
Select this option to delete the selected triangulation from the panel.
Clear All
Select this option to delete all triangulations from the sequence.
Clear by period
Select this option to select a period range to delete triangulations from the Region Selection list after an accumulation process has been done. The following panel will appear.
![]()
This panel is used to select a range - the Start period and the End period - to clear triangulations.
Edit Settings
Select a triangulation and click this option to display its Settings by Tri panel. You may modify the values, Field, Value, Calculate, and Panel Calculate, of the selected region (triangulation). See the topic Settings by Triangulation for detailed information.
Edit Pivot option
Select a triangulation and click this option to display its pivot point position(s). The data shown will change depending if you have selected a single triangulation, or a triangulation in a multiple triangulation set. See the topic Pivot by Triangulation for detailed information.
 (Move to Top)
Select this option to move the selected entry to the top of the list.
 (Move Up)
Select this option to move the selected entry up one line.
 (Move Down)
Select this option to move the selected entry down one line.
 (Move to End)
Select this option to move the selected entry to the bottom of the list.
Cut Face
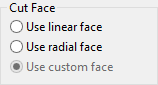
Use linear face
Select this option to define a linear face from a pivot point.
Use radial face
Select this option to define a circular face from a pivot point.
Use custom face
This option is used only for sequencing a solid.
Solid sequence user defined face
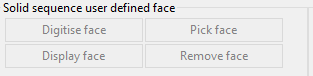
Digitise face
Allows you to digitise the face in Vulcan.
Pick face
Allows you to pick a Vulcan object to be used as a face.
Display face
Display a previously saved face.
Remove face
Remove a previously saved face.
Region Properties
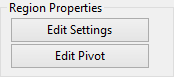
Use the Edit Settings and Edit Pivot buttons to adjust your settings if needed.
Force bench prioritisation in sequence
Select this check box to create the sequence using upper bench measurements first.
Activate triangulation highlight
Select this check box to enable the ability to highlight triangulations that are selected from the Region Select window. Additionally this option can load the triangulation if it is not already loaded.
Check precedences
Select this check box to, while using Screen Pick selection mode, avoid selecting a triangulation when there is a triangulation above it. Note enabling this functionality may slow the selection process.
Click OK to save the defined triangulation regions.
Related topics
-
Sequence

