

Measurement
Use the Measurement tab to measure distances for point and surface sequences.
For this tab to become visible, you must click  (Distance) in the viewer toolbar.
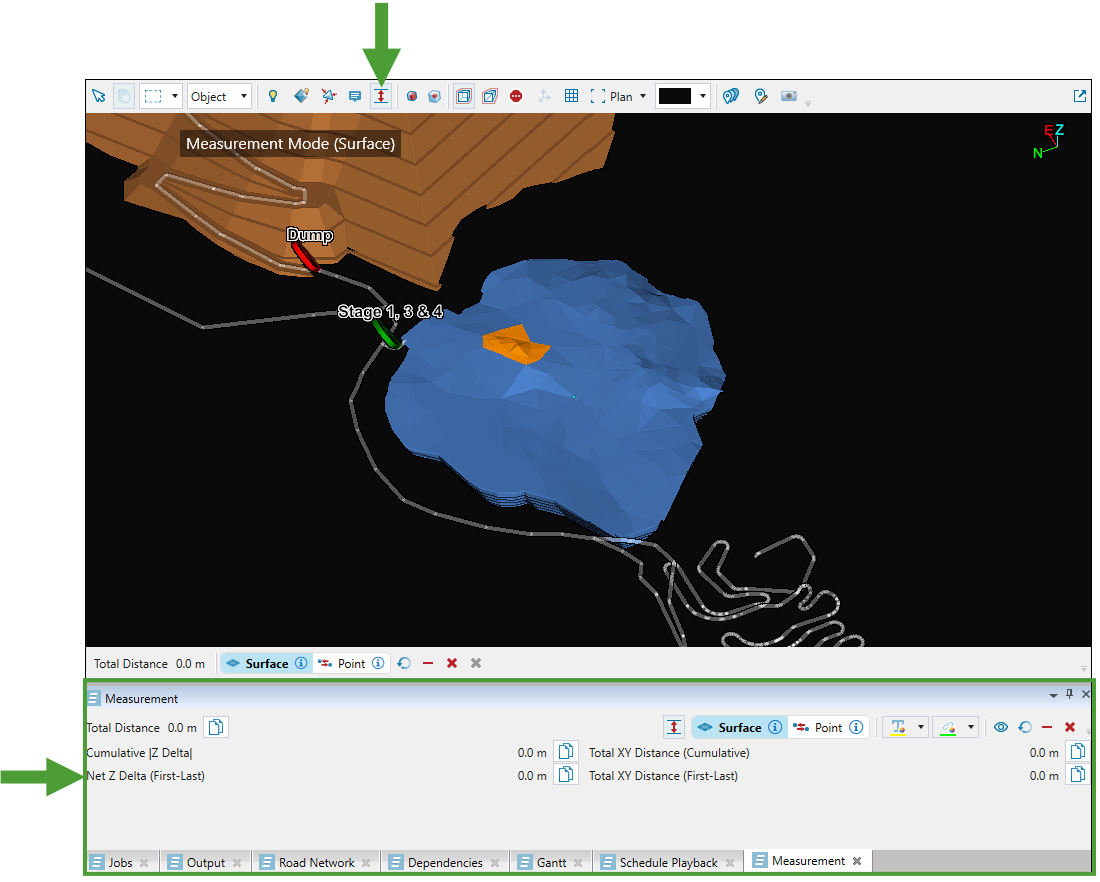
Tip: You can also enter measurement mode by pressing M. When you do, hold M while left‑clicking to take measurements. Once you release the key, the measurement sequence ends. For details on creating measurement sequences, see Measuring distances in the viewer.
Measurement toolbar
The toolbar in the Measurement tab contains a number of tools that allow you to specify the characteristics of your measurements and how they should be displayed in the viewer.

The following table describes each function available in the toolbar.
|
|
Toggle to enable and disable measurement mode. |
 Surface/  Point |
Toggle between surface and point measurement snapping. |

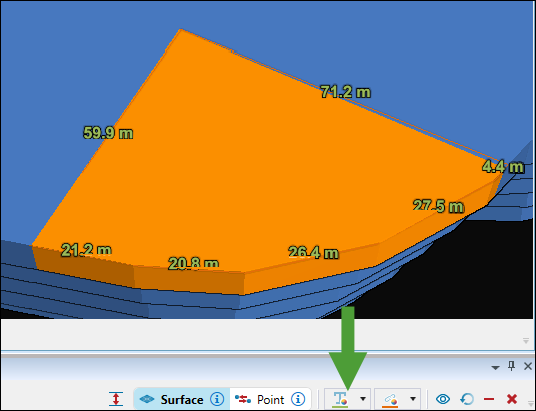
|
Set the colour used to display the measurements in the viewer.
Note: The same text colour will be applied to all measurement sequences. |

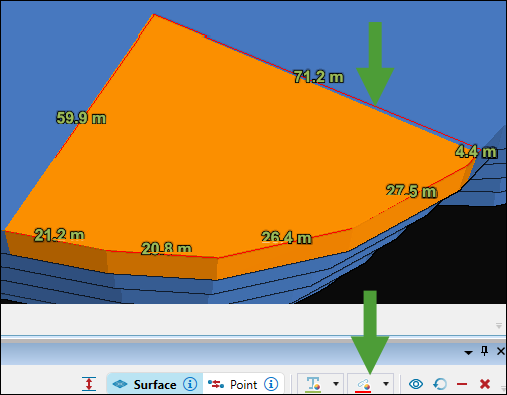
|
Set the colour used to display the measurement lines in the viewer.
Note: The same line colour will be applied to all measurement sequences. |
 /  |
Show and hide measurements in the viewer. |

|
Undo the last measurement. Tip: You can also press Ctrl+Z to undo the last measurement. |

|
Clear the last measurement sequence. |

|
Clear all measurement sequences in the viewer. |
Controls in the viewer
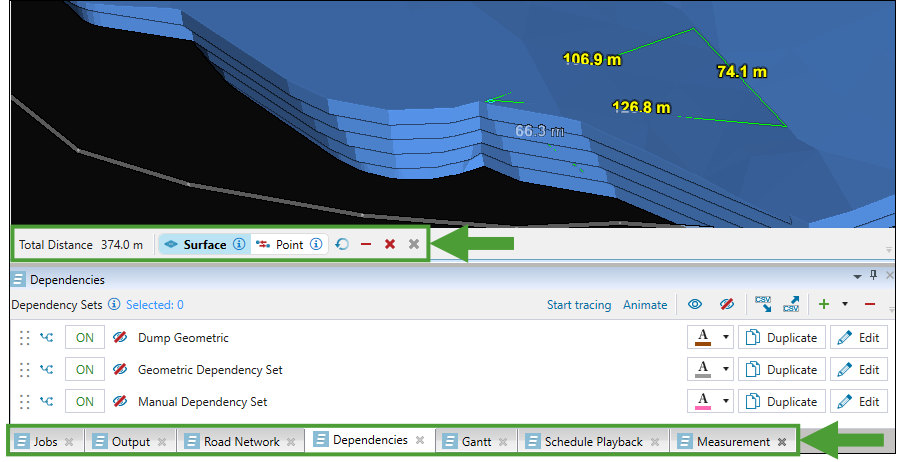
The following controls are available in the viewer when the measurement mode is active:

| Total Distance | Shows the total distance of the most recent sequence. |
|
Surface/ Point |
Toggle between surface and point measurement snapping. |
|
|
Undo the last measurement. Tip: You can also press Ctrl+Z to undo the last measurement. |
|
|
Clear the last measurement sequence. |
|
|
Clear all measurement sequences in the viewer. |

|
Exit measurement mode. Tip: You can also press Esc or right-click to exit measurement mode. |
Note: If you have not finished creating your measurement sequence, the control bar will remain visible when you switch to one of the  Viewer tabs.
Measuring distances in the viewer
Follow these steps to measure distances in the viewer:
-
Click
(Distance) in the viewer toolbar. The Measurement tab at the bottom of the viewer will appear.
Note: Make sure
 Interactive Mode is enabled in the viewer.

For details, see Viewer toolbar.Note: You can also enter measurement mode by pressing M. When you do, hold M while left‑clicking to take measurements. Once you release the key, the measurement sequence ends.
-
Click the
Surface/ Point toggle button to select the required measurement type.Tip: Use the
Point measurements to measure the road network segments. -
Left-click on the model in the viewer to specify consecutive measurement points. The Total Distance field and the distance breakdown fields in the Measurement tab will update automatically. Finish the sequence by right-clicking or pressing Esc.
Note: will maintain the measurement sequence that you created when you switch to other tabs in Epoch and then go back to Viewer.
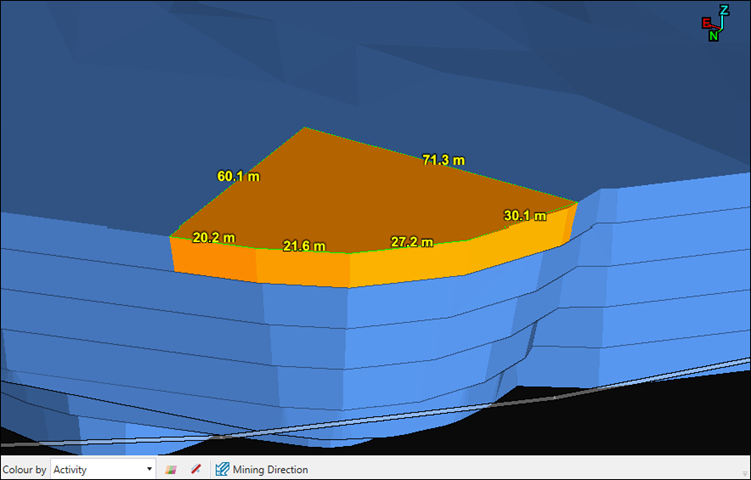
To enable measurement mode again, click (Distance) in the viewer toolbar.
Tip: You can also drop an object into the viewer (for example, a Vulcan triangulation file (.00t) containing a surface) to measure it.
