

Using the Block Model Viewer
You can view a block model in the following ways:
-
As a part of a setup together with other setup components (for example, road network, waypoints, and other block models). To do so, open the required setup and go to the
 Viewer tab.
-
Individually as a plain model. To do so, double-click the model in the project explorer.
-
As a part of a schedule result (see Schedule viewer for more information).
Once opened, there are a number of functions available to customise in the viewer toolbar.
Viewer toolbar
The toolbar in the viewer contains a number of tools that allow you to customise your view and manage the waypoints.
Note: The tools for managing the road networks are only available when you view your model as a part of a setup.

The viewer toolbar is located above the viewer workspace. The following table describes each function available in the toolbar.

|
Interactive Mode Select the required blocks, points, or objects. See Selection type for more information on selecting elements of your setup in the viewer. Tip: Hold down Alt while in the interactive selection mode to enable viewer navigation in the hands-free selection mode. See Hands Free Mode for more information. Tip: Press Shift to select multiple block groups. |

|
Zoom (by scrolling), rotate (by left-clicking and dragging), and pan (by middle-clicking) the viewer. |

|
Selection method Select points, objects, and blocks in Rectangle, Polygon, or Lasso mode. |

|
Selection type Select elements of your setup using the following modes:
|

|
Toggle Lowlighting Selection Highlight the model that contains your current selection. Other models will be dimmed. |

|
Eye-dome lighting enabled Apply shading to the models and objects in the viewer to improve depth perception. This feature is enabled by default. To disable eye-dome lighting, click the toggle button in the Settings panel (Home ribbon > Project group > |

|
Section Models View cross-sections of your block model in different axes by configuring the Sectioning Tools panel as follows:
|

|
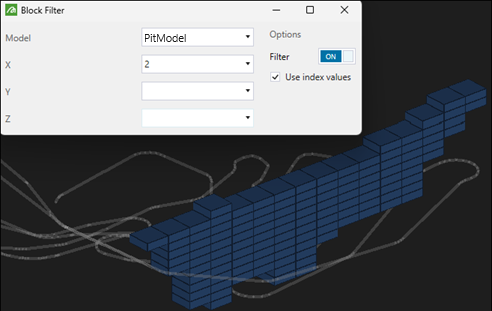
Filter Blocks Filter the blocks in your model by setting the Block Filter panel the same way as shown for the Sectioning Tools panel in Section Models. See Section Models for more information. |

|
Orthographic Projection Display all viewer objects at the same size regardless of distance. |

|
Perspective Projection Display viewer objects as they would appear if you were looking at them (distant objects will appear smaller). |

|
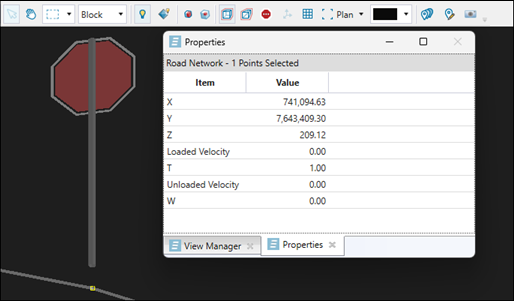
Toggle Stop Signs Show and hide stop signs on a road network.
Note: The |

|
Set centre of rotation to selected object Set the viewer’s centre of rotation based on the object you have selected. |

|
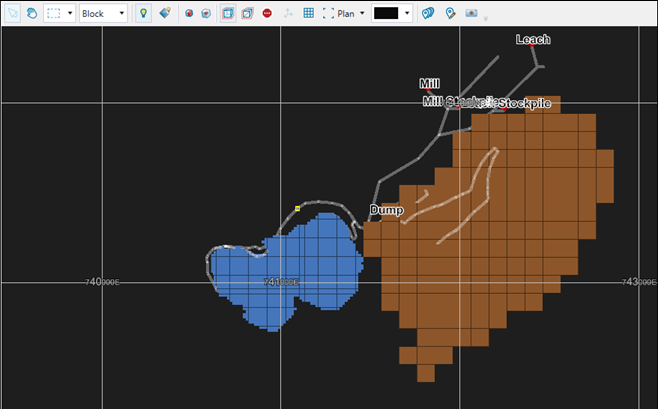
Turn on coordinate grid in the view Display the coordinate grid in your view. Note: The coordinate grid is only visible in plan view. To re-enter the plan view, click the
|

|
Plan view Display your setup in a birds-eye view (by clicking the |

|
Background colour Select either the dark (black) or light (light grey) background colour. |

|
Create a waypoint collection Save the current waypoints in the viewer as a set that can be added to other setups. See Creating a waypoint collection for more information. Note: This tool is only available when you view your model as a part of a setup. |

|
Waypoint editor Move, add, and link waypoints in your setup. See Waypoints in Evolution for more information. Note: This tool is only available when you view your model as a part of a setup. |

|
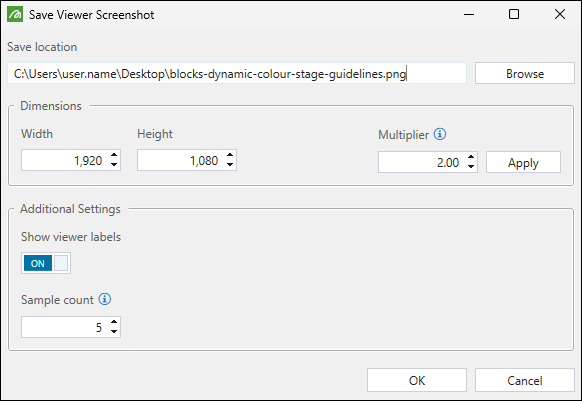
Save viewer screenshot Save the current view of your viewer as a PNG image
|
 Settings) or disable it for an individual viewer by clicking the
 (Eye-dome lighting disabled)).
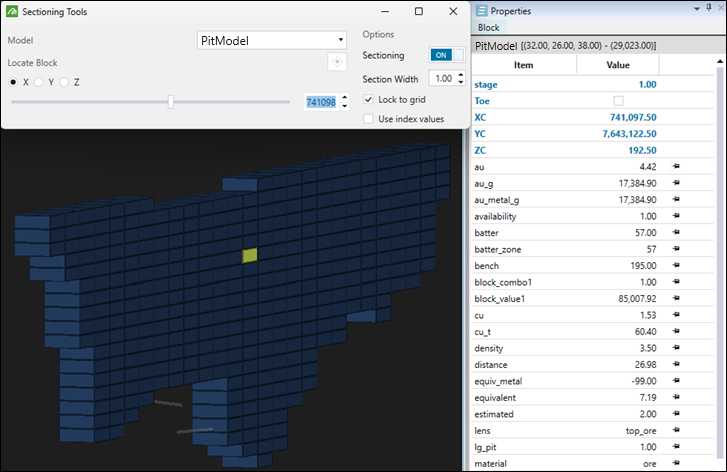
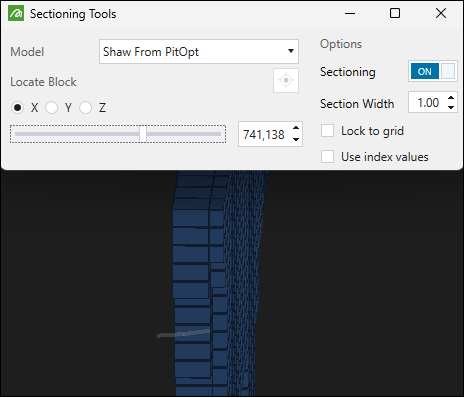
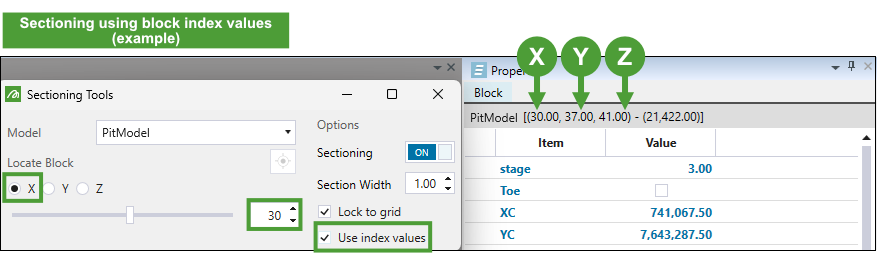
 Save to save the changes you have made. The stop sign on the selected network point will become visible when you toggle the
See also: Evolution display settings
Viewer guidelines
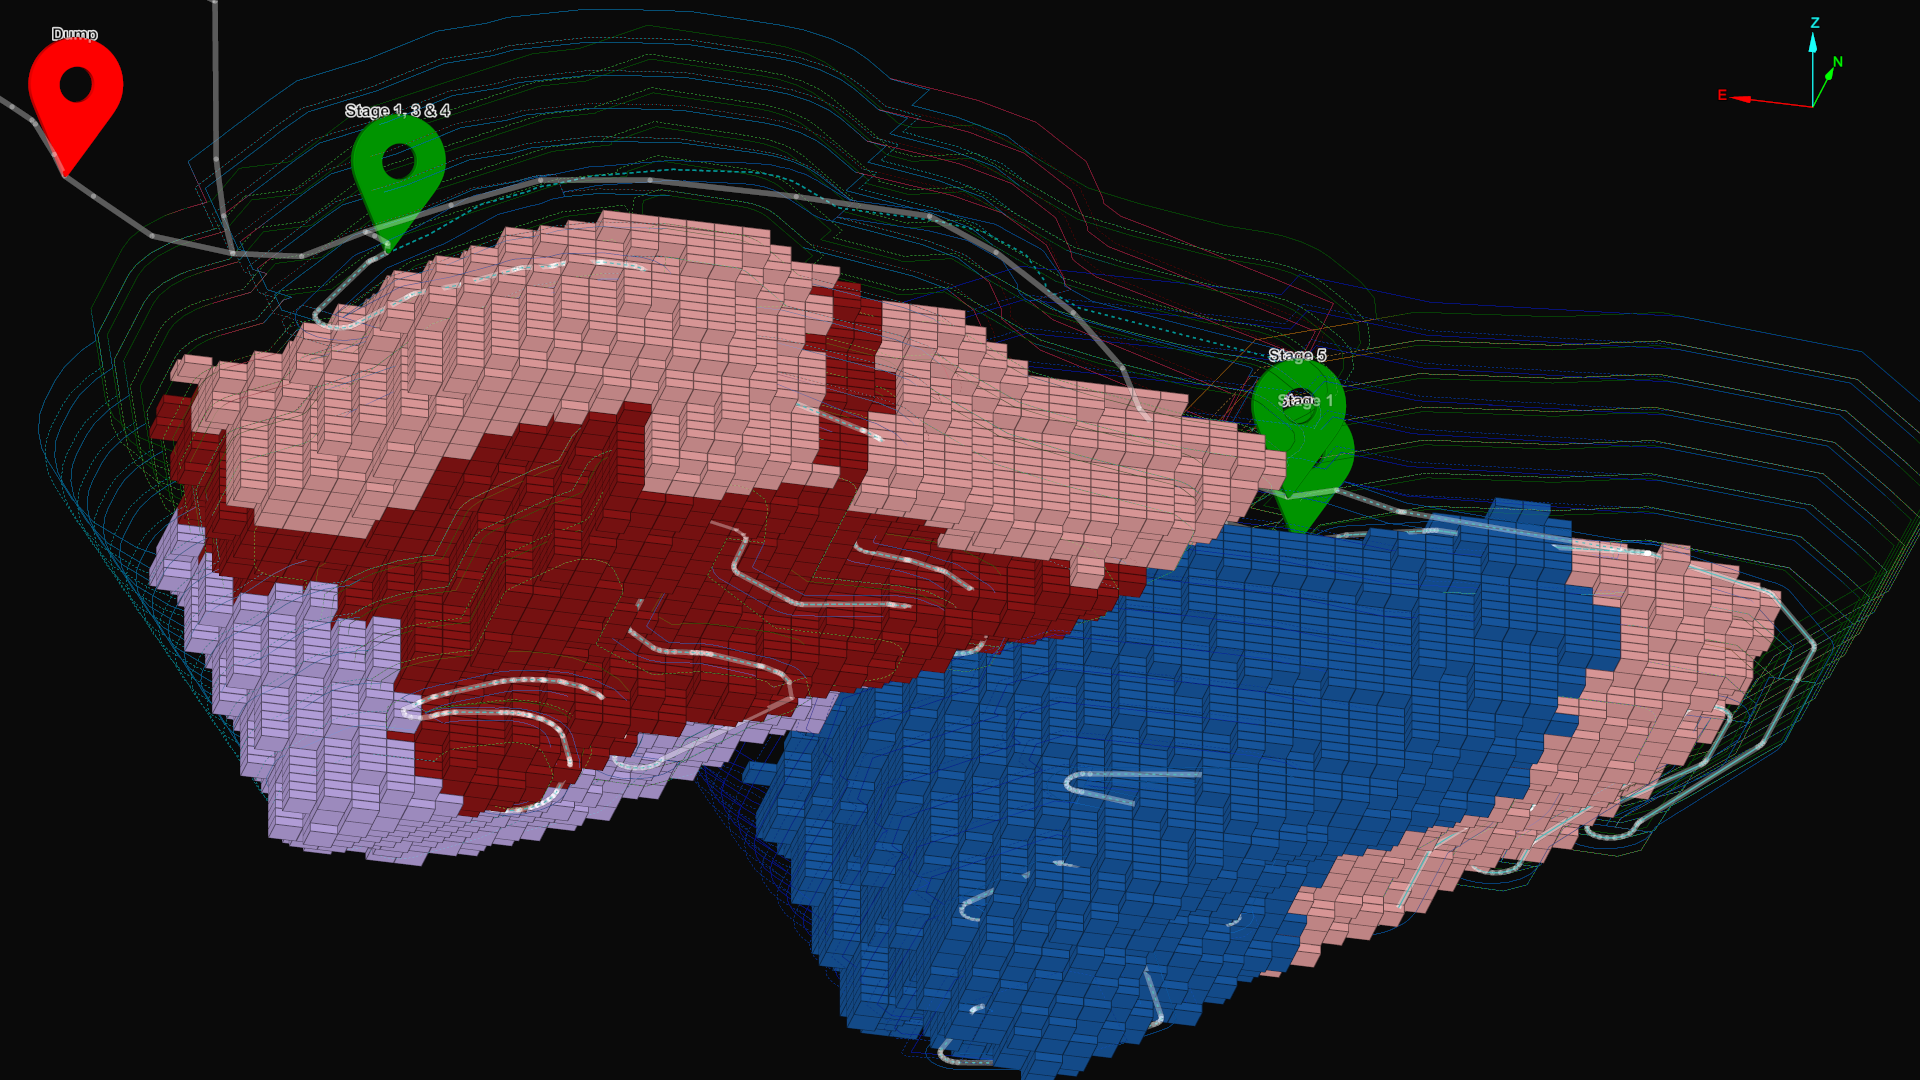
Evolution allows you to view Vulcan layers (linework) by dropping Vulcan design database (.dgd.isis) and Vulcan archive (.arch_d) files into the viewer. This creates guidelines that can help you decide where to make solid cuts (see Solid Cuts for more information). For example, if you have files with grade control polygons (marked out regions that group areas of similar grade), you can drop them into the viewer to identify which regions of the pit or on a certain bench should be scheduled.
When you drop a .dgd.isis or .arch_d file from the file explorer, the Import Layers panel will appear.
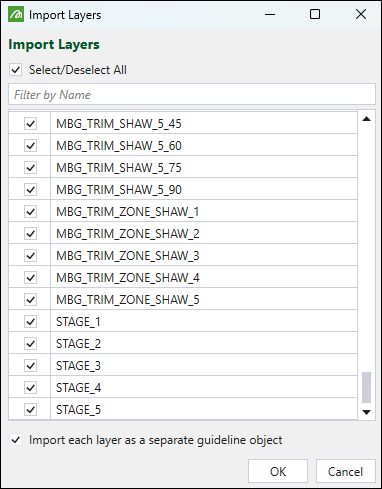
Choose which layers to import by selecting the corresponding checkboxes. The selected layers will be imported into Evolution as a single object, unless you select the Import each layer as a separate guideline object checkbox. In that case, Evolution will create an object for each imported layer, enabling you to customise the way each layer is displayed in the viewer.
After applying the required settings, click OK. The layers you selected will be added to the viewer and project explorer as guideline objects. You can apply the imported guideline objects to any Evolution viewer by dragging and dropping them from the project explorer.
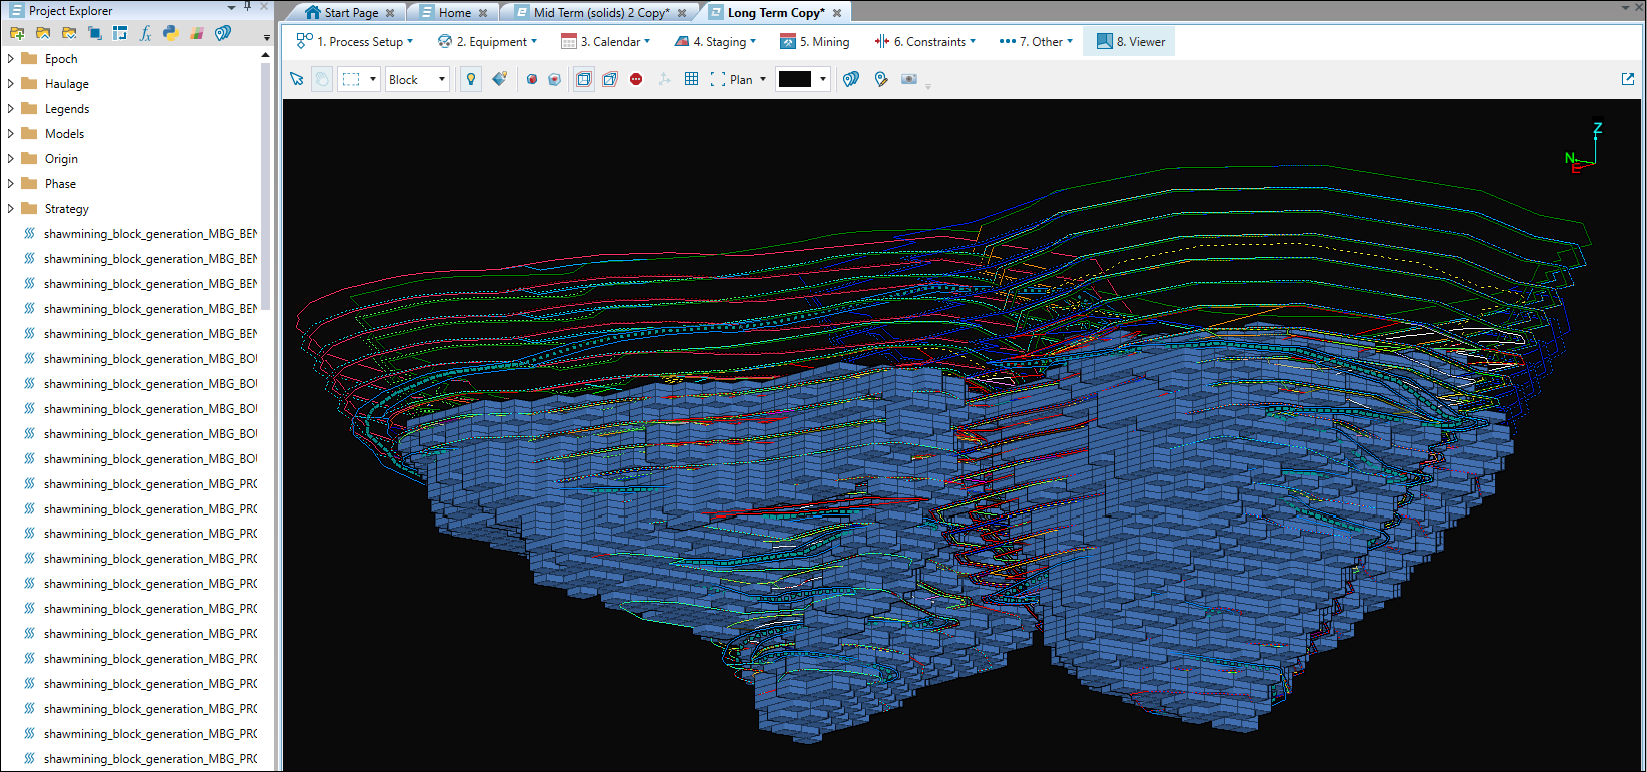
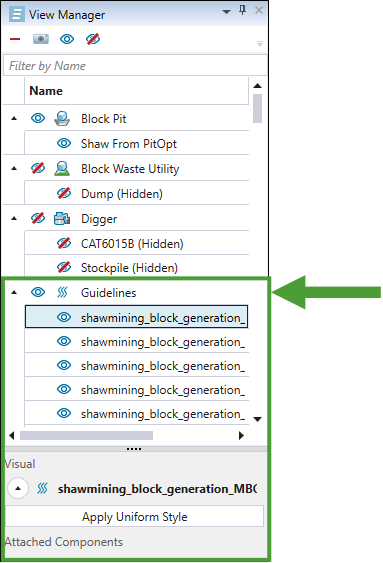
Evolution will also create a  Guidelines category in the View Manager and list the layers under it.
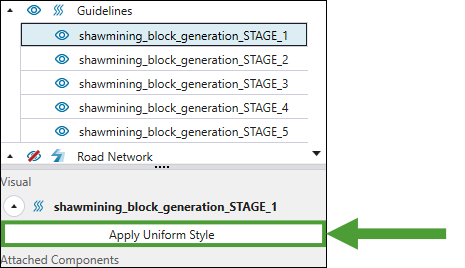
For each imported layer, you can set a uniform colour and thickness for all lines on that layer. To do so, select the object in the View Manager and click the Apply Uniform Style button.
Next, set the line size and choose the required colour from the colour picker menu. Evolution will reflect your settings in the viewer.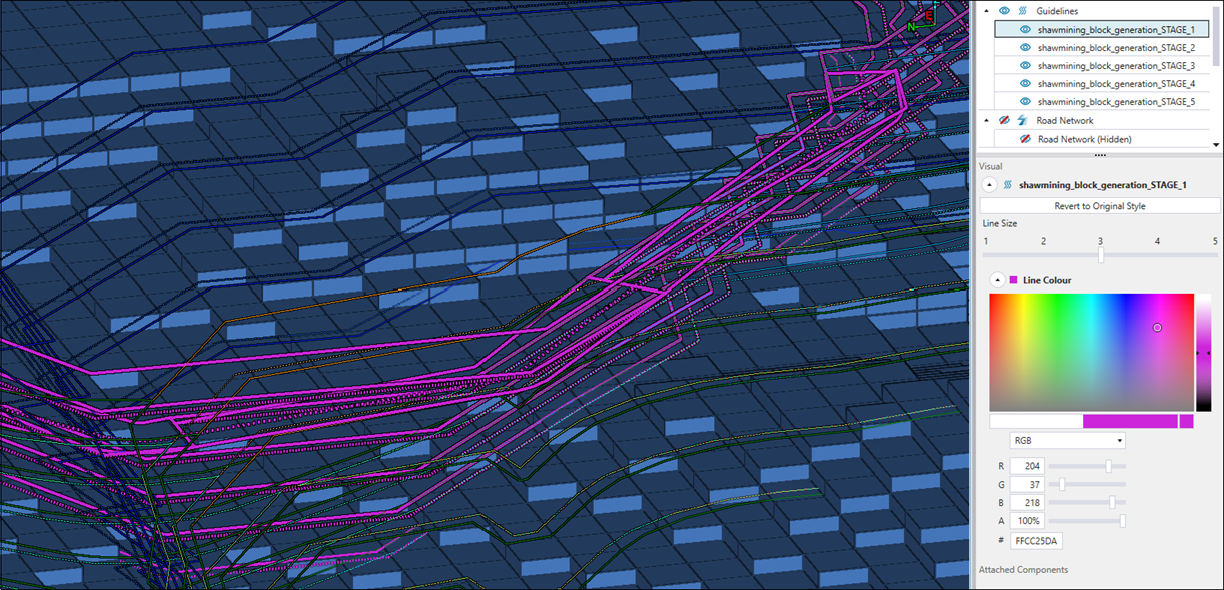
Tip: Click Revert to Original Style to discard the changes that you have made.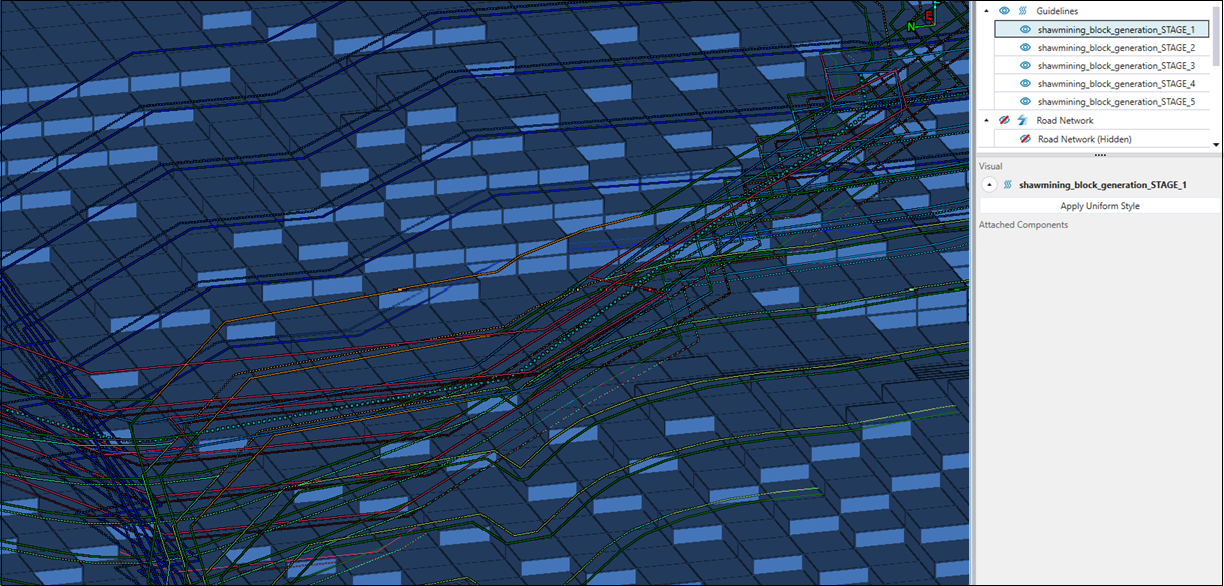
See also: View Manager in Origin Blocks
