1. Create a Setup
Epoch setups allow you to create short-term schedules to organise day to day tasks and activities.
Creating a setup
To create an Epoch setup, complete the following steps:
-
Go to the Home ribbon > New Setup group and click
 Epoch.
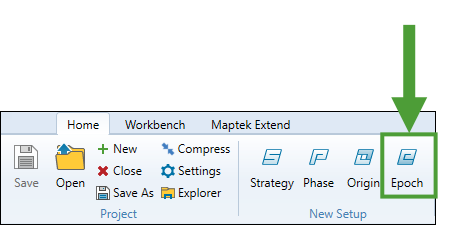
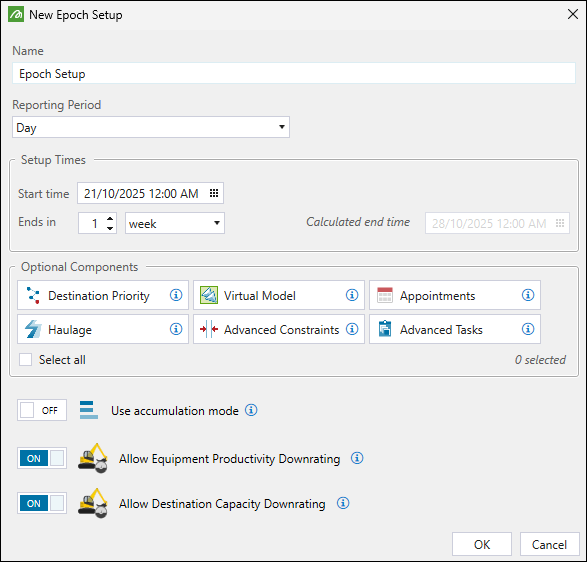
The New Epoch Setup panel will appear.
-
-
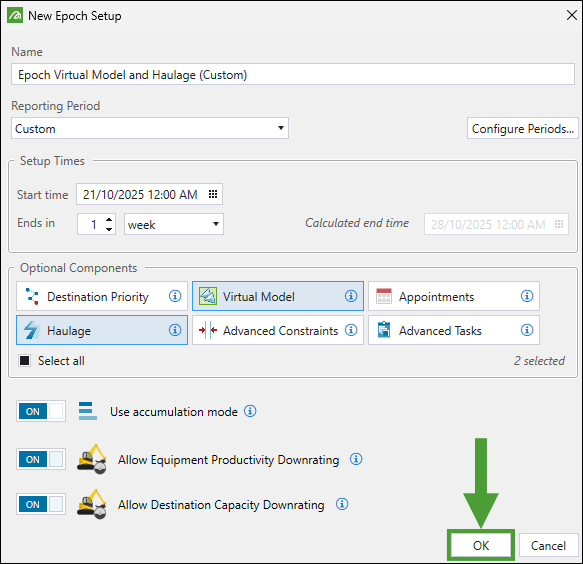
Name. Enter the name of your setup.
-
Reporting Period. Set the reporting frequency by selecting the required time interval (Hour, Shift, Day, Week, Month, or Custom) from the drop-down.
-
Setup Times. Define the time frame for your setup. The required settings will vary depending on the reporting period that you have selected.
 Expand to view details on how to specify the setup time frame.
After selecting the reporting period in your setup, specify the setup time frames as follows:
-
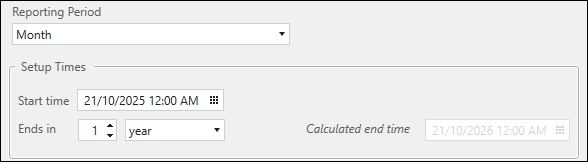
If you have selected Hour, Day, or Month as the reporting period:
-
Set the Start time of your setup by either entering the date and time manually or clicking
 in the date field to select the starting time in the calendar. After setting the date and time, click Close to confirm.
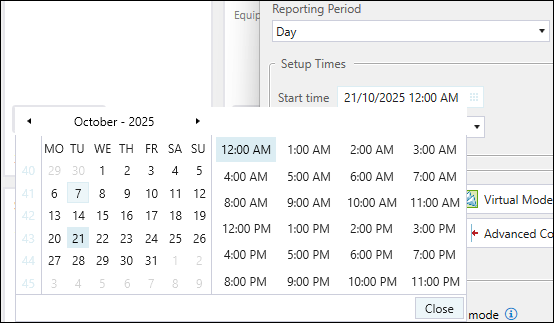
-
In the Ends in section, set the duration of your setup by selecting week, month, year, or specified time from the drop-down and entering the number.
Note: If you select one of the first three drop-down options, Evolution will automatically calculate the setup end time.
If you select specified time, you must enter the end date and time by either entering them manually or clicking in the date field to select them in the calendar.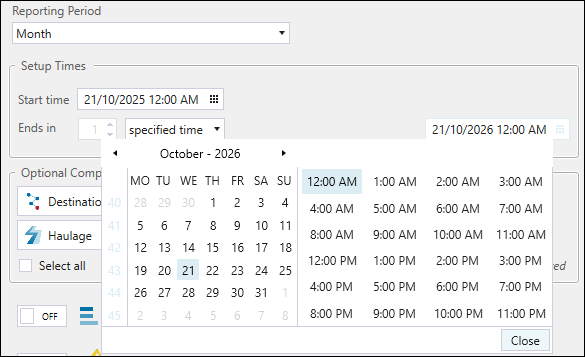
-
-
If you have selected Shift as the reporting period, specify the hourly shift length by choosing an option from the drop-down.
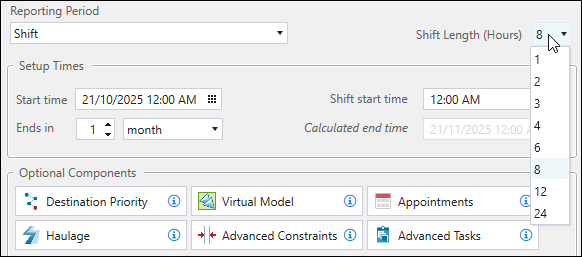
Note: The start and end dates for the Shift reporting period are configured in the same way as for the Hour, Day, and Month reporting options (see the subpoint above for more information).
-
If you have selected Week as the reporting period, use the drop-down to choose which day of the week will be reported as the first.
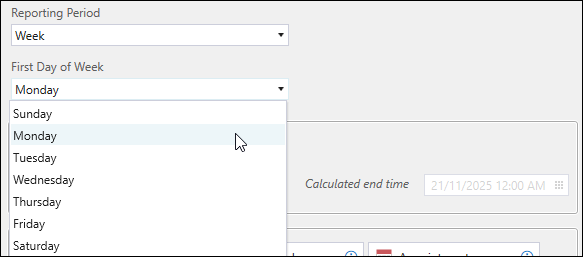
Note: The start and end dates for the Week reporting period are configured in the same way as for the Hour, Day, and Month reporting options (see the subpoint above for more information).
-
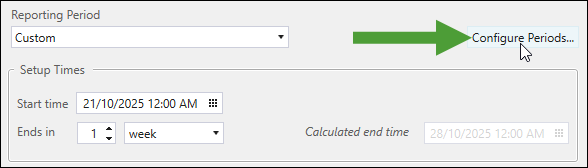
If you have selected Custom as the reporting period, you can set variable reporting period lengths in your setup. To do that, follow these steps:
-
Set the start and end dates of your setup in the same way as for the Hour, Day, and Month reporting options (see the subpoint above for more information).
-
Click the Configure Periods... button.
-
In the Custom Period Definition panel, define the length of each reporting period.
Important: Periods must be sequential and non-overlapping. The last period must end at setup end time.
To configure custom reporting periods, double-click on the Start time or End Time of a period to enable editing. Enter the required date and time manually or click
in the date field to select them in the calendar. After setting the date and time, click Close to confirm.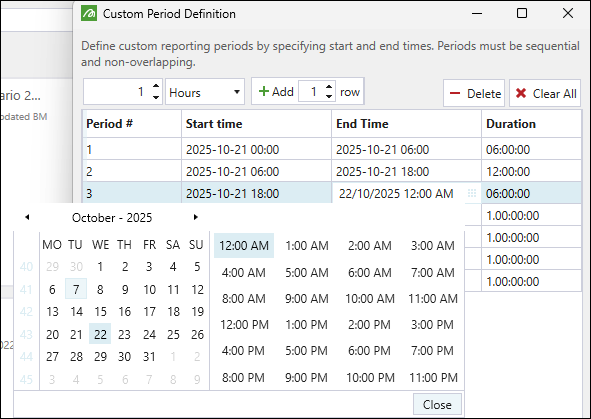
-
To delete a single period, select it in the list and click
 Delete.
 -
To delete multiple periods at once, select the required periods in the list while pressing Ctrl (or Shift for selecting contiguous group of periods) and click
Delete.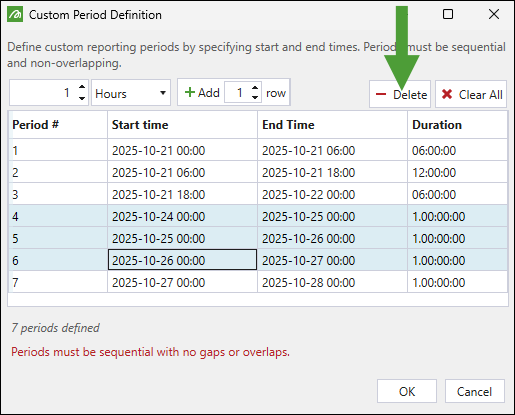
-
To delete all listed periods, click
 Clear All.
 -
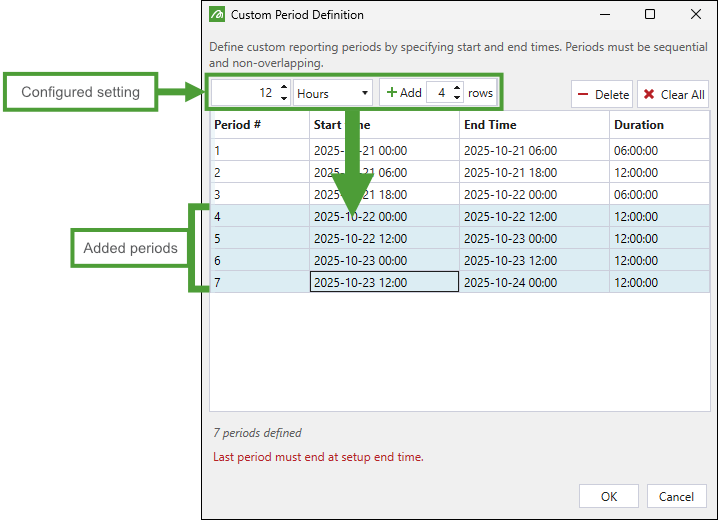
Add one or multiple periods of the same length to the table by specifying the length, selecting the time span (Minutes, Hours, Days, Weeks, Months, or Years) from the drop-down, entering the number of rows to be added, and clicking
 Add (x) row.
 Example:
 Tip
Tip
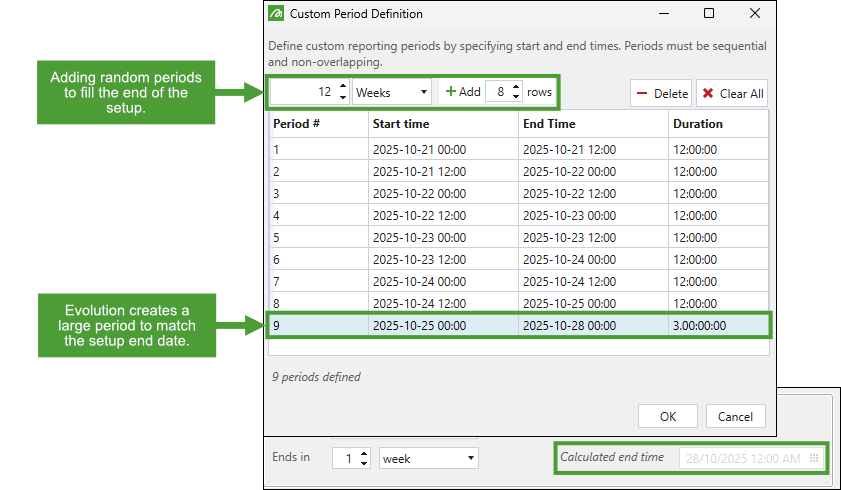
If you prioritise defining exact reporting periods only at the beginning and middle of your setup, and do not require them to be strictly defined towards the end, you can create a large reporting period at the end of the date range. Evolution will match the setup end date accordingly, as shown in the following example:Create the required reporting periods.
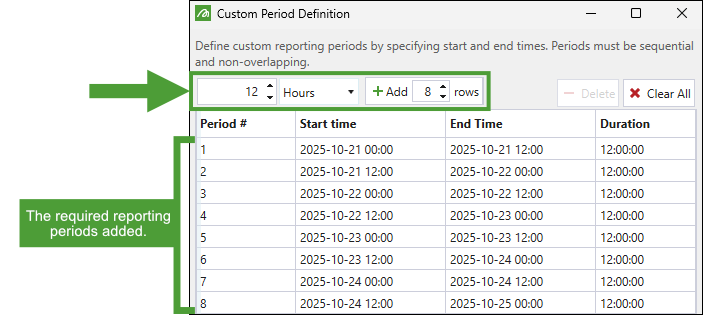
Add larger, less specific reporting periods toward the end to allow Evolution to align with the setup end date.
-
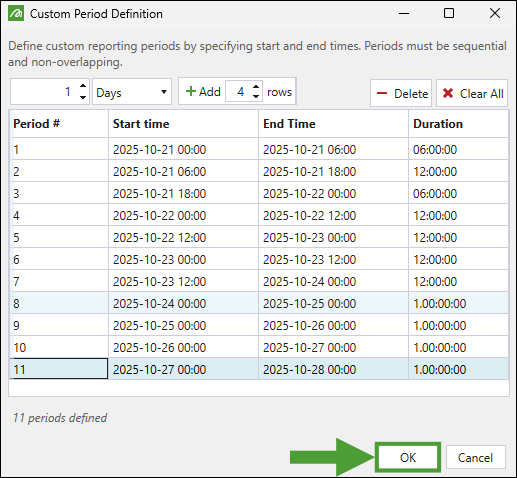
After configuring the required periods to match the end date of your setup, click OK.
-
-
-
Optional Components. Select additional elements that you want to include in your setup:
-
 Destination Priority: Assign the priority to each destination in your Epoch setup to determine the order in which these locations will be considered as potential destinations for material. See Destination Priority for more information.
 -
 Virtual Model: Create and manage virtual solids to inject additional material into your setup, without creating a solid in the external program (Vulcan). See Virtual Solids for more information.
 -
 Appointments: Manage the site-wide appointments (for example, maintenance, public holidays, and weekends) for your setup. See Appointments for more information.
 -
 Haulage: Include road networks and trucks in your setup. See Resources for more information.
 -
 Advanced Constraints: Refine your setup data by configuring accumulation constraints per reporting period and maximum accumulation rates. See Constraints for more information.
 -
 Advanced Tasks: Customise task keys and task lists in your setup. See Task Sequence for more information.
Tip: Click the Select all checkbox to include all optional components in your setup.
-
-
Optionally, enable the following:
-
 Use accumulation mode: Set a maximum amount of material that a destination can receive in a given period.
Note: When the Accumulation mode is disabled, you need to set a maximum rate at which material can be sent to a destination in a given period.
Note: The settings that you will have to apply in the
Resource Definitions and  Resource Productivity tab will depend on whether you enable the Accumulation mode in your setup. See Resource Definitions and Resource Productivity for more information.
 -
 Allow Equipment Productivity Downrating: Automatically adjust the production rate of your primary equipment to prevent exceeding haulage capacities.
 Combined Utilisation settings from the
Resource Definitions subtab will not be applied. For more information on the Combined Utilisation parameter, see Combined Utilisation.Truck usage will be unlimited, allowing unrestricted allocation throughout the schedule.
-
Allow Destination Capacity Downrating: Allow Epoch to slow digger operation to prevent ore waste when mills and stockpiles reach their capacity limits. If you choose to have this setting disabled, excess ore will overflow to waste.
Note
This setting does not affect destinations (mills) in your setup. If you choose to have it disabled, your schedule will be impacted in two key ways: -
-
- Click OK.
Evolution will add the setup to the project explorer.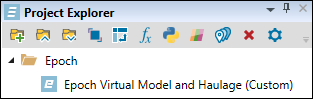
Editing a setup
You can edit your Epoch setup to include additional components, change its duration, reporting frequency, and other settings.
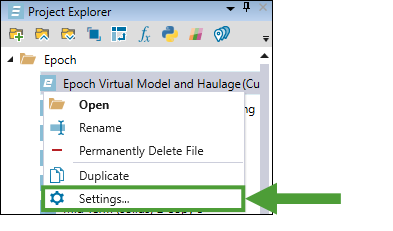
To edit an Epoch setup, right-click on it in the project explorer and select ![]() Settings… from the context menu.
Settings… from the context menu.
The Edit Setup Settings panel will appear. Make the required changes in the configuration and click OK to confirm. The changes will be applied in the setup the next time you open it.
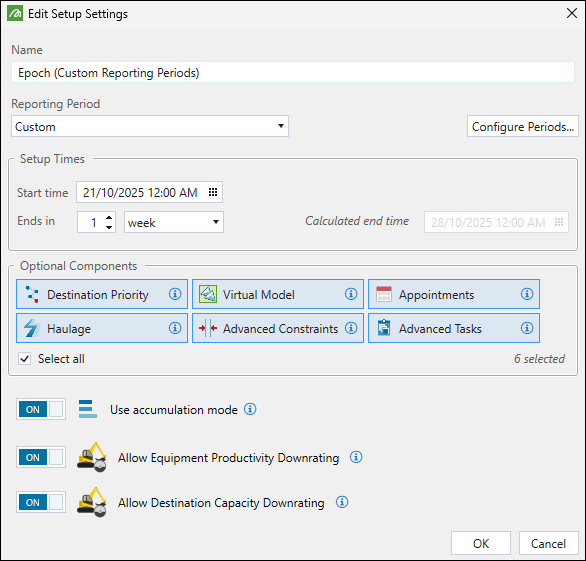
Important: Changes to setup components cannot be applied while the setup is open. To modify components of your setup, you must close it first.
