Photographic
The Photographic drop-down (Home tab > Colour group) hosts tools for applying images to associated scans or surfaces.
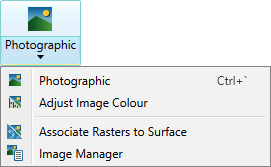
Expand below for details on each tool.
The Photographic tool (Ctrl+`) enables you to project a photographic image onto scan points.
-
You can only apply a photographic image to a scan that has an associated image.
-
The full detail of the photograph is not always used since often there will be more photographic pixels than scan points. In this case, the average colour of the pixels around each scan point is applied.
To apply photographic colour:
-
Select the object or data to be coloured.
-
On the Home tab, go to the Colour group. From the Photographic drop-down list, select
 Photographic.
The selected data will be rendered with the associated images.
Using the remaining options in the Photographic drop-down, you can manage and modify the associated images. See Photographic > Adjust Image Colour, Associate Rasters to Surface, and Image Manager.
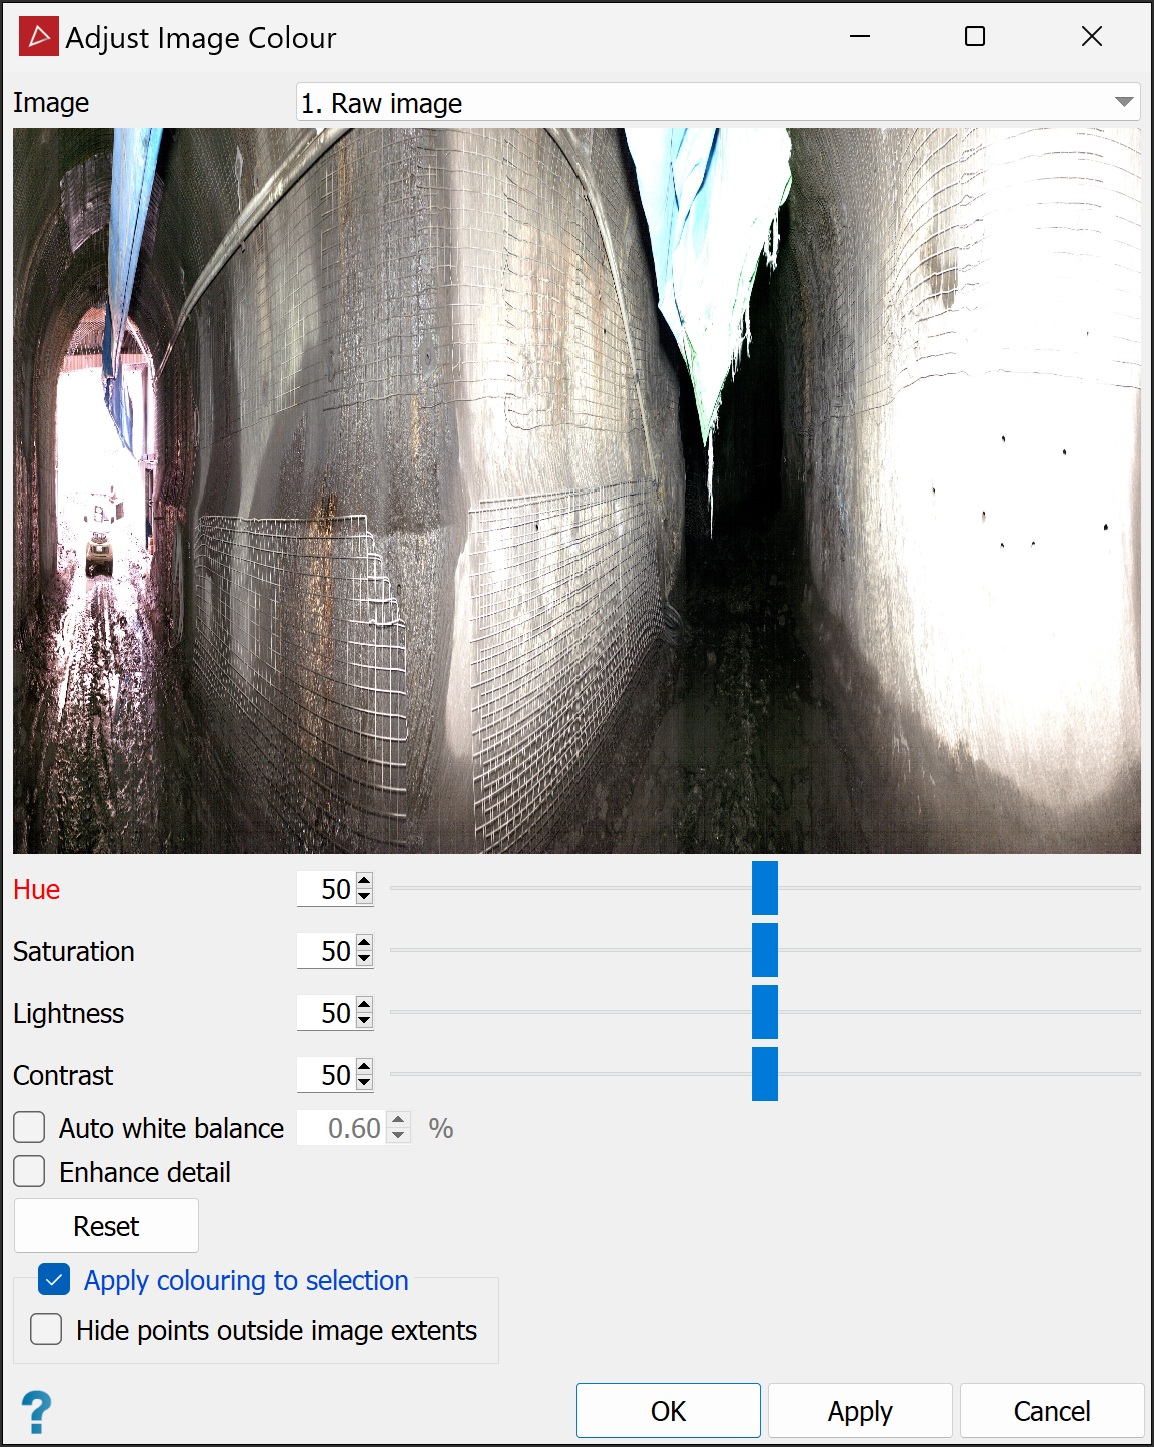
The Adjust Image Colour tool allows you to apply colour corrections to an image that has been superimposed onto an object or scan. Hue, saturation, lightness, and contrast are individually adjustable. Points not covered by the image are displayed in greyscale according to beam intensity.
To apply colour corrections, follow these steps:
-
Select an object that has one or more images superimposed and registered onto it.
-
On the Home tab, go to the Colour group. From the Photographic drop-down list, select
 Adjust Image Colour.
The Adjust Image Colour tool panel opens, from which you can adjust the following parameters, as required. The panel includes an image previewer to check your adjustments before accepting.
Tip: You can zoom in or out of the image using the scroll wheel.
-
If multiple images are associated with the object, ensure the image to be adjusted is selected in the Image drop-down list.
-
Adjust the image parameters according to the following options:
-
Hue changes the overall colour tint by moving through the colour spectrum.
-
Saturation adjusts the strength of colours.
-
Lightness adjusts the brightness of colours.
-
Contrast adjusts the distinction between shadows and highlights.
-
Auto white balance adjusts the appearance of white areas. Adjust the % value for the optimal result.
-
Enhance detail improves detail in lighter or darker areas of the image.
Tip: Click Reset to restore these settings to default.
-
-
(Optional) Deselect Apply colouring to selection to apply changes to the image without colouring object points with the image colours.
-
Select Hide points outside image extents so that only points coloured by the photographic image are visible. Points outside the image extents are coloured in greyscale, then hidden from view.
Note: You can also configure PointStudio to hide points outside image extents automatically on import. Go to Preferences > Advanced settings and select Hide points outside image extents. See Preferences > Advanced.
-
Click OK to adjust the image and exit or click Apply to adjust the image without exiting.
-
Click Cancel to exit the tool without any further actions.
Note: You can revert image colour adjustments at any time. Follow the procedure above, only clicking Reset before Apply or OK.
The Associate Rasters to Surface tool enables you to apply a raster image from one surface to another, as follows:
-
On the Home tab, go to the Colour group. From the Photographic drop-down list, select
 Associate Rasters to Surface.
 -
Select a surface that does not have an associated raster (
 ), or a surface that already has an associated raster (
 ).
). -
Drag your selection in to the Target surface field.
-
Highlight the source file containing the raster in the project explorer.

-
Select one or both of the following options:
-
Use source raster surface information.
-
Replace rasters on target surface to overwrite previously associated images.
-
-
Click OK or Apply.
-
Click one of the following:
-
No to go back a step to choose a different surface.
-
Yes to finish.
-
A confirmation message will appear.
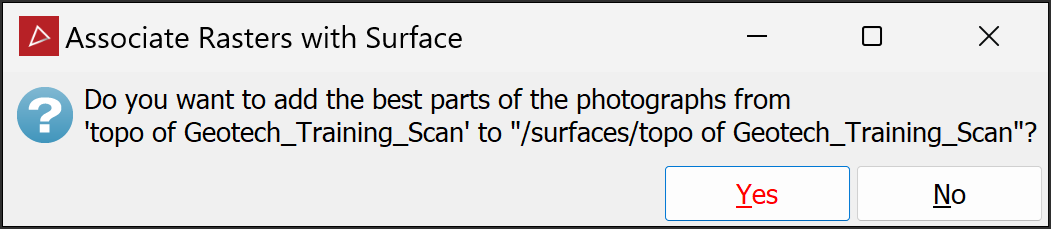
The image will be applied to the target surface.
The Image Manager allows you to manage imported images that have been overlaid on a scan or surface. The images may have already been imported and applied to a surface. You can adjust opacity, remove the image, or edit the position of the image on the object's surface.
-
Select the surface
or scan 
 with the associated subject images in either the project explorer or a view
window.
with the associated subject images in either the project explorer or a view
window. -
On the Home tab, go to the Colour group. From the Photographic drop-down list, select
 Image Manager.
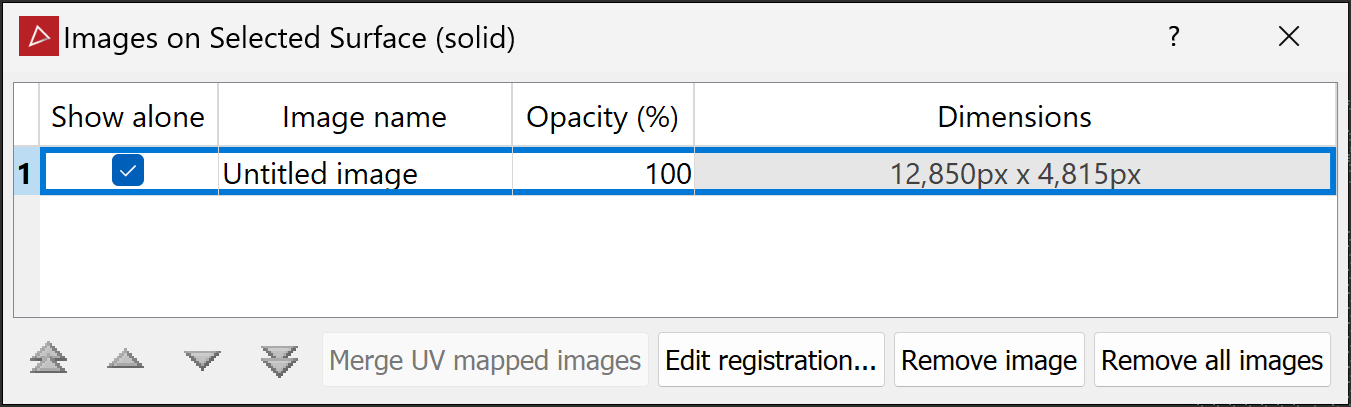
Note: You can select the surface after opening the Image Manager.
-
Select an image, then select the required operation as listed below:
-
Merge UV mapped images: Merge images that have been mapped to a surface using u and v coordinates.
-
Opacity: Adjust the image's translucency. Select the opacity field then double-click on it to modify.
-
Edit Registration: Adjust a panoramic image's registration (see Panoramic photograph to scan). Adjust the positions of existing points or add more point pairs to improve the registration.
-
Remove image or Remove all images: Remove images from the scan or surface.
Note: To be able to edit registration, the image must be a 360° x 180° spherical projection with an aspect ratio of 2:1.
-
-
Press Esc or click the
 button to close the tool when finished.
