Manipulation
The Manipulation group on the Home tab contains two commonly used tools for manipulating the active view, as described below.

|
|
Change the centre of rotation. |
|
|
Freehand Transform (Shift+T, Shift+R) Activate the freehand transform widgets. |
Set Centre of Rotation
When rotating a view, the centre of rotation is at the origin of the axes in the view window.
-
To change the centre of rotation, click
 Set Centre of Rotation or press C, then pick a point as the new centre of rotation.
For a more precise location for the centre of rotation, instead of picking a point, enter the coordinates into the status bar, then click ![]() (Complete) or press Enter.
(Complete) or press Enter.

Note: Set Centre of Rotation is only available in Z Up Mode and Screen Mode.
-
Set the centre of rotation near the area of interest in the dataset. This will ensure that the data in the area of interest does not disappear when you rotate a view.
-
If the axes are blocking data from view, press A to hide them. Press A again to redisplay.
Freehand Transform
The Freehand Transform tools enable you to translate and rotate a selected object for macro adjustments.
You can find the Freehand Transform tools in either the Manipulation group of the Home tab or the Transform group of the Position and Filter tab. You can select the integrated
translate and rotate widget, or either the translate (Shift+T) or rotate (Shift+R) widget individually from the drop-down list. You can also select the Freehand Rotate Scan Bearings tool from this list.
![]()
-
To turn a freehand transform tool off, click
 Freehand Transform.
|
|
|
Freehand transform tools: Combined (left), Translate (middle) and Rotate (right). |
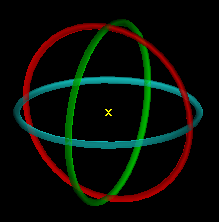
When launched, the transform tool appears at the centre of rotation with its axes, planes, and rings aligned with the view window axes. To reposition it, set a new centre of rotation. See Camera > Set Centre of Rotation.
Operate the freehand transform tools, as follows:
-
Select the objects to be moved.
-
Hover the mouse over the control element of the tool for the required transformation:
-
To translate in along an axis (X, Y, or Z), hover over that axis.
-
To translate across a plane (XY, XZ, or YZ), hover over that plane.
-
To rotate, hover over a ring.
-
-
Drag the highlighted control with the middle mouse button.
While dragging, distances or angles are displayed with transient geometry indicating the transformation direction.
Translation along an axis.
Translation along a plane.

Rotation about an axis.
-
Release the mouse button when the objects are in position.
-
For rotations and single-axis translations, press Esc or click away from the transformed object to close the dimension field.
You can also set a precise one-dimension translation distance and rotation angle, as follows:
-
Click on a handle, enter a value, then press Enter.
-
For a two-dimension transformation, repeat with the next handle.
The dimension fields are also available after performing a transformation with the mouse, but are reset to 0.
The ![]() Freehand Rotate Scan Bearings tool enables you to rotate individual scans
Freehand Rotate Scan Bearings tool enables you to rotate individual scans ![]()
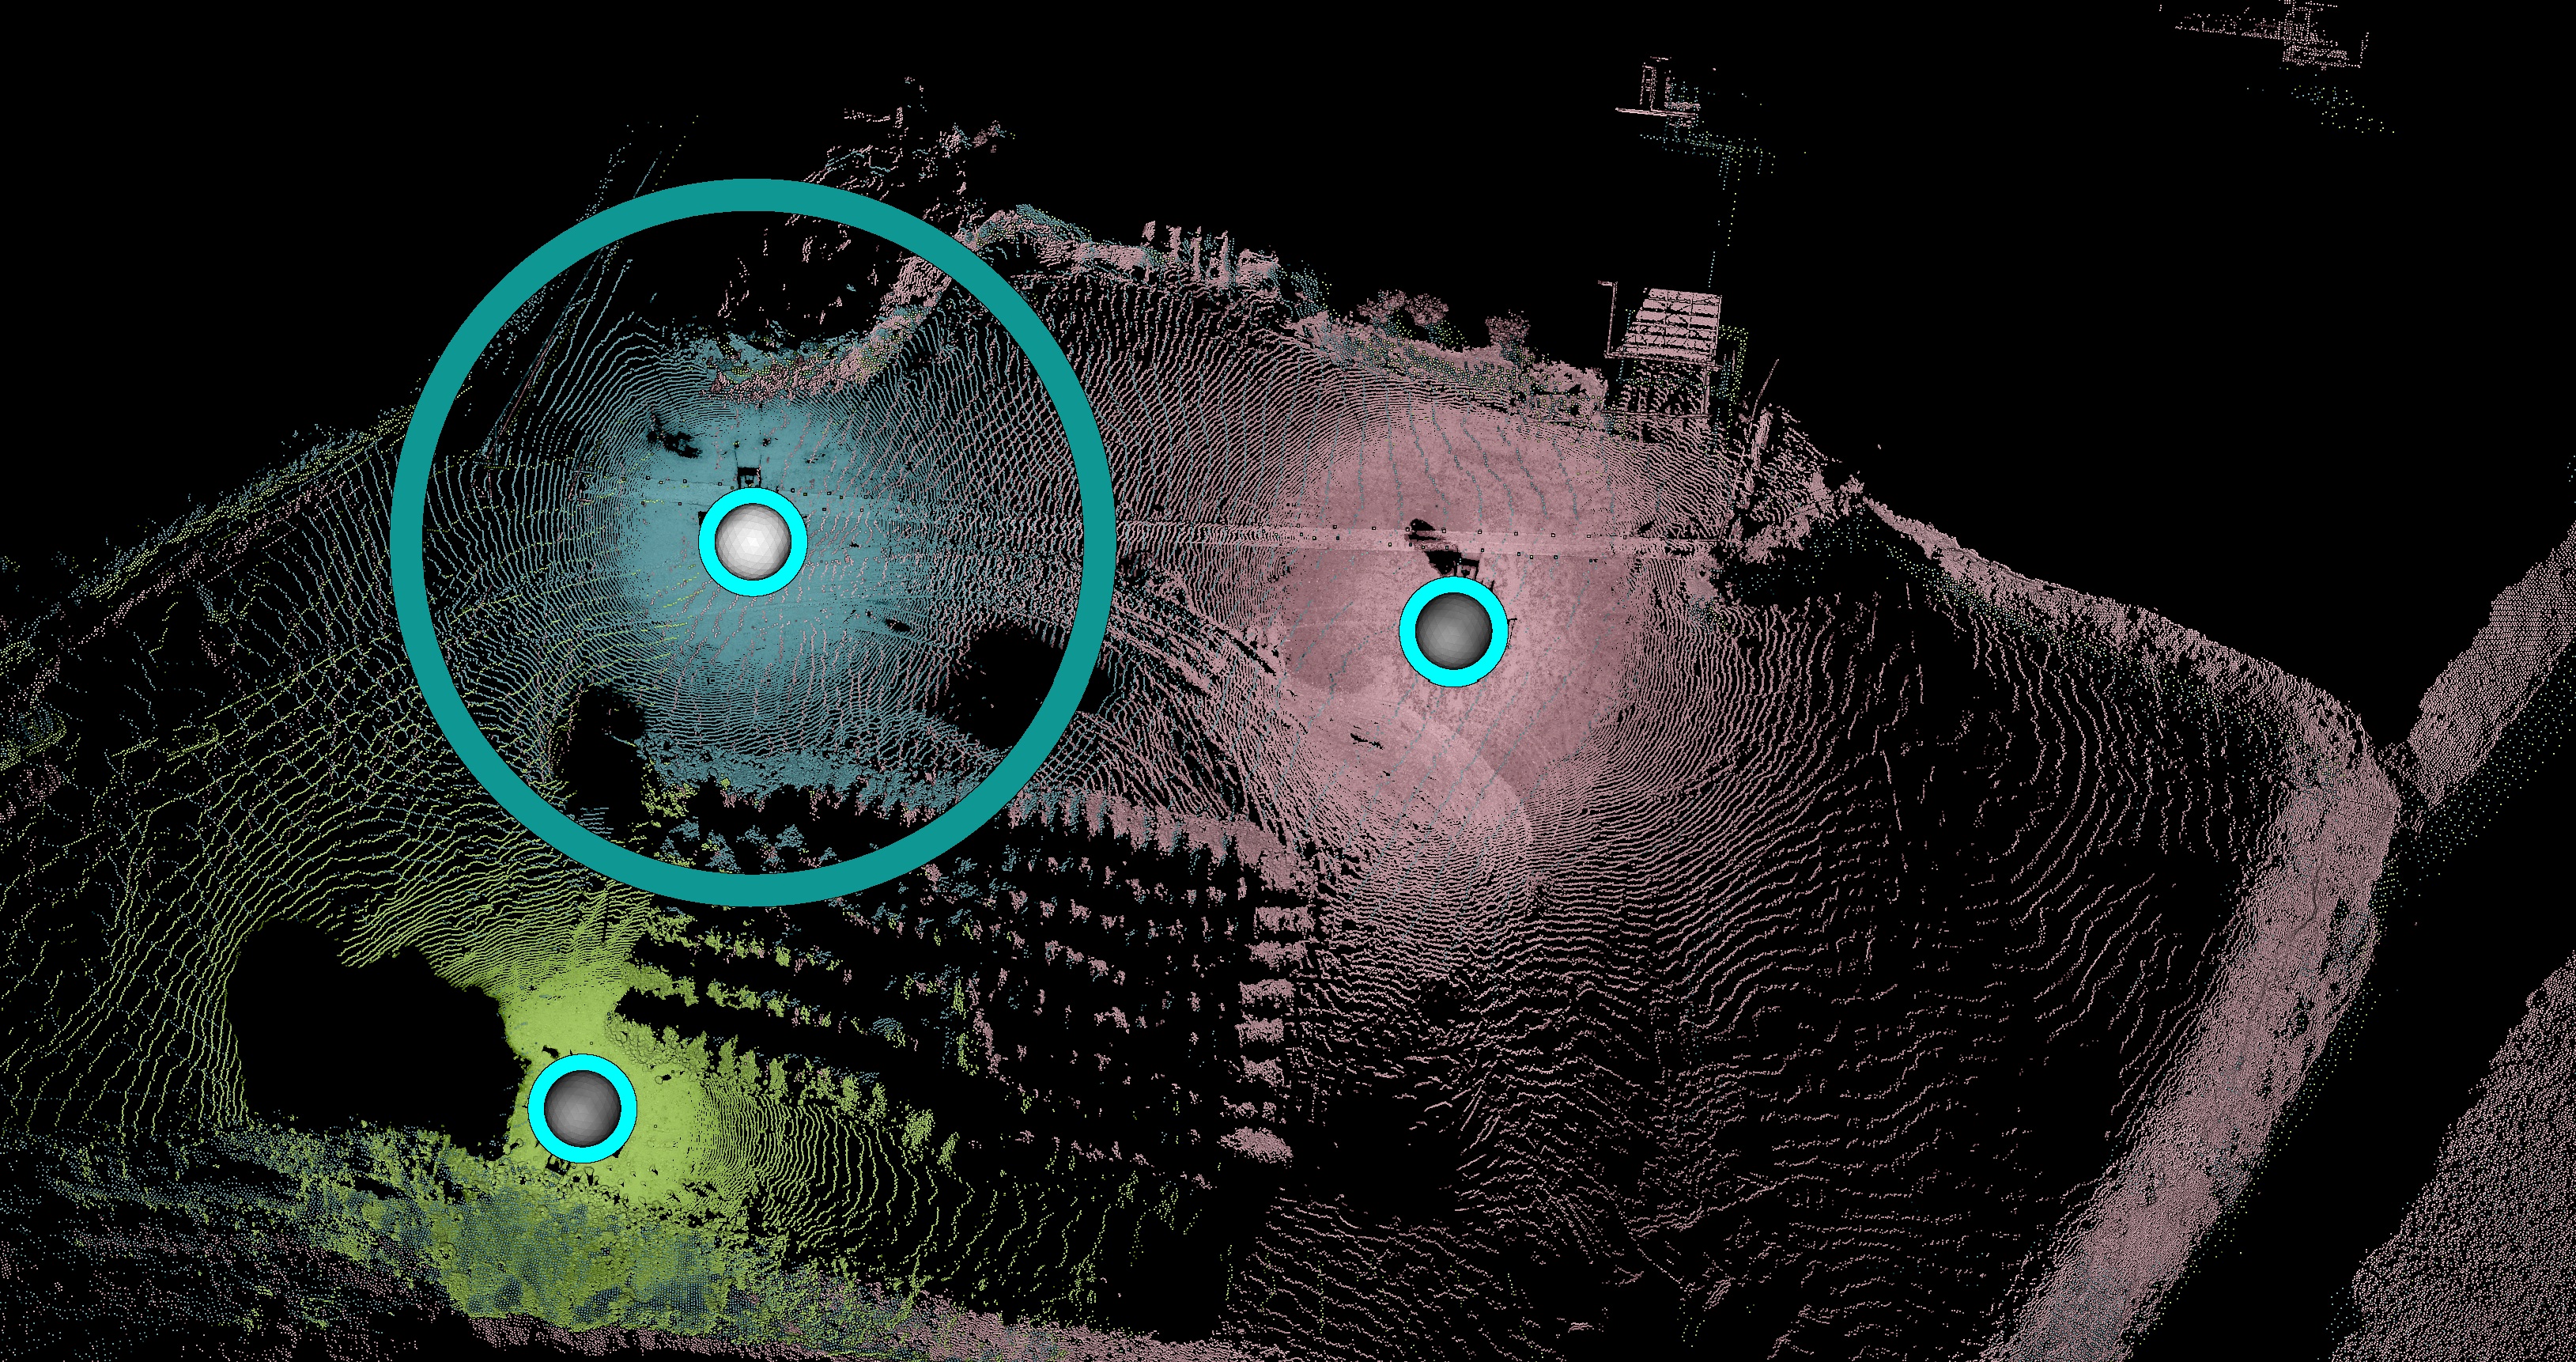
![]() around their origins. When launched, the tool appears as a white sphere inside a cyan ring at the origin of each selected scan. That is, there will be as many instances of the tool as selected scans. Only one instance will be active at any moment. The active tool will also have a larger outer ring in the x-y plane of the corresponding scan. The outer ring is the rotation handle.
around their origins. When launched, the tool appears as a white sphere inside a cyan ring at the origin of each selected scan. That is, there will be as many instances of the tool as selected scans. Only one instance will be active at any moment. The active tool will also have a larger outer ring in the x-y plane of the corresponding scan. The outer ring is the rotation handle.
Note: If no scans are selected, the tool will appear for all visible scans in the view. The tool will be active on the last selected scan.
|
|
|
Three scans selected, one active (top left) |
Tip: Because this tool rotates scans in a horizontal plane, apply Plan View Mode (P) for best viewing.
Note: The inner ring aids visibility as the tool may be obscured by, or blend in with, objects in view.
Tip: If the tool is concealed, zoom out to locate it. The tool stays the same size in view, regardless of the zoom level.
-
To rotate a scan, drag the outer ring of the tool with the middle mouse button.
-
To rotate another scan, select that scan or its bearing rotation tool and repeat.
In the example below, three scans are in view, with two selected. The selected scans are rotated to align with the unselected scan.
For a precise rotation angle, middle-click on the outer ring and enter the required angle.
|
|
|
Precise rotation performed on a fourth scan by typing an angle. |
Note: You might need to perform additional scan registration after rotating.
