Register Reconstruction
The Register Reconstruction tool on the Photogrammetry tab allows you to register a reconstruction to ground control points (GCPs) or existing data.
Note: You only need to register a photogrammetric reconstruction if its registration based on GPS camera positions is unsatisfactory or unavailable, or when camera calibration focal length is wrong.
To proceed, click ![]() Register Reconstruction on the Photogrammetry tab, then follow the steps below.
Register Reconstruction on the Photogrammetry tab, then follow the steps below.
-
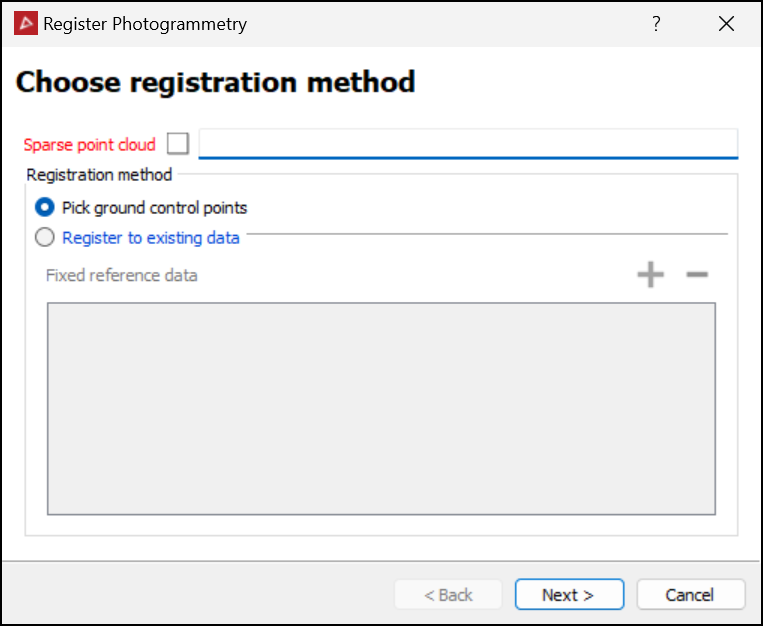
Select the required sparse point cloud
 in the project explorer. It will be automatically added to the Sparse point cloud field.
 -
Choose the registration method:
-
Pick ground control points to register to specific survey points.
-
Register to existing data to register to existing objects, then drag suitable registered objects into the Fixed reference data field.
-
-
Click Next >.
-
Expand below to follow the method chosen in step 2:
 Pick ground control points
-
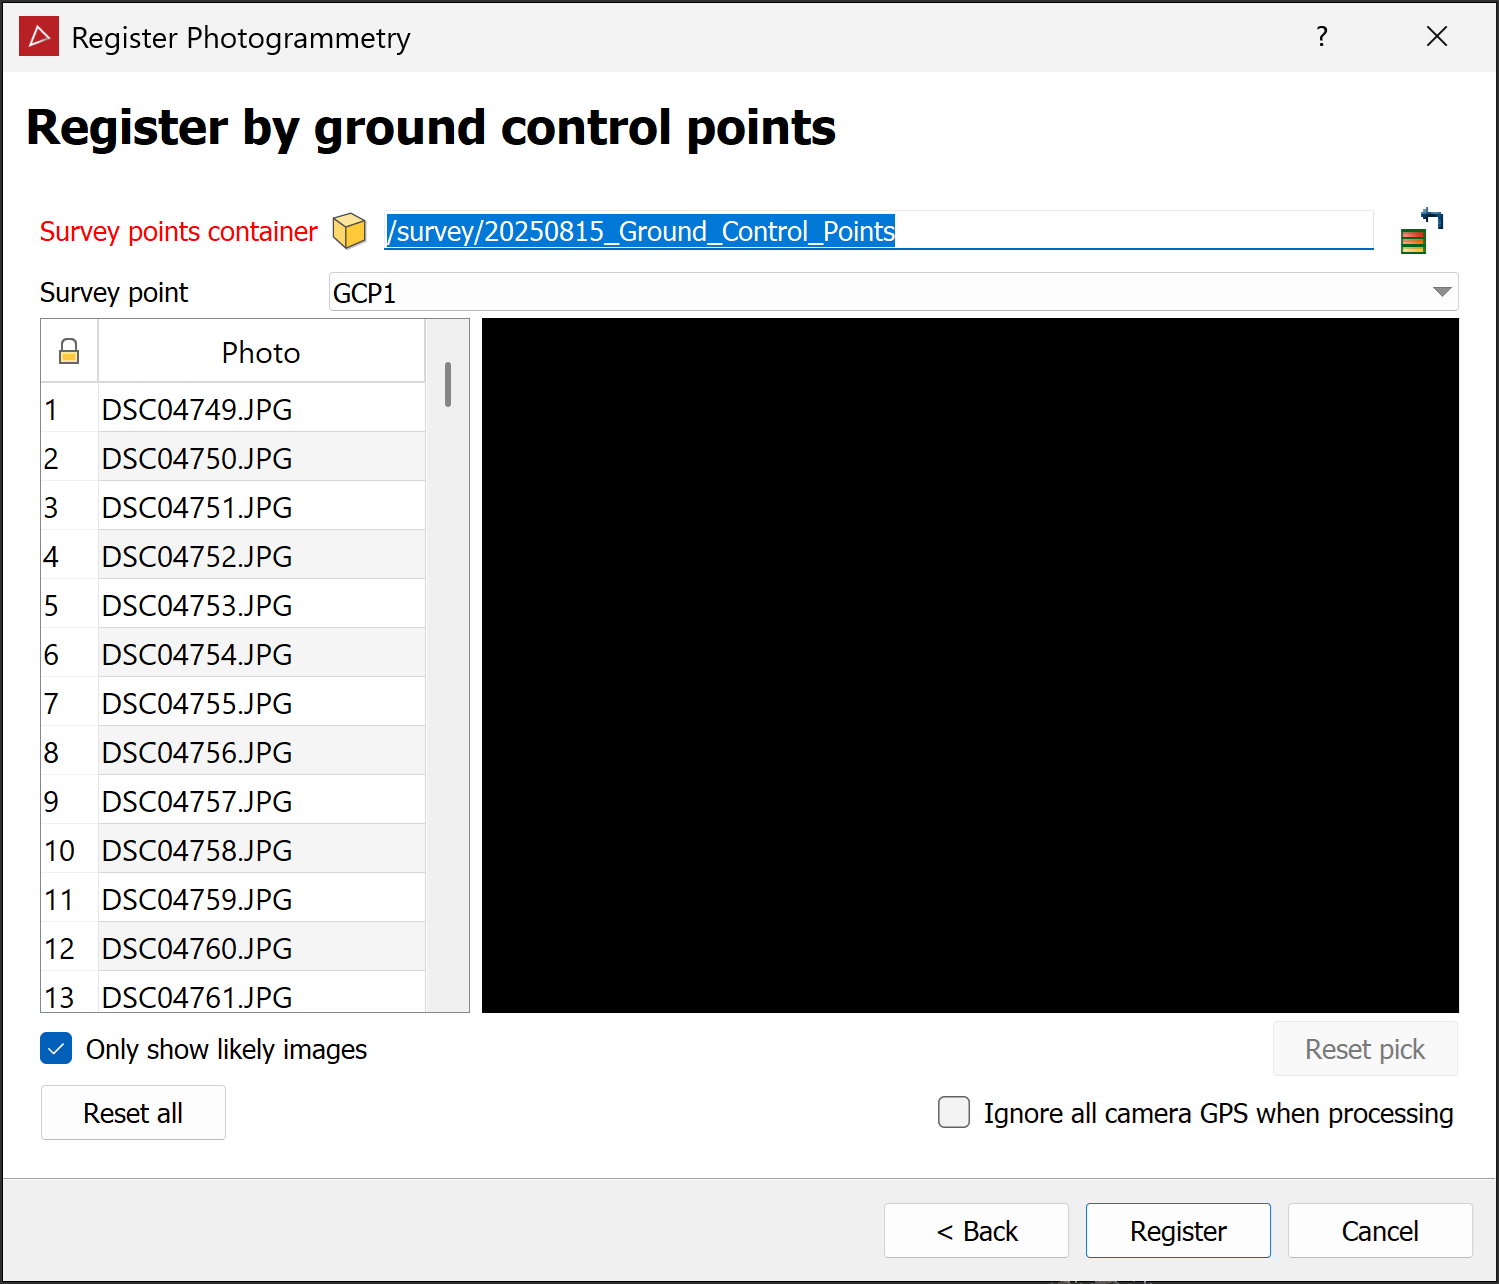
Identify survey points
 to be used as ground control points in the project data and drag their container into the Survey points container field.
Note: If no suitable survey points exist, you must import or create them. See Import > Importing custom text and CSV file formats or Points > Survey Points.
-
If asked to apply a new coordinate system, click Yes.
-
Identify the GCP automatically selected in the Survey point field.
-
Select an image in the list that captures that GCP, then zoom in on the image in the preview pane and pick the selected GCP in the image.
Tip-
Select Only show likely images to filter out images that the software determines do not capture the selected GCP.
-
If you picked the selected GCP in at least two images, its probable location in subsequently selected images will be indicated by cross-hairs.
-
You can select cameras in the 3D view window rather than corresponding images from the list. This may simplify selecting suitable images relative to GCPs.
-
If the images are not near the GCPs, do one of the following to reposition them:
-
Move them closer using the translate and rotate tools.
-
Perform a basic registration with a small number of GCPs, then repeat with more GCPs to improve precision.
-
Note-
When you select a GCP on an image, the image file name will be displayed in bold black text.
-
The number of selected GCPs in an image will appear in brackets after its file name.
-
-
Select the next image in the list that captures the selected ground control point, zoom in the image and make a pick of the selected ground control point in the image. Repeat with other images in the list.
-
Continue selecting other GCPs in the Survey point field and picking them on images.
Note: If the software determines that a selected point is not consistent with points selected in other images, the image file name will be displayed in bold red text. Check that you have selected the correct point in the image.
-
(Optional) Select Ignore all camera GPS when processing if the accuracy of the GPS camera positions is in doubt or the coordinate system of the GCPs does not match the sparse point cloud.
NoteIgnore all camera GPS when processing is only visible if any images have GPS data.
When this option is not selected, the camera focal length will be adjusted to make the reconstruction align with the GCPs while the cameras are held in place. -
Click Register to run the registration process.
Register to existing data
-
Click Next >.
PointStudio will place the existing data and sparse point cloud in separate tiled (but not tied) 3D view windows and will advance the registration tool panel to the next page.
. © Wingtra AG, used under CC BY 4.0. No changes were made to the original data.") Note
NoteThis registration process includes an Iterative Closest Point algorithm (ICP), which is enabled by default, as indicated by the Automatically fine tune option. Note the following behaviours:
-
If the unregistered and existing data are close together, ICP will run immediately. Otherwise, it will run as soon as three point pairs are picked.
-
You can force ICP to run before picking point pairs by disabling and re-enabling Automatically fine tune.
-
When ICP is running, the Registration preview will update and the Automatically fine tune progress bar will indicate data processing is happening.
-
When ICP is finished, the progress bar becomes solid green and is indicated with a tick to its right.
Tip: You can continue picking point pairs while ICP is running.
-
-
Pick at least three pairs of corresponding points in the sparse point cloud and existing data. These will appear in the Picks from unregistered and Picks from fixed lists, respectively. With each pair of points picked, the Registration preview will update.
Tip: Start with three point pairs and wait for ICP to finish. Pick additional pairs only if necessary.
Note-
With Automatically fine tune selected, you do not have to pick point pairs precisely. ICP will align the points.
-
You can pick points either alternating between view windows, or picking all from one view window before the other. However, you must pick points in the same order in both view windows. The algorithm will not automatically detect point pairs.
-
-
(Optional) If ICP produces unsatisfactory results, deselect Automatically fine tune to force registration to fit the picked point pairs.
Click Apply to accept the registration.
Tip: To save time, you can click Apply while ICP is running as soon as the preview is satisfactory.
-
-
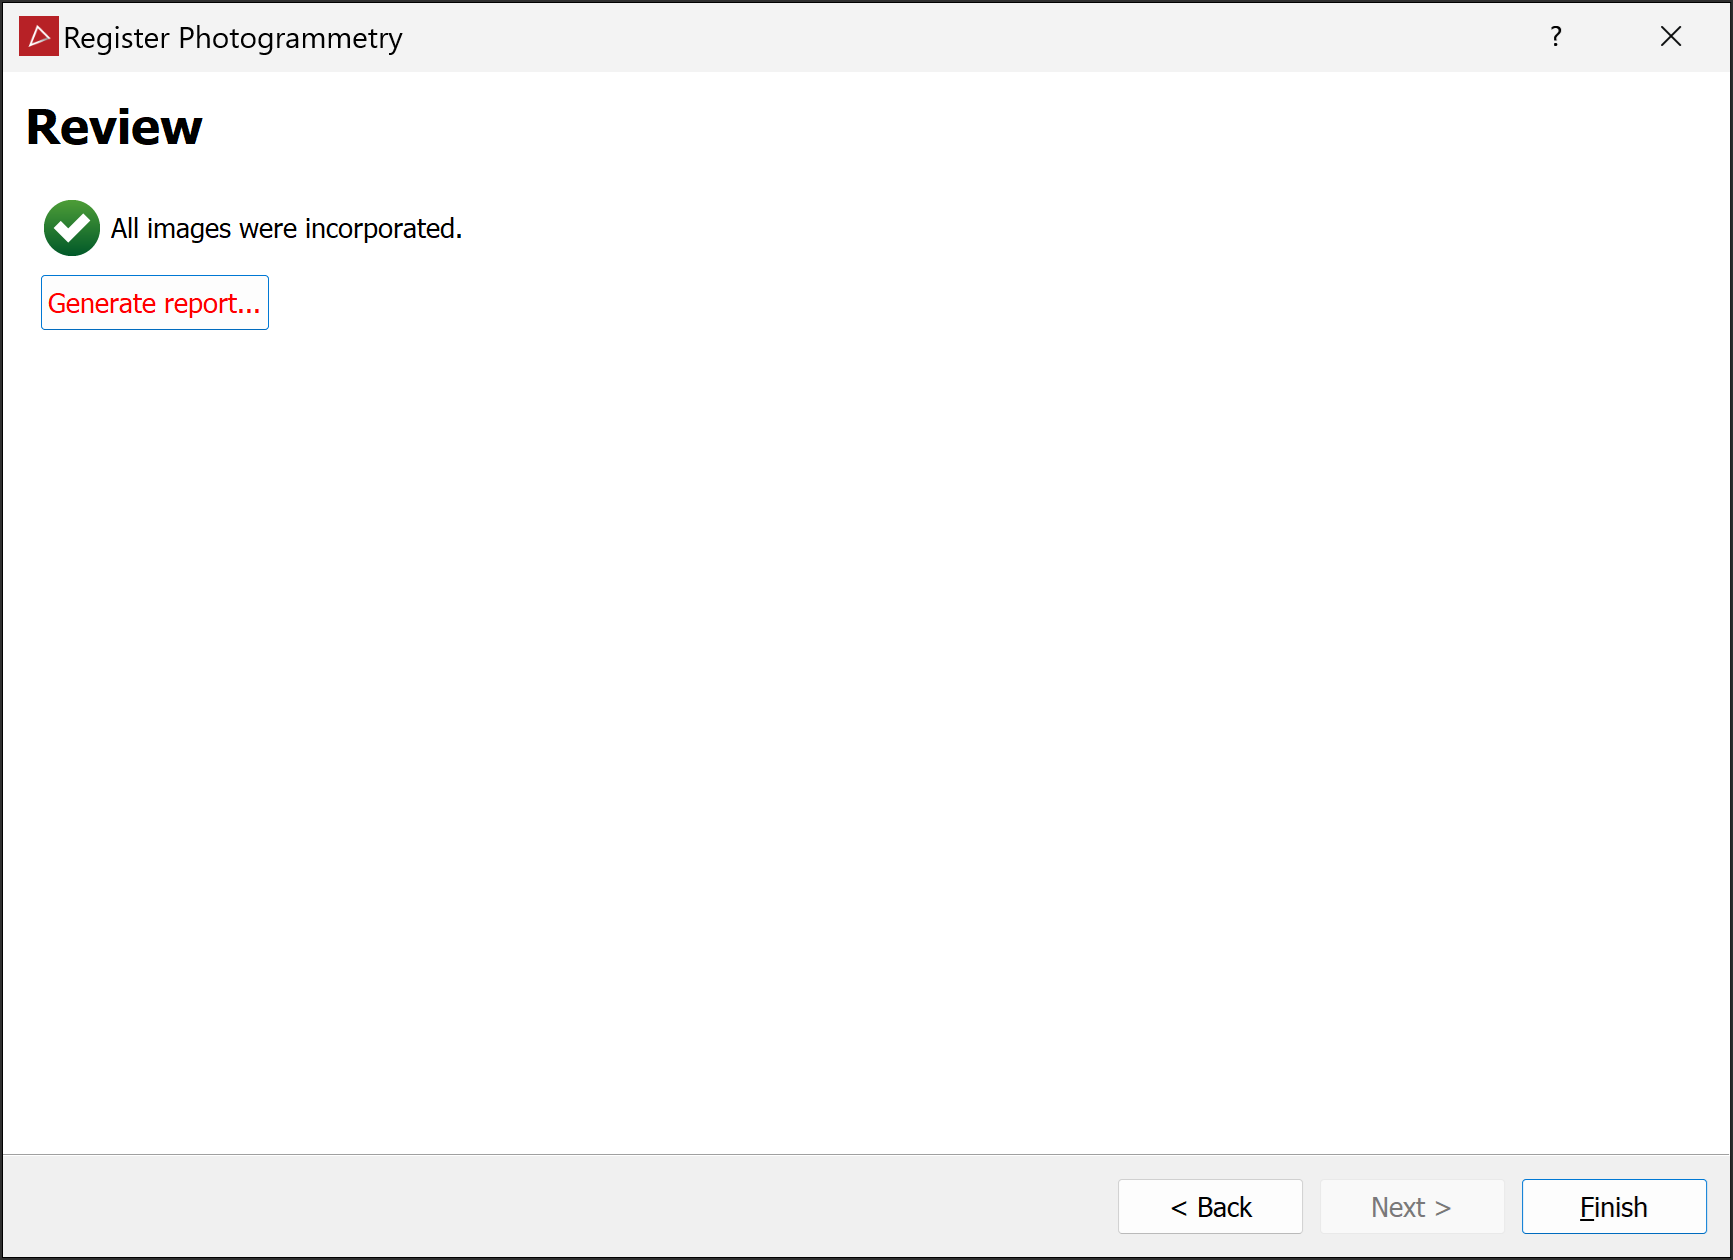
When the registration process has finished, check the result in the view window.
-
(Optional) Click < Back to repeat the registration process as many times as necessary to achieve a satisfactory result, adjusting settings each time.
-
(Optional) Click Generate report... to produce a report.
The report will be the same as the new project report, but with registration information added.
Note: The report is generated as an HTML file (
.html) to be viewed offline in a web browser. From there, you can print the report or save it in your preferred document format, such as PDF. -
Click Finish.
