Geological
The Geological group on the Labs tab contains tools for highlighting areas on a surface according to rock types and other geological criteria.

|
|
Colour an area of a surface within a polygon. |
|
|
Apply a pattern to a surface. |
Colour Surface by Polygon
The Colour Surface by Polygon tool enables you to use the projection of a polygon to apply a colour to a surface. Different methods of projection are possible to accurately define the region.
Note: To exactly colour the region inside the polygon, duplicate points will be added which will produce an inconsistent surface.
Note: Ensure the surface is not in photographic display mode, otherwise the surface display will be impaired. Use the ![]() Appearance tool to set the surface to anything other than photographic.
Appearance tool to set the surface to anything other than photographic.
To colour a surface by polygon, proceed as follows:
-
Select the surface

 to be coloured.
 -
Select the polygon
 to be used as the boundary.
 -
On the Labs tab, in the Geological group, click
 Colour Surface by Polygon.
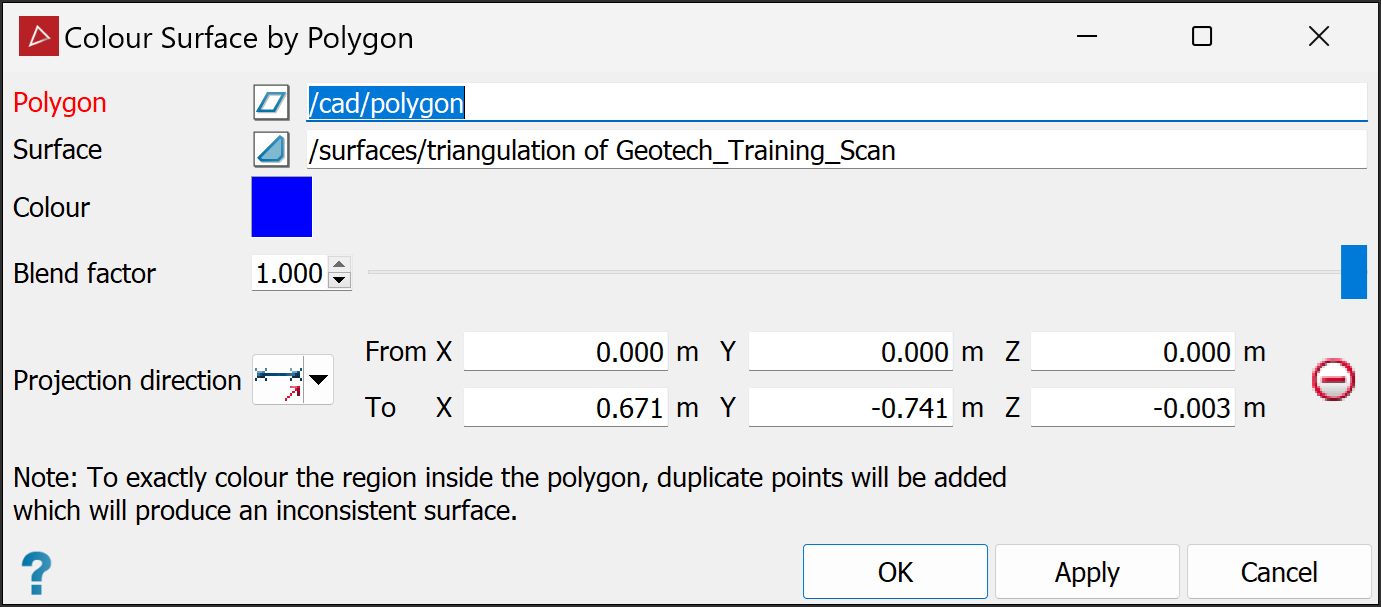
-
If the Polygon and Surface fields do not auto fill, drag the objects to their respective fields or manually type in their paths and names.
-
Select the colour you want to project onto the surface.
-
Select the Blend factor. This will dictate to what degree the colour will mix with underlying colours.
-
Select the Projection direction method and parameters, as described below. This will specify the direction in which to project the polygon and cut the surface.

Two points
Define the direction by specifying two points.

Facet
Make the direction perpendicular to a selected facet.

Axis aligned
Define the direction by an axis of the view window.

Bearing and inclination
Define the direction by a bearing and inclination angles.

Action plane axis
Define the direction by an axis of the action plane.
-
Fill in the remaining fields appropriate to the type of projection selected (if required).
-
Click OK or Apply to complete the process.
|
|
|
|
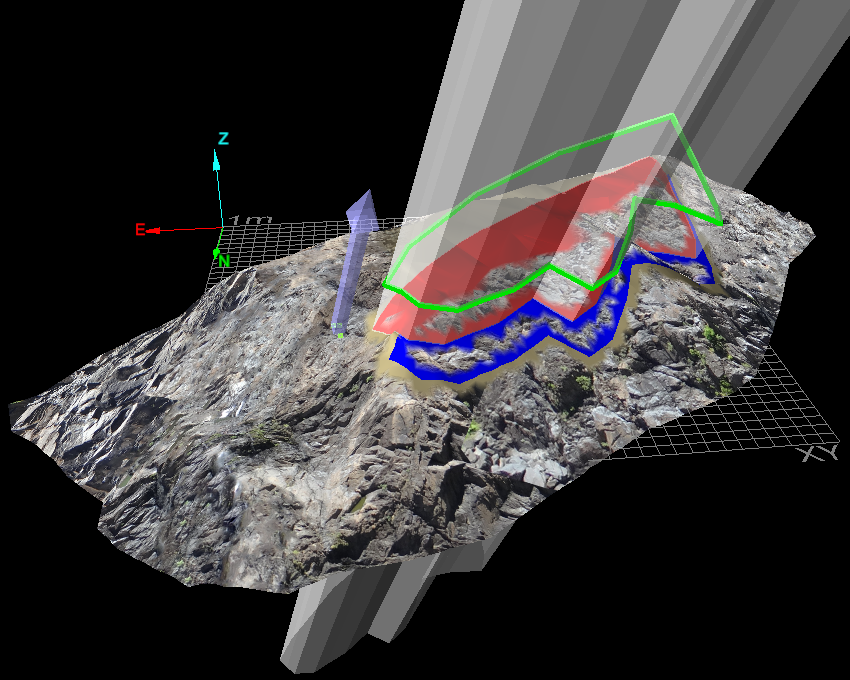
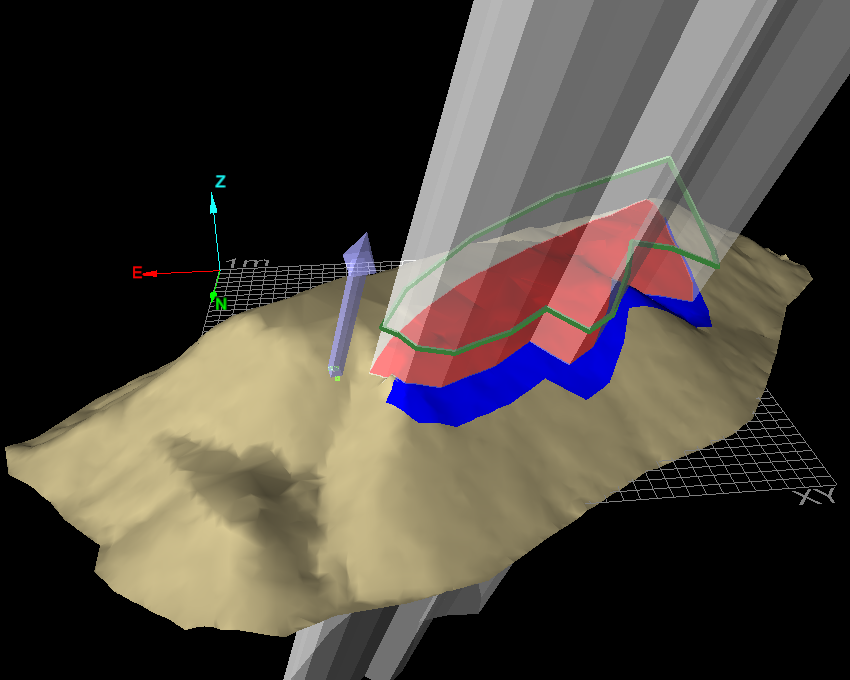
Example with wrong surface setting - photographic surface displayed. |
Example showing different coloured regions from different projections. |
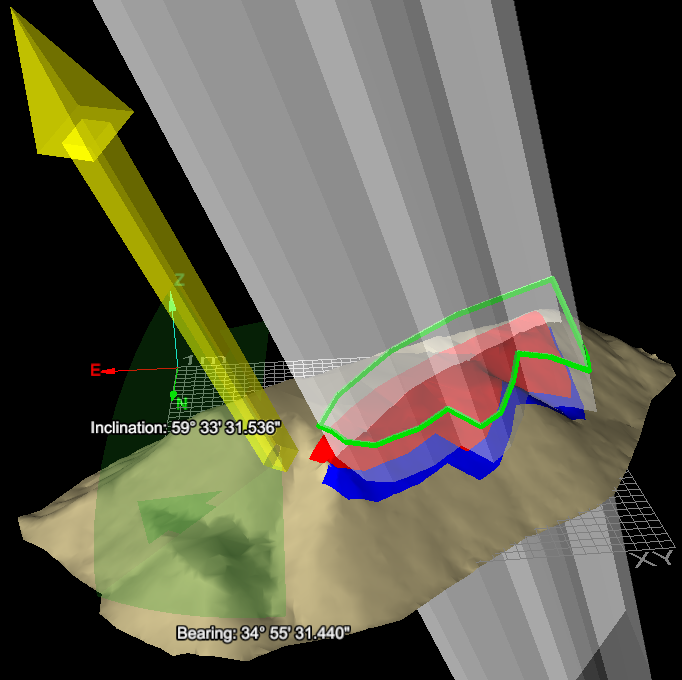
Example of Bearing and inclination projection. |
Apply Pattern
The Apply Pattern tool enables you to apply a texture-fill pattern to a surface, such as those used in geological face maps to denote rock types.
Note: The pattern
is applied as a photograph and is only visible in photographic display mode. Use the ![]() Appearance tool to set the surface to photographic. The pattern will not be visible in
the remaining display modes.
Appearance tool to set the surface to photographic. The pattern will not be visible in
the remaining display modes.
To apply a pattern to a surface, proceed as follows:
-
Select the surface
to be patterned. -
On the Labs tab, in the Geological group, click
 Apply Pattern.
 -
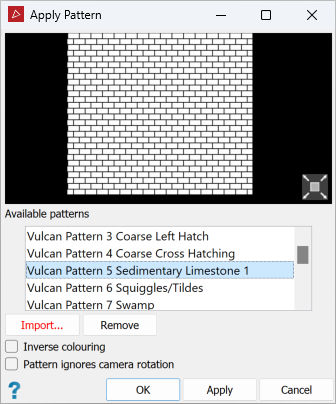
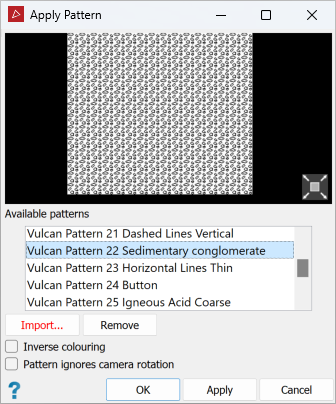
Select one of the available patterns from the drop-down list.
-
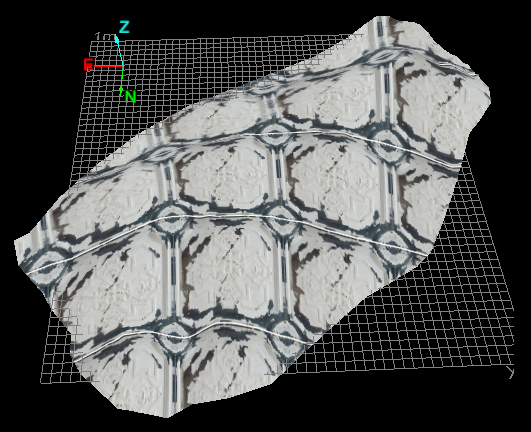
Select Pattern ignores camera rotation if you want the pattern to stay still during camera movements, as if stuck to the screen background. Otherwise the pattern will appear to be draped over the 3D contours of the surface.
-
Press OK or Apply to place the pattern on the surface.
|
|
|
Example: Pattern ignores camera rotation is not selected. The pattern wraps over the surface. |
Importing a pattern
A pattern consists of an individual image file that is tessellated across the surface. PointStudio is supplied with a selection of commonly used geological symbols in the portable bitmap (.pbm) format. However, you can import your own image files to build different patterns. PointStudio supports most image formats for this purpose.
To import a pattern:
-
Click Import to import a new pattern.
A new panel will open for you to navigate to the new pattern file.
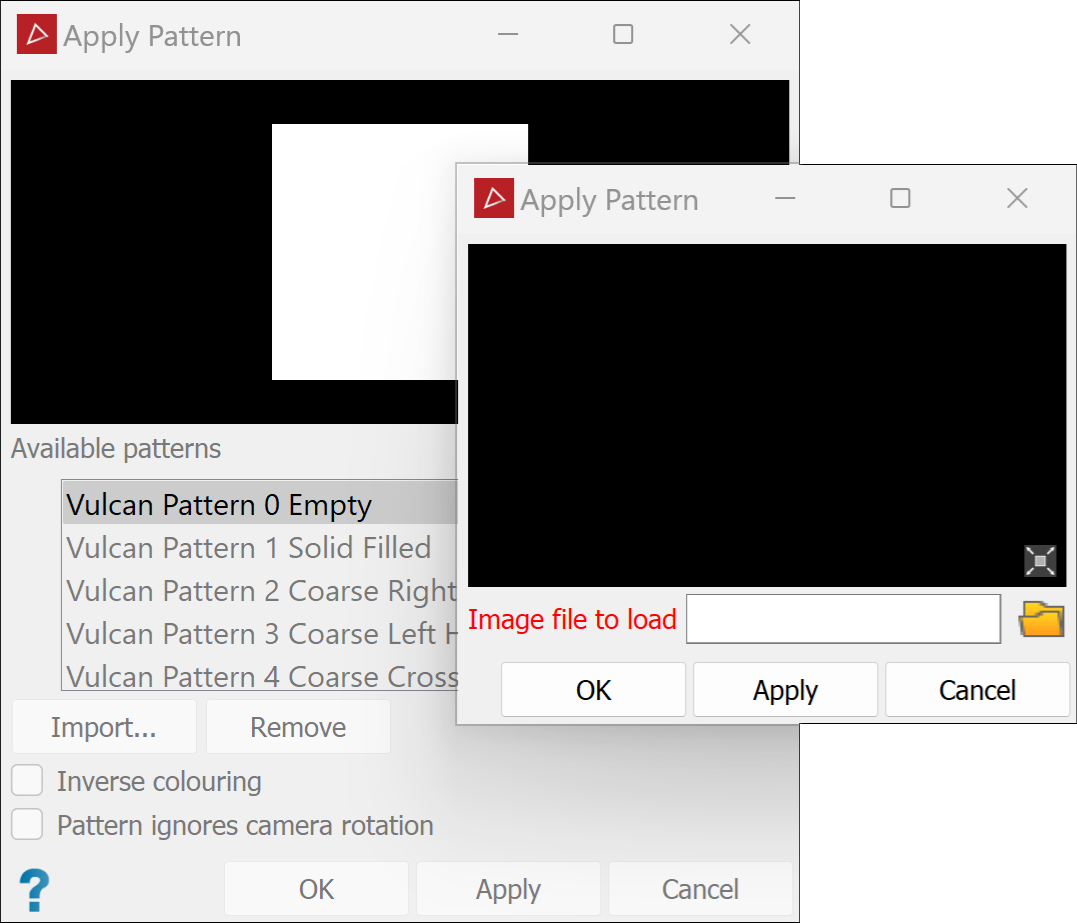
Note: The import panel will display a preview of the selected pattern file.
-
Click OK or Apply.
The pattern will be added to the list.
Tip: You can view available patterns with a suitable image viewer. Patterns are saved in the main program location (typically
C:\Program Files\Maptek\PointStudio<version>), in the folder\etc\patterns.
Removing a pattern
To remove a pattern from a surface, do the following:
-
On the Labs tab, in the Geological group, click
Apply pattern. -
Select a pattern from the scrolling list.
-
Click Remove.
-
Click OK or Apply.
