Assigning Downhole Depth Field
If the Downhole Variography option is disabled, it likely means a required database field is not linked. The process involves linking the correct database field through the Properties panel.
Follow these steps:
-
Click on the Down Hole option in the Properties panel to open the prompt window.

-
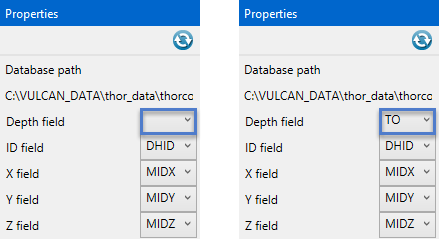
In the Down hole prompt panel, locate the Depth field.
-
Use the drop-down menu to select the correct database link for that field.
-
Once selected, click OK to confirm and return to the Properties panel.
Alternate Method
To manually assign the depth field:
-
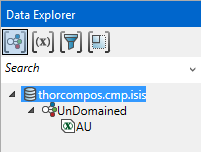
Open the Data Explorer.
-
Click on the name of the database. This will activate the Properties panel with editable links.
-
Validate the field assignments by ensuring the Depth field is assigned correctly:
Once the Depth field is properly linked, the Downhole option will be enabled and available for use.
