Appendices
Appendix A – SQL Database setup
After running Face Mapper > Setup > Create Resources, two .sql files will be generated based on the panel settings:
-
FaceMapping.sql – This .sql file contains a SQL query that will automatically build all the required tables and fields (with their correct formats) for the mapping polygons.
-
FaceMappingSamples.sql – This .sql file contains a SQL query that will automatically build all the required tables and fields (with their correct formats) for the sample lines. This can be used as a staging area before importing the data into a production drillhole database system.
For running on a production site, the Database Administrator (DBA) or IT department will generally be in charge of the database setup. In this scenario, provide them with the FaceMapping.sql and FaceMappingSamples.sql files and ask them to create two database using the .sql files.
In this scenario, the DBA or IT representative should then provide you with the server name the databases have been created on and the names for each of the databases (ideally these should be the same as the .sql files). At this point, you can then skip to the Create ODBC DSN connections to databases section.
In other situations, if wanting to set up a local database on your own computer for testing, the full process is outline below. Bear in mind, local administrator rights to the computer will be required to follow this process.
Install SQL Server Express
In order to store all the data, as SQL server needs to be setup. A lite and free version of SQL Server, called Express, is perfect for small datasets and testing scenarios. This can be downloaded and installed from:
https://www.microsoft.com/en-au/sql-server/sql-server-downloads The default installation parameters are generally fine.
Reboot computer
Once SQL Server Express has been installed, reboot the computer for the server to start.
Install SQL Server Management Studio
Once a server is running, an interface is required to interact with the server and to setup the mapping databases. Microsoft SQL Server Management Studio (MSSMS) can be downloaded and installed from:
https://docs.microsoft.com/en-us/sql/ssms/download-sql-server-management-studiossms?view=sql-server-ver15
Create the mapping databases
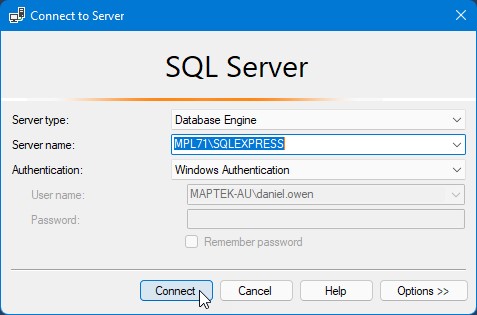
With the server setup and an interface for the server installed, open MSSMS and connect to the appropriate server. If this was a local Express server, the server name is usually your computer name (can be found as the ‘Device name’ in Windows settings, under System > About) followed by a backslash and ‘SQLEXPRESS’.
Create FaceMapping database
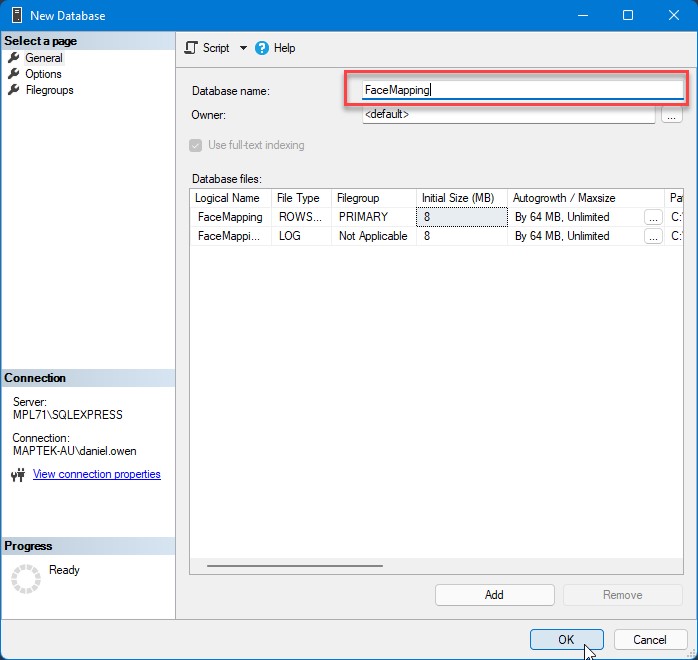
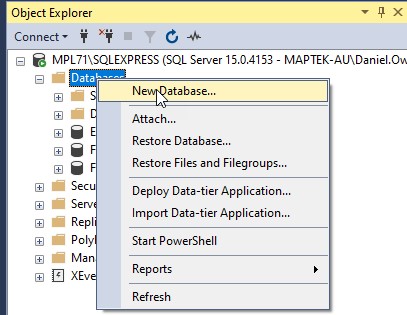
Firstly create the FaceMapping database. This can be done by right-clicking on the ‘Databases’ folder under the main server node at the top of the Object Explorer.

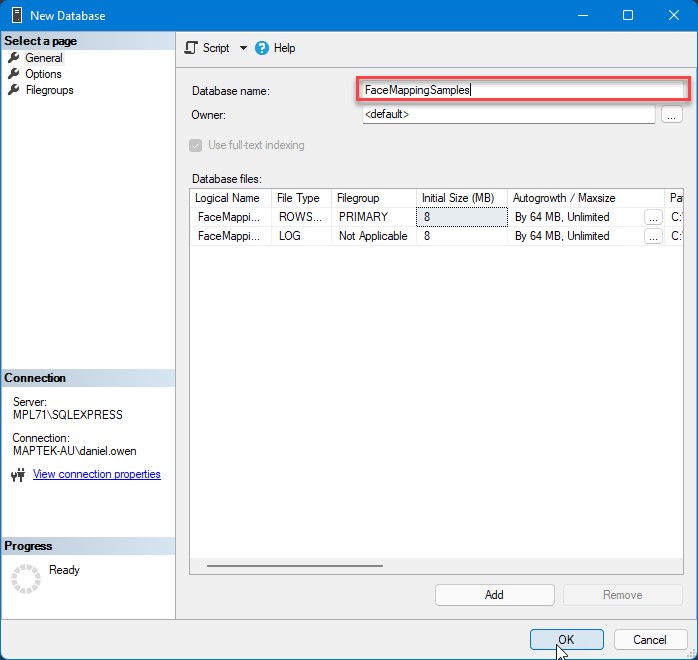
Define the Database name as ‘FaceMapping’, and press OK:
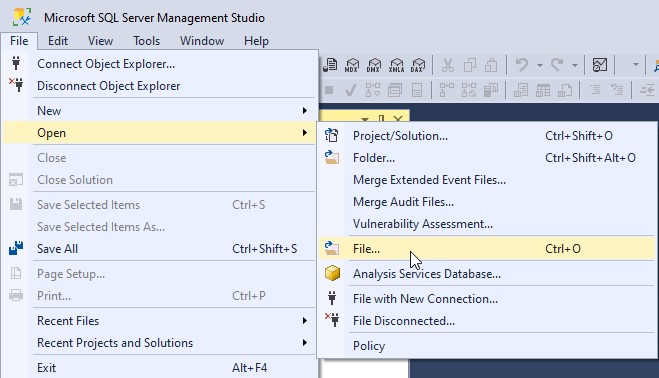
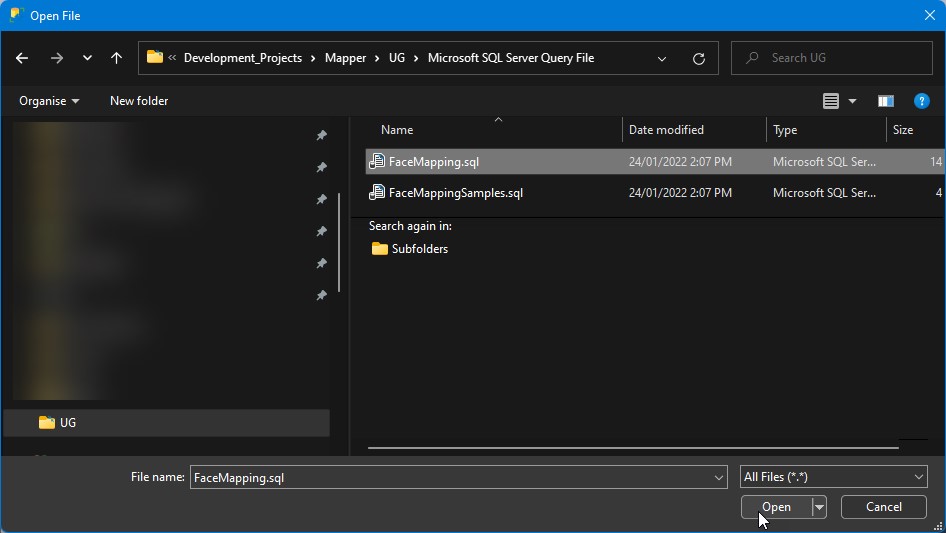
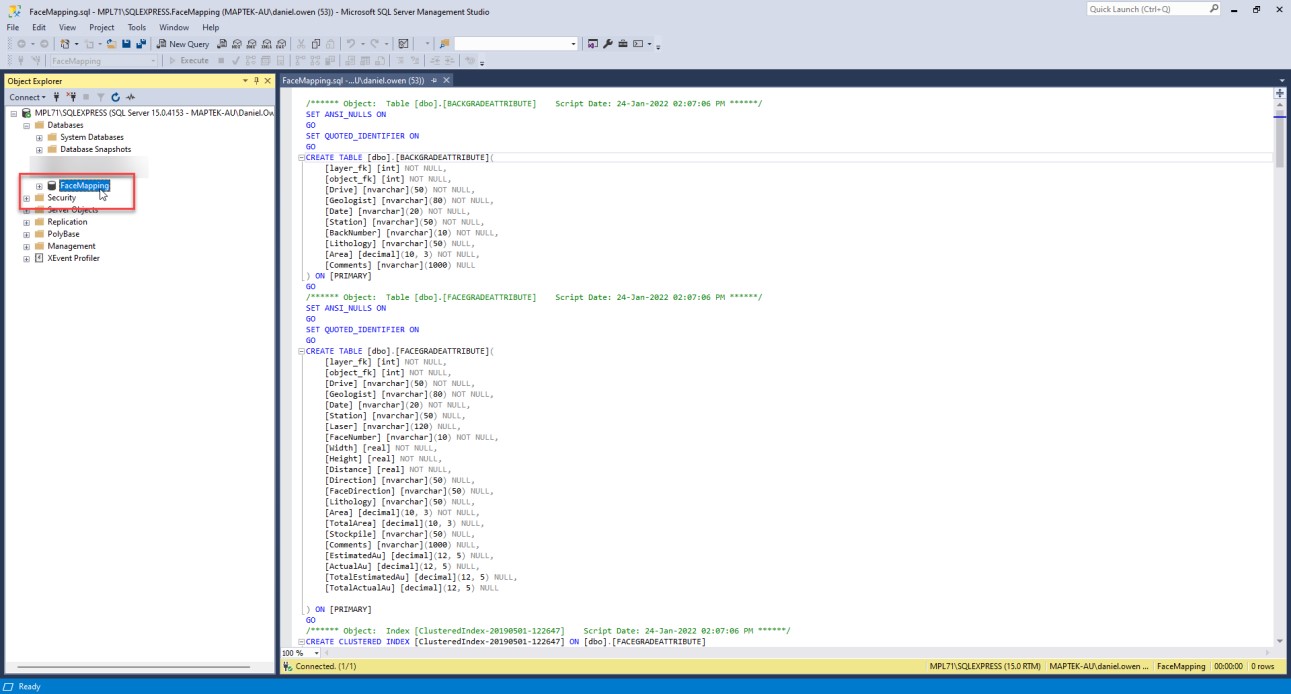
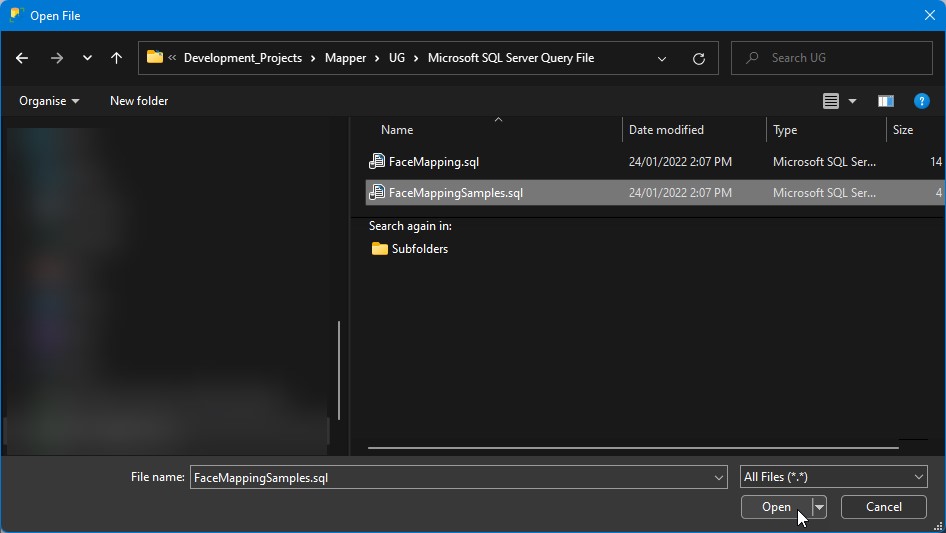
Navigate to File > Open > File and browse to the FaceMapping.sql file created in the Face Mapper Vulcan project directory:
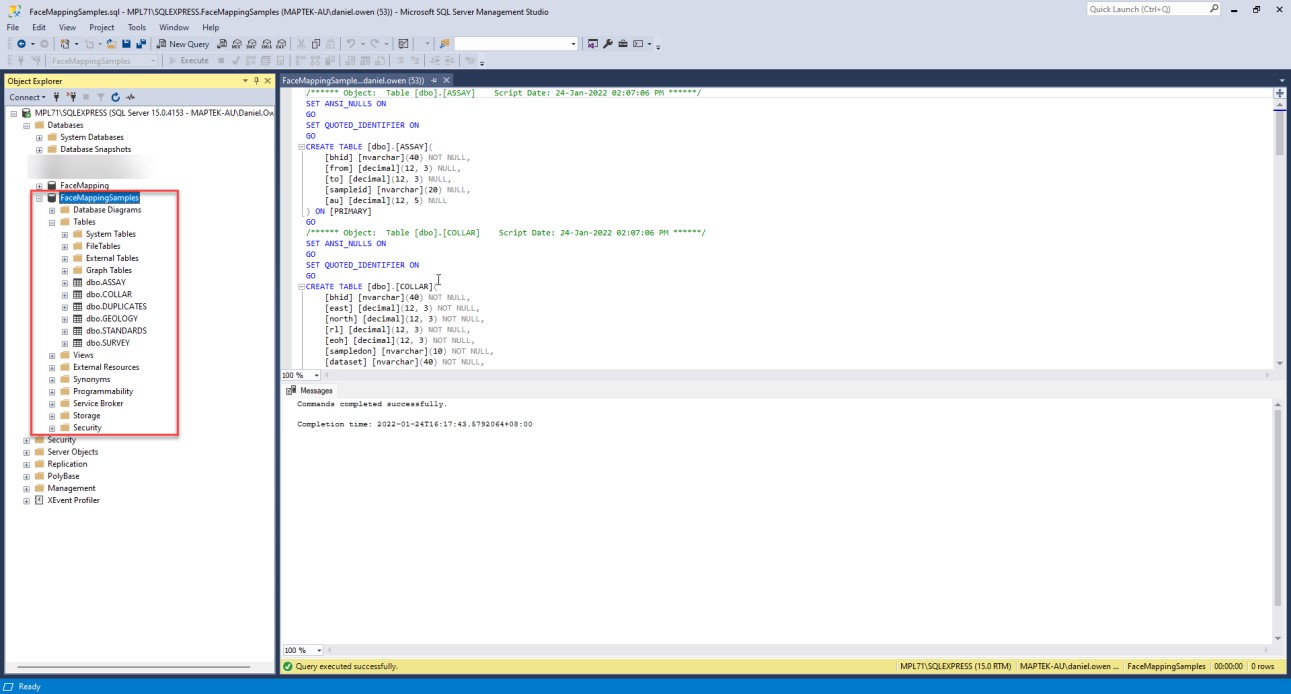
Select the newly created Database in the Object Explorer:
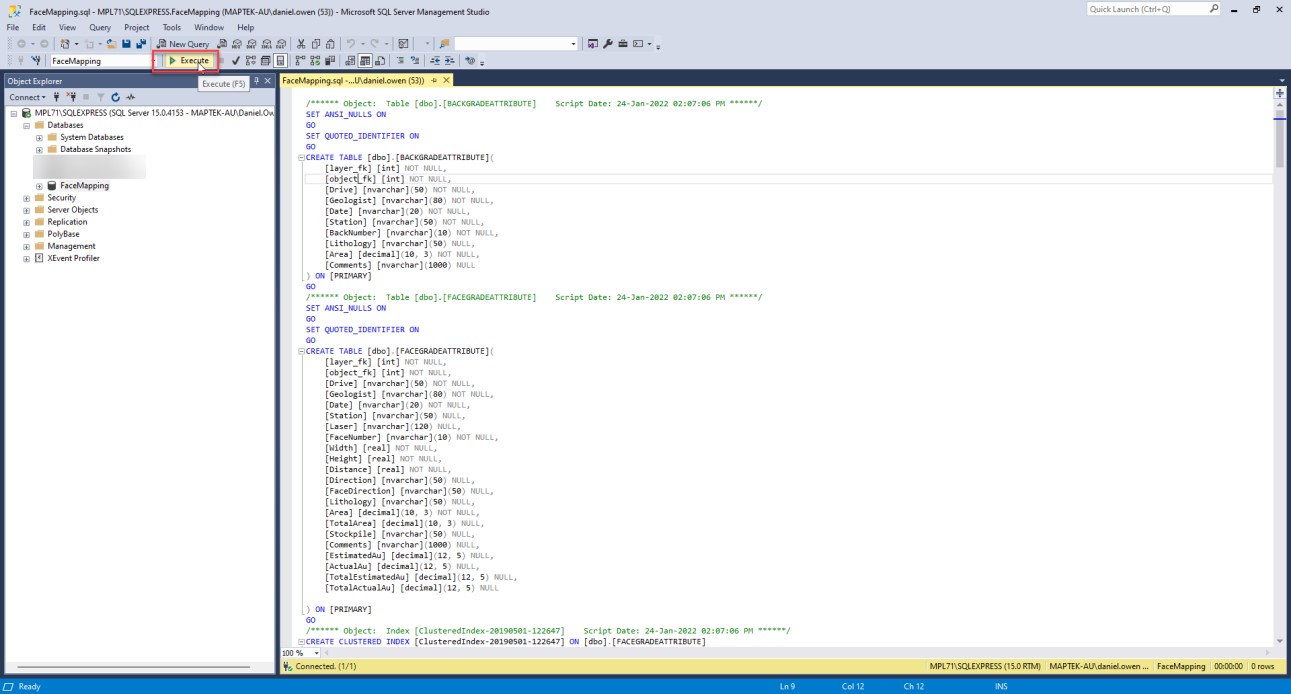
Click into the FaceMapping.sql file and then press “Execute” to run the SQL query:
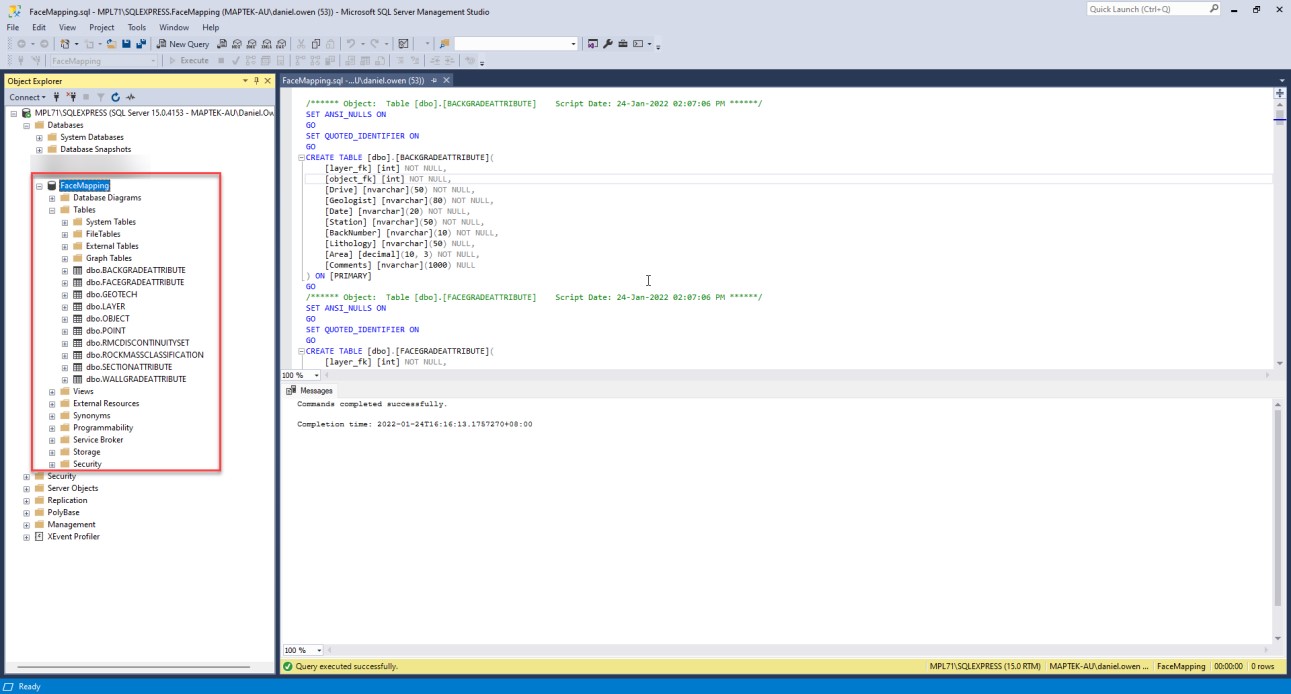
This will create all the required tables and fields for the mapping polygons and attributes:
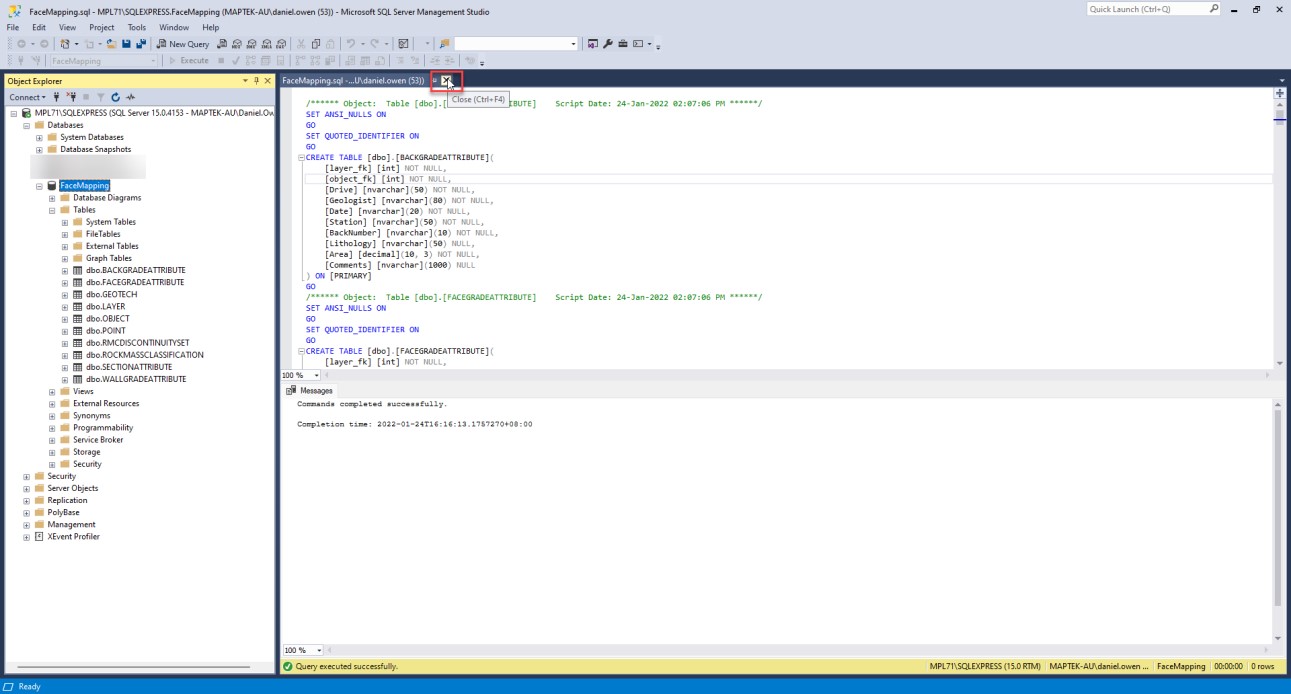
Close the FaceMapping.sql file:
Create FaceMappingSamples database
Secondly, create the FaceMappingSamples database. This can be done by right-clicking on the ‘Databases’ folder under the main server node at the top of the Object Explorer.
Define the Database name as ‘FaceMappingSamples’, and press OK:
Navigate to File > Open > File and browse to the FaceMappingSamples.sql file created in the Face Mapper Vulcan project directory:
Select the newly created Database in the Object Explorer, click into the FaceMappingSamples.sql file and then press “Execute” to run the SQL query:
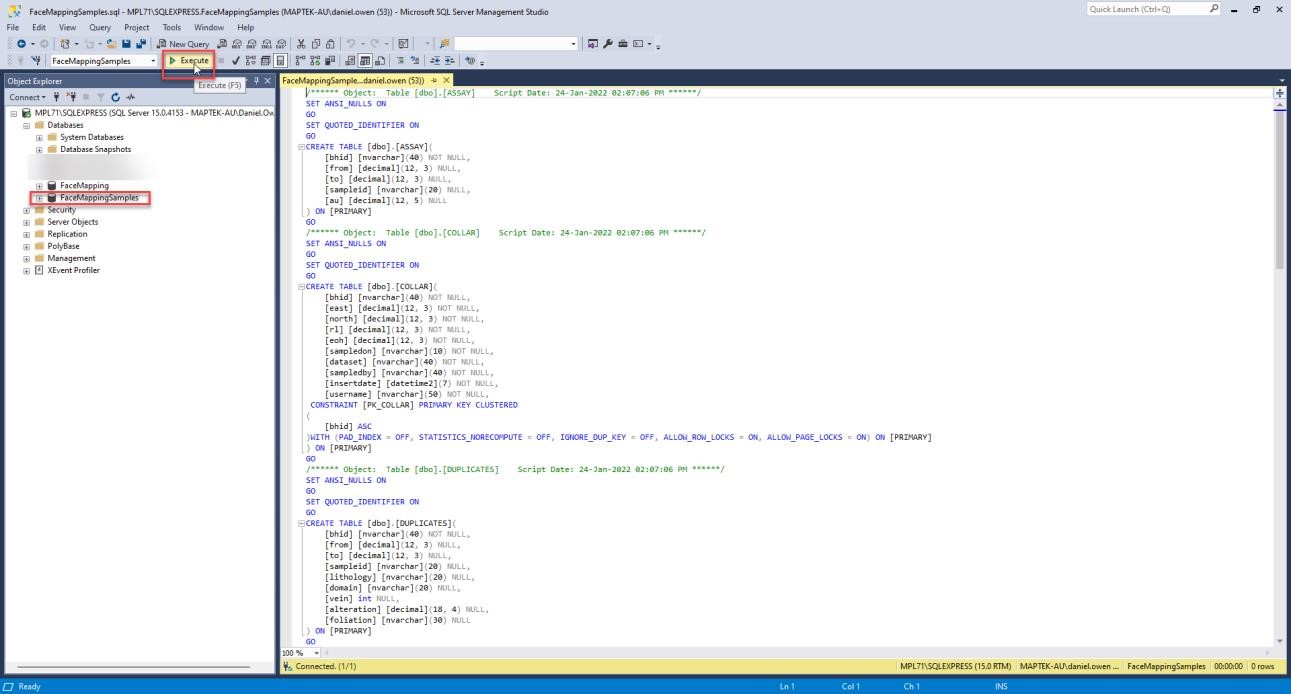
This will create all the required tables and fields for the drillhole sample lines:
Close the FaceMappingSampels.sql file.
Create ODBC DSN database connections
Next, an ODBC DSN database connection needs to be made to the database, so that the software knows where to send the mapping data.
Search in the Windows search bar for “odbc” and select the “ODBC Data Sources (64-bit)” option. Be mindful not to select the 32-bit option, as Vulcan requires a 64-bit ODBC connection.

Create an ODBC DSN called FaceMapping
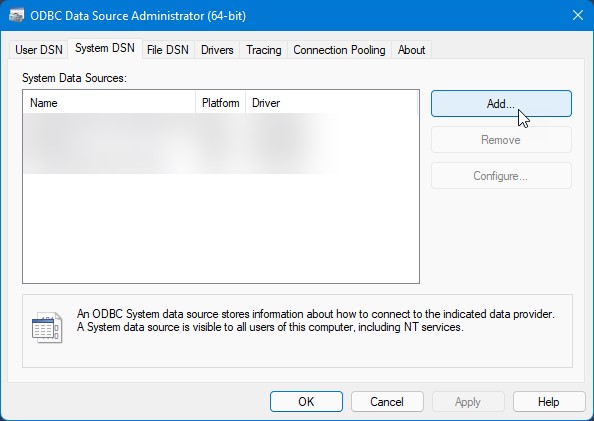
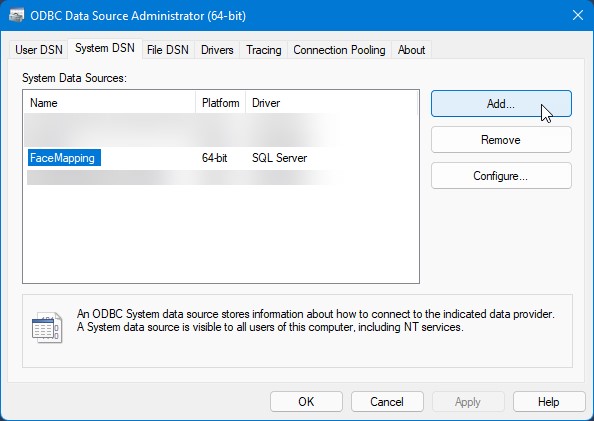
Navigate to the “System DSN” tab (which will be available for all users that logon to the computer, creating a “User DSN” will only be available for the user who creates it) and select “Add”:
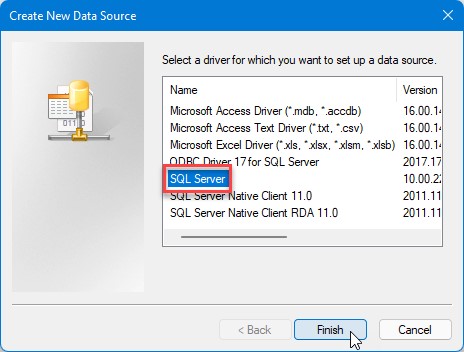
Select the “SQL Server” option from the list and press Finish:
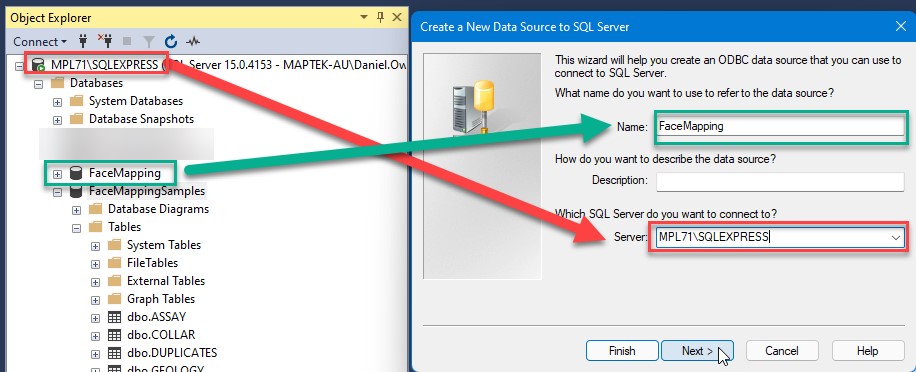
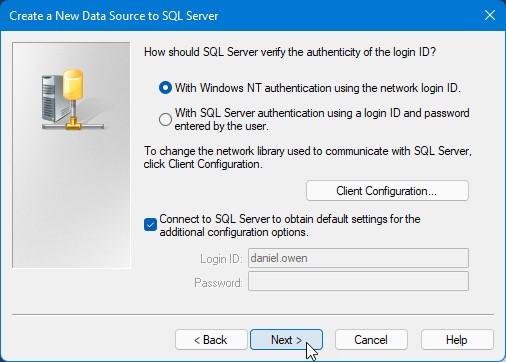
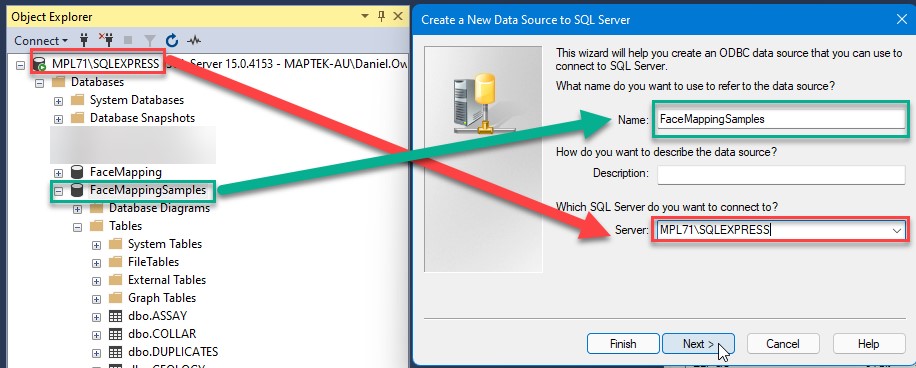
Define the data source name as “FaceMapping” and the Server as the server to connect to. If the site DBA or IT have setup and the database and provided a server name, enter that here. If setting up a local server for testing, enter the name of the server created in the steps above:
Select Next on this panel:
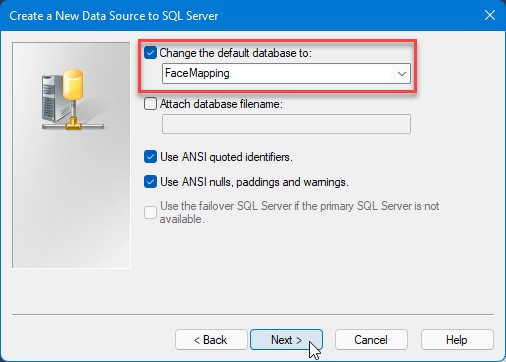
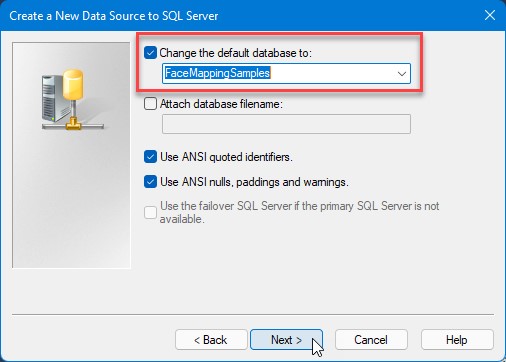
Enable the “Change the default database to:” checkbox and select the FaceMapping database, then press Next:
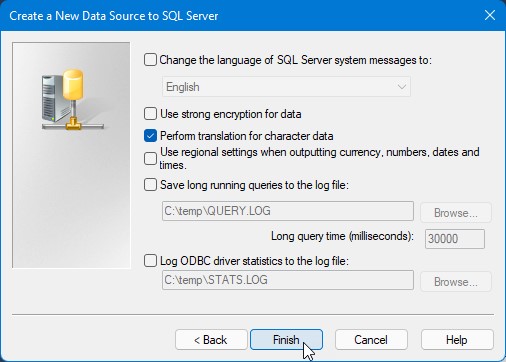
Press Finish on the next panel:
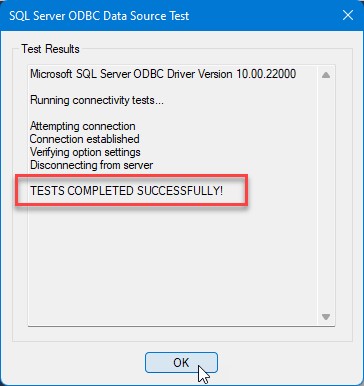
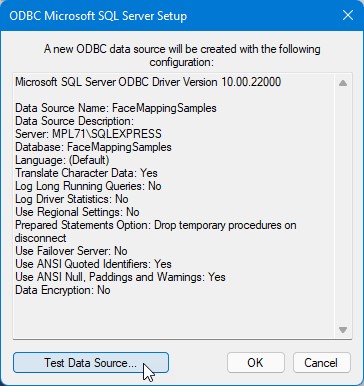
Press Test Data Sources:
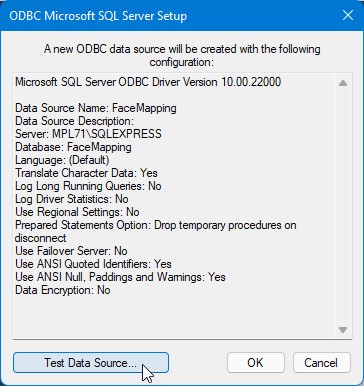
If the result is “TESTS COMPLETED SUCCESSFULLY”, the setup process succeeded:
Create an ODBC DSN called FaceMappingSamples
Next, create the ODBC DSN connection for the FaceMappingSamples database.
Navigate to the “System DSN” tab (which will be available for all users that logon to the computer, creating a “User DSN” will only be available for the user who creates it) and select “Add”:
Select the “SQL Server” option from the list and press Finish:
Define the data source name as “FaceMappingSamples” and the Server as the server to connect to. If the site DBA or IT have setup and the database and provided a server name, enter that here. If setting up a local server for testing, enter the name of the server created in the steps above:
Select Next on this panel:
Enable the “Change the default database to:” checkbox and select the FaceMappingSamples database, then press Next:
Press Finish on the next panel:
Press Test Data Sources:
If the result is “TESTS COMPLETED SUCCESSFULLY”, the setup process succeeded:
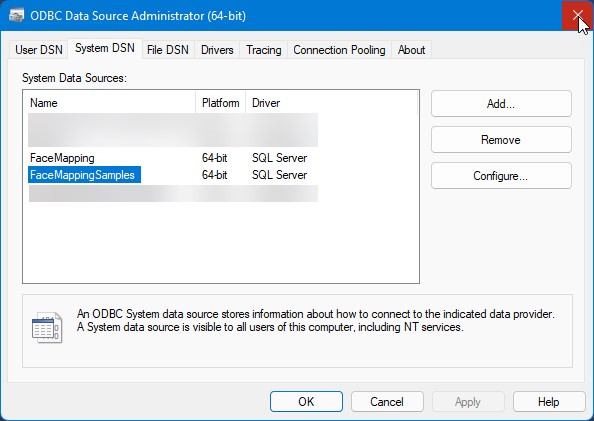
There should now be two System DSN’s setup for the FaceMapping and FaceMappingSamples databases:
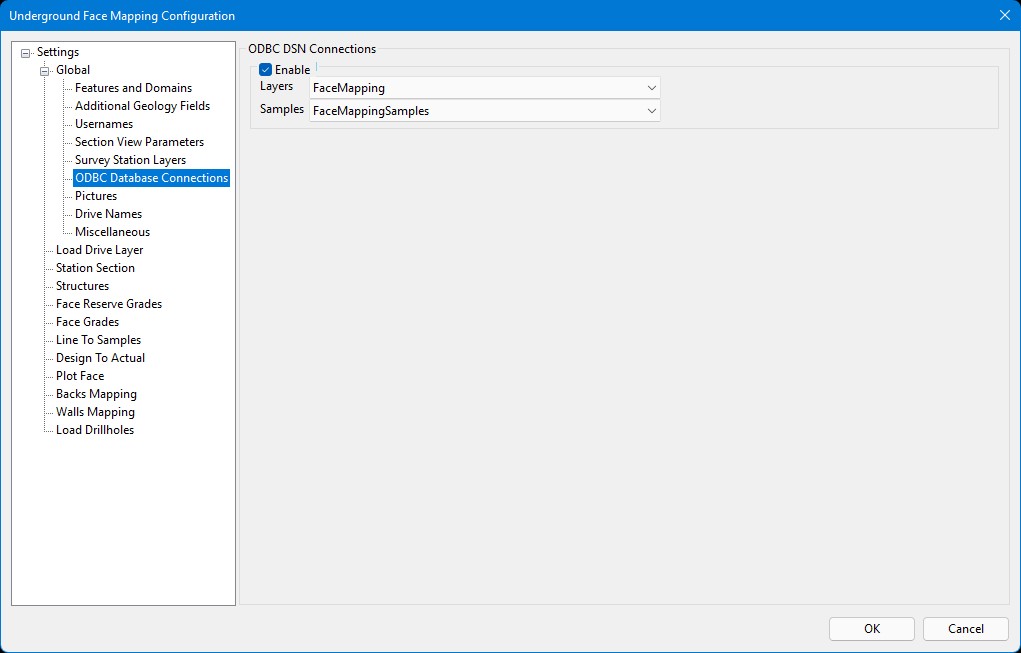
These DSN connections will then be available in the drop-down lists to be selected in the Global > ODBC Database Connections section of the Face Mapper > Setup > Configuration panel:

Appendix B – Transferring setup to a new machine
If the setup has already been completed on one tablet or computer and just needs to be transferred to other tablets or computers, the following process should be followed.
Pre-Setup Process
Firstly, ensure the Pre-Setup Process has been completed on the new machine.
Copy the Resources
On the old machine with the completed setup, open Vulcan to the mapping project directory and right-click on the “Resource Databases” folder in the Vulcan Data Explorer and select “Open Windows Explorer”. This will open a Windows Explorer to the currently defined Vulcan Resources folder. Copy these resources to the new machine, ensuring before doing so that the Pre-Setup Process steps have been followed first on the new machine.
Copying the Vulcan resources ensures all templated attributes, drafting sheets and symbols are available on the new machine.
Copy the Vulcan Project Directory
Copy the entire Vulcan Project directory from the fully setup machine onto the new machine. This will bring across all the files setup on the existing machine.
Setup ODBC DSN Database Connections
Ensure that the same ODBC DSN Database Connections as setup on the existing machine are also setup on the new machine. See the Create ODBC DSN database connections section of Appendix A for further details.
Check Configuration settings
It is important to then check the following settings in the Face Mapper > Setup > Configuration panel match the file paths and DSN connections on the new machine. 1. ODBC Database Connections
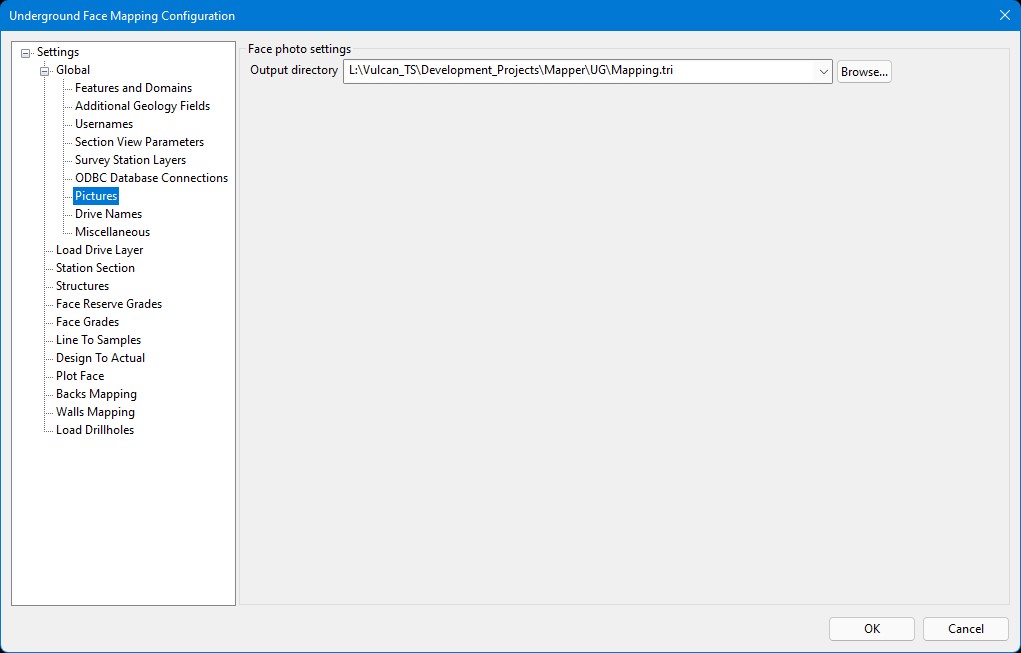
2. Pictures Output directory
Appendix C - Advanced SQL example
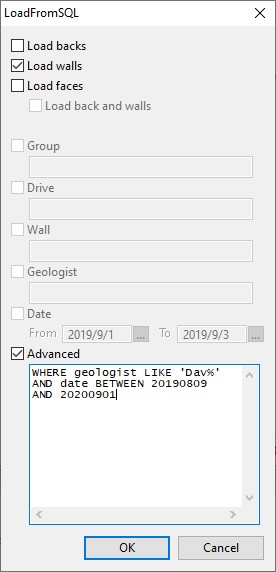
Note: Certain field names may be key functions and should be enclosed in square brackets. E.g. WHERE [group] = ‘VEIN’
