Drafting Sheet Editor: View
Instructions
On the File menu, point to Drafting Sheets, then click Drafting Sheet Editor to display the following interface.
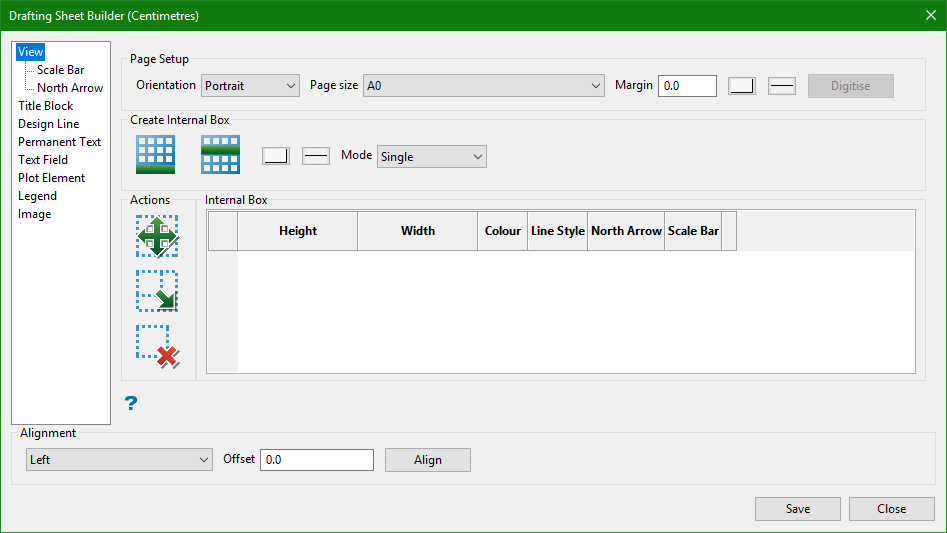
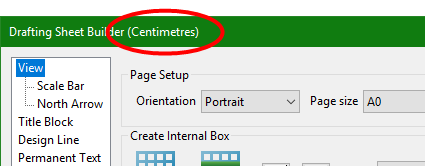
The title bar indicates the units selected. In this example, centimetres was selected.
Common controls available on all panes: Alignment, Save, and Close
Alignment
- Select the direction of alignment from the drop-down list.
- Enter the amount of offset.
- Click the Align button to initiate the alignment.
- In the design screen, select a reference object from which the offset will be based. In this example, the vertical line on the left was selected.
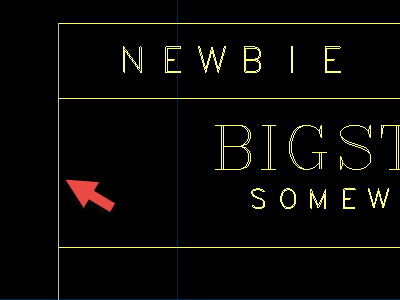
- Next, select the object that needs to be aligned. In this example, the text was selected.

Save
Click Save at any time to save changes to the settings.
Close
Click Close to exit the Drafting Sheet Editor.
Page Setup
Orientation
Select between Portrait or Landscape.
The Drafting Sheet Editor will determine whether a sheet is portrait or landscape, so there is no need to design a separate sheet for each orientation. For example, if you designed a sheet that was 20cm wide by 40cm high and wanted to display those dimensions in landscape mode, you would not need to design a separate sheet that was 40cm wide by 20cm high and label it as a landscape design. The Drafting Sheet Editor would automatically determine which side was longest and make that horizontal, and make the shorter side vertical.
Page size
The initial page sizes are determined by the units that were chosen, either inches or centimetres. The list will also show any custom sized sheets that have been created.
Margin
Enter the amount of margin you want to have around the outside of the sheet.
Colour and Line style
Define the colour and line style of the margin.
Create Internal Box

|
Append. Click this icon to create an internal box within the design sheet. The new object will be shown in the Internal Box table. Each new object will appear at the bottom of the list. |

|
Insert Above. To insert an object into the table list above an object already listed, highlight the table row, then click this icon. |
Mode
Single
Allows you to design a single box.
Multiple
Allows you to design multiple boxes.
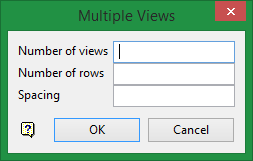
Number of views
This is the number of boxes that will be drawn.
Number of rows
This is the number of rows that will be drawn.
Spacing
This is the spacing between each row.
Actions

|
Move. Select an row from the table first, then click on the Move icon to move a box on a sheet. |

|
Resize. Select an row from the table first, then click on the Resize icon to change the size of a box on a sheet. |

|
Delete. Select an row from the table first, then click on the Delete icon to delete a box on a sheet. |
Internal Box
Parameters of the boxes in the design sheet. You can adjust the height, width, colour, and line style. You can also chose whether to display the North Arrow and Scale Bar for each box.
