Import Datamine Database
Instructions
On the File menu, click Import to display the Import panel.
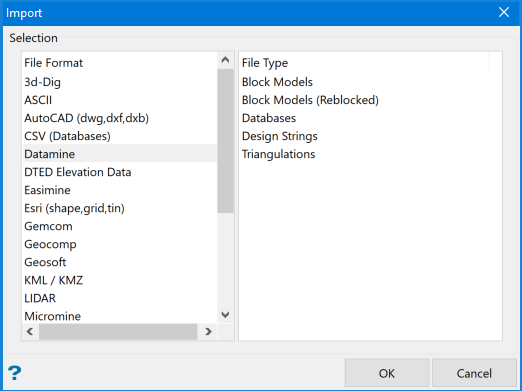
Click Datamine in the File Format column on the left.
Select Databases from the File Type field on the right side of the panel.
Click OK to display the Import Datamine Database panel.
Prior to running this option, we recommend that you ensure that the Datamine database is sorted by Hole ID. Failing to do so will result in loss of data when importing.
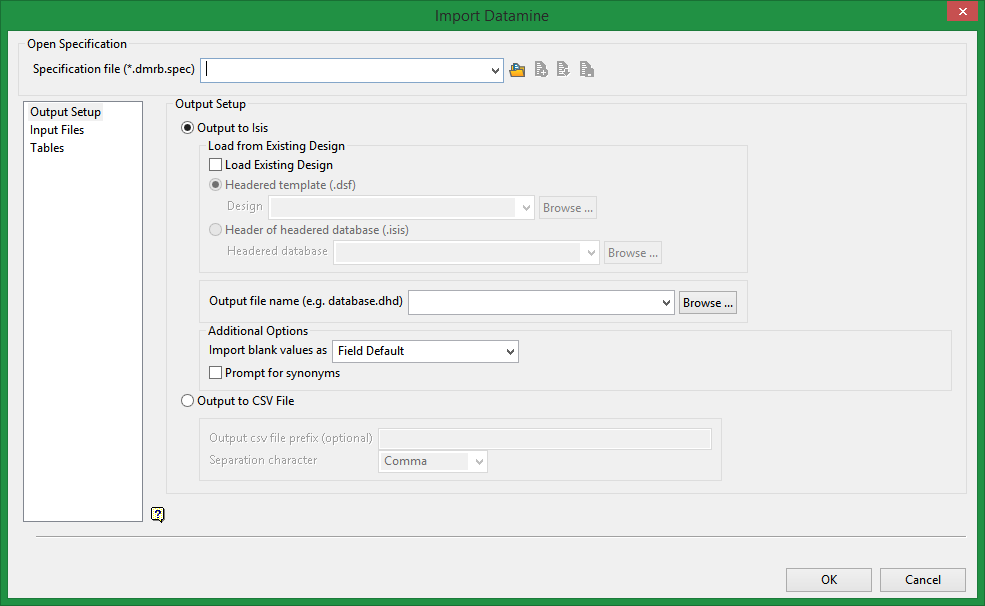
Output Setup
Select to output to either an Isis database or a CSV file.
Output to Isis
Load from Existing Design
Select this option to load an existing design file, and specify the type of design file to use. Once the design is selected, the tables will be automatically displayed in the left panel under the Tables branch. (Loading an existing design is optional for Isis databases.)
Headered template (.dsf)
Select this option if you want to use an existing headered template. Select the template file from the Design drop-down list, or click Browse to select the file from another location.
Header of headered database (.isis)
Select this option to use the header of an existing Isis database as the header for the new database. Select the database from the Headered database drop-down list, or click Browse to select the file from another location.
Output File Name (e.g. database.dhd)
Select the name of the output file from the drop-down menu or enter a new file name.
Additional Options
Import blank value as
Specify how blank CSV entries are to be treated by choosing from the drop-down list. You have the choice of inserting a null value into the database or using the default field value (as defined in the chosen design). If a default field value is blank or has not been set, a null value will be used by default.
Prompt for Synonyms
Select this option if you want to specify synonyms for drill holes before the file is imported. If you select this option, the Synonym Assignment panel displays before the file is imported.
Output to CSV File
Output csv file prefix (optional)
Enter a prefix that will be added before the name of the imported files.
Separation character
Select the character that separates the columns of data: comma, tab, or space.
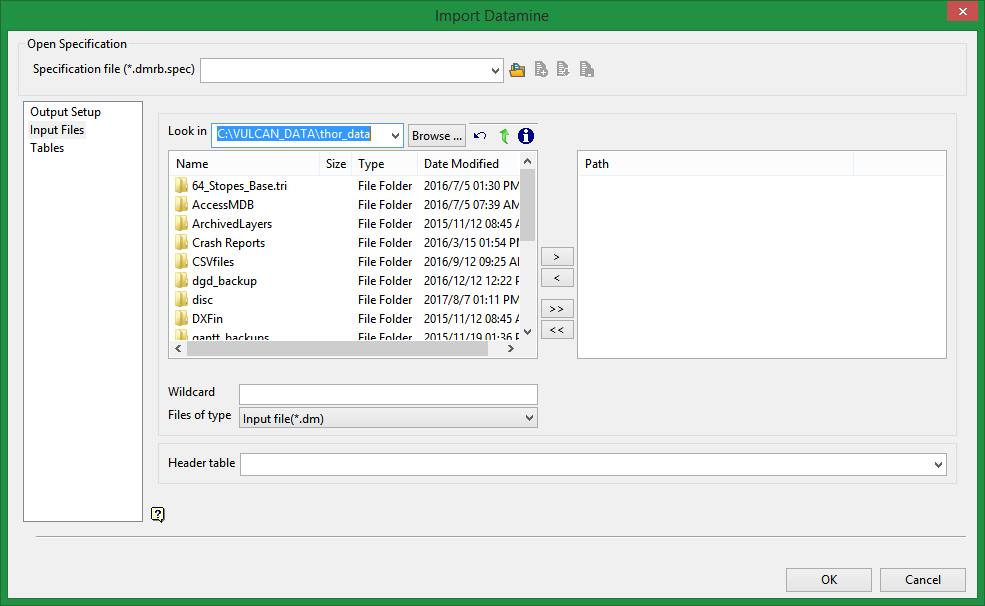
Enter the filename or select the file from the drop-down. Click Browse to select a file from a different location.
Header table
Select the table that has the header information. This will be the table with the hole ID, collar coordinates, depth, etc.
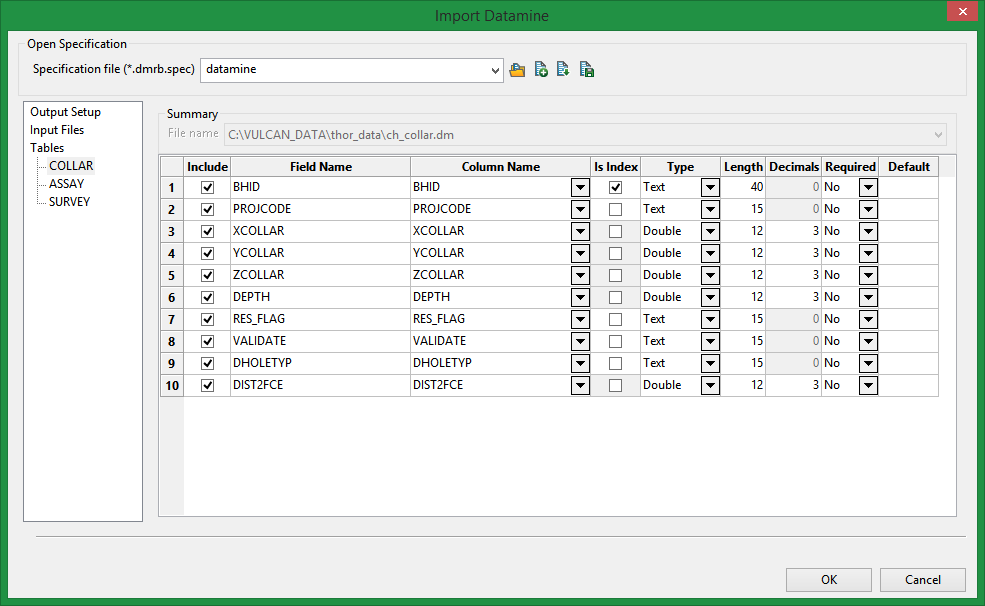
Summary
The tables will be automatically populated based on the input files selected in the Input Files pane.
Click OK to complete the operation.
