Create Resources
The Create Resources tool is used in the setup in order to appropriately setup the required Templated Attributes, SQL database creation files and sampling drillhole database in order to contain all the required fields.
Instructions
On the Face Mapper menu, point to Setup, then click Create Resources.
Note: Running this tool after the initial setup will overwrite the existing samples.face.isis drillhole database if the same name is used.
Elements

Allows the required elements for the deposit to be defined.
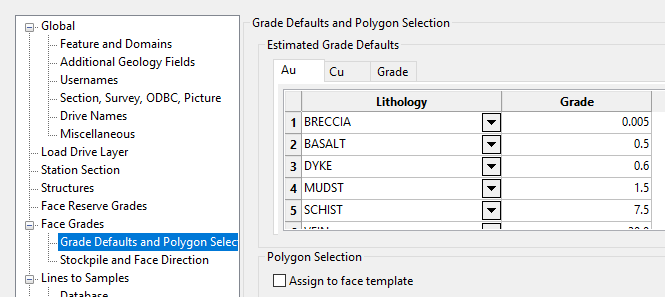
Enter the name of the desired elements into the table. These will be displayed as separate tabs in Face Mapper > Settings > Configuration on the Grade Defaults and Polygon Selection pane.
Table from the Configuration panel.
Face direction
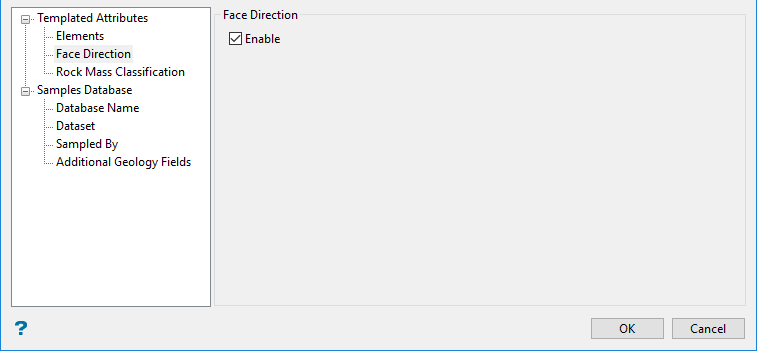
If enabled, makes additional fields available in the Face Mapper > Setup > Configuration tool to define geological control directions for faces. If faces are mined on geology control, it is advisable to enable this option during setup.
Rock Mass Classification
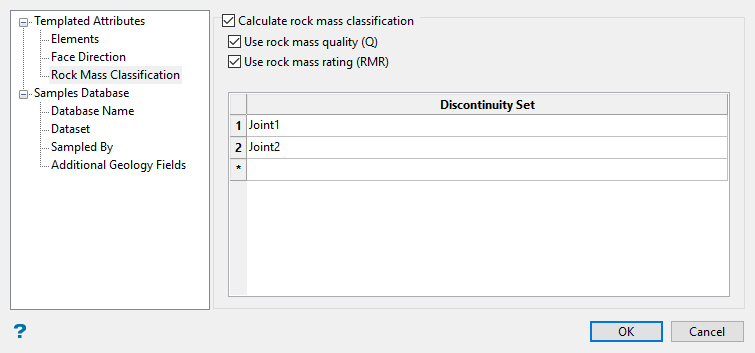
If enabled, allows the desired discontinuity sets to be defined for calculating the geotechnical Rock Mass Quality (Q) and Rock Mass Rating (RMR) classifications on mapping polygons. Once enabled, these option will then be available in the Face Mapper > Mapping > Calculate Rock Mass Classification tool.
Database Name
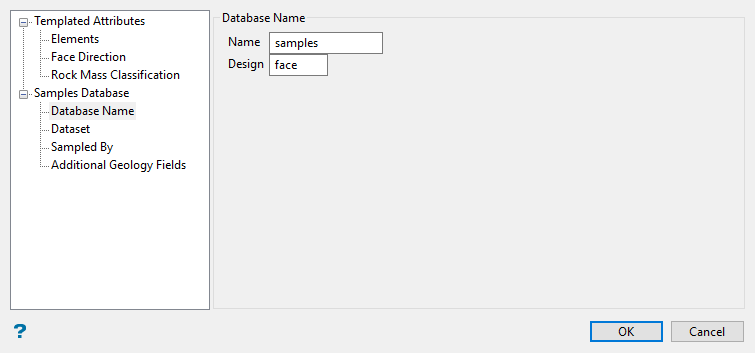
Defines the name of the sampling drillhole database that will be created with the required fields.
Follow these steps:
-
Enter the Name of the drillhole database.
Example: The above settings would create a drillhole database called
samples.face.isis. -
Enter the suffix applied to the name of the drillhole database.
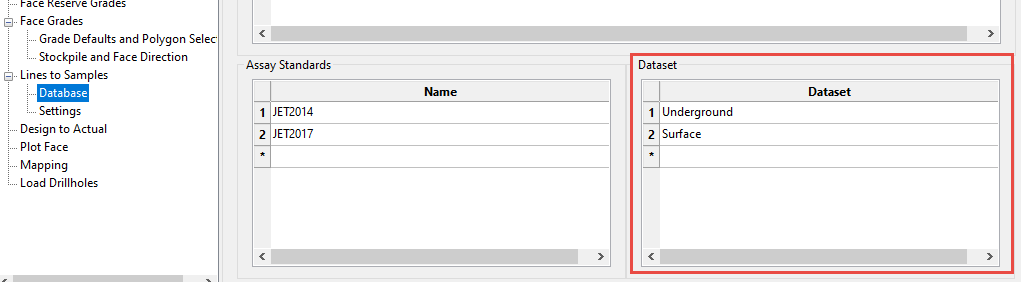
Dataset
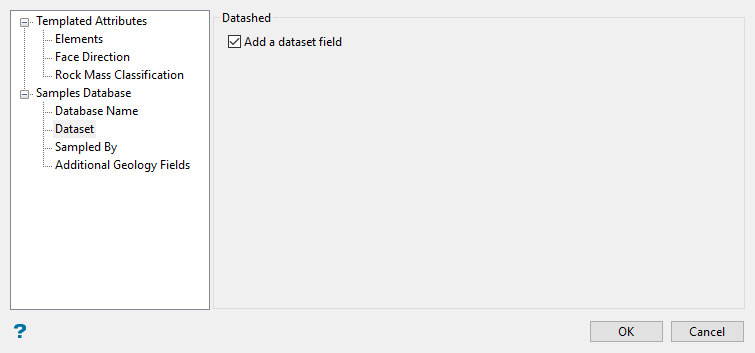
If enabled, allows the desired dataset areas to be defined in the Face Mapper > Setup > Configuration tool, particularly for Datashed users.
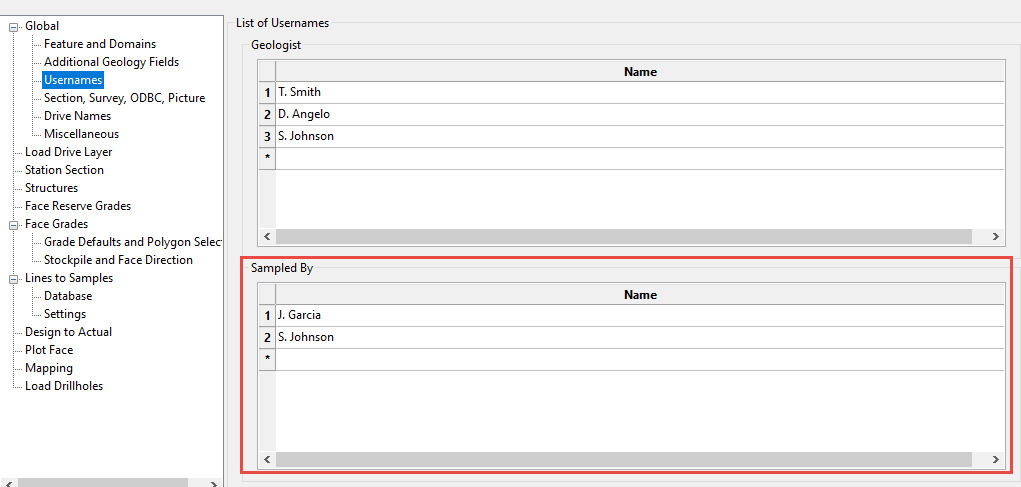
Sampled By
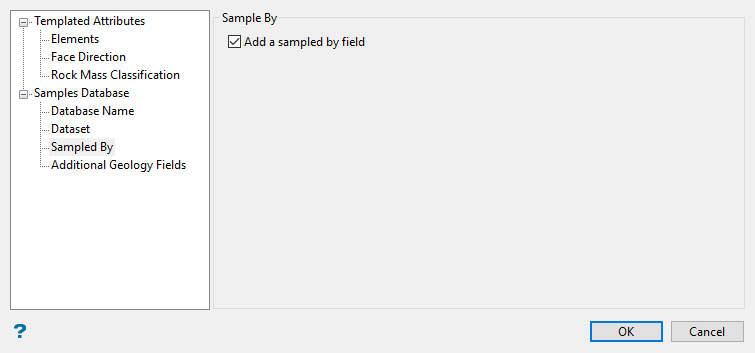
If enabled, allows the desired list of sampling geologists/technicians to be defined in the Face Mapper > Setup > Configuration tool, separate to the list of mapping geologists.
Additional Geology Fields
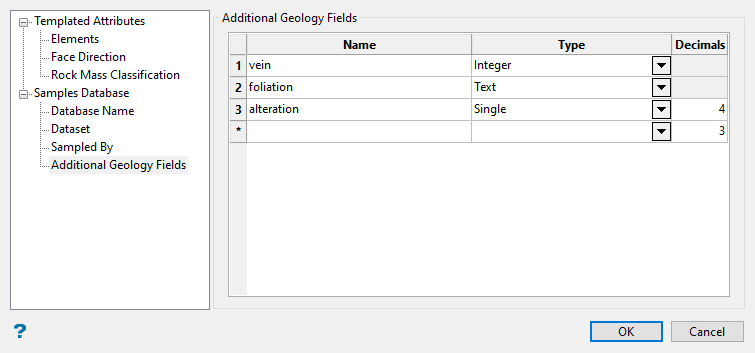
Allows additional geology fields to be defined in the sampling drillhole database.
Follow these steps:
-
Enter the Name of the desired additional geology field.
-
The field Type for the additional geology field. Can be one of Text, Integer, Single, or Double. Allowable values for text fields when using Face Mapper > Mapping > Line To Samples are configurable through the Face Mapper > Setup > Configuration tool.
-
Enter the number of Decimal places defined for either Single or Double precision floating point fields.
-
Click OK to complete the process. When OK is pressed, the tool will:
-
Create an
Attributes.prefsfile in the Vulcan Resources folder, which has all the Templated Attributes required based on the parameters selected in the panel. -
Apply the
Attributes.prefsfile to the currently open design database (dgd), which is required for all the tools to work correctly. -
Create a sub-directory in the current working Vulcan directory called
Spec, which stores all the specification files and panel settings. -
Creates an Isis drillhole database based on the selected parameters, which any sampling information will be stored in.
-
Create two
.sqlfiles in the Vulcan project directory, based on the panel settings:-
FaceMapping.sql – This
.sqlfile contains a SQL query that will automatically build all the required tables and fields (with their correct formats) for the mapping polygons. -
FaceMappingSamples.sql – This
.sqlfile contains a SQL query that will automatically build all the required tables and fields (with their correct formats) for the sample lines. This can be used as a staging area before importing the data into a production drillhole database system.
-
Note: After running Create Resources, see Appendix A for how to setup the SQL database from the SQL files created and how to create ODBC DSN Connections to connect to the databases.
-
After you have completed this panel, continue the Face Mapper setup process by defining the parameters on the Face Mapper > Settings > Create Feature Files panel.
