Waste/Missing-Interval Defaults
Default washability tables can be defined to be used for missing intervals or waste (non-sampled) intervals in a horizon. These may be used either at the time of generating a standardised database or when building models from a standardised database, for example when modelling a working section.
The default tables are named using arbitrary unique names but it is appropriate to name them after a horizon to which they apply. These data are stored in a file with the suffix.wmds.
Instructions
On the Washability menu, point to Setup, and then click Waste/Missing-Interval Defaults to display the Default/Waste Value Table selection panel.
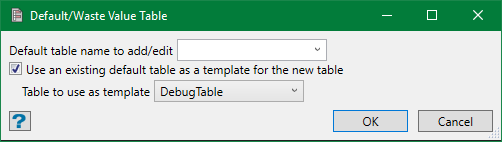
The Default table name to add/edit field is pre-populated with the name of the last table edited. However, you can create a new table either by entering a new unique name or leaving the field empty. This enables the option to use an existing table as template. Select this option and choose an existing table from the drop-down list to be used as a template for the new one.
Note: If you leave the default table name field empty, you will be prompted for one when saving the settings in the next panel.
Hit OK. This displays the Default/Waste Value Table editing panel.
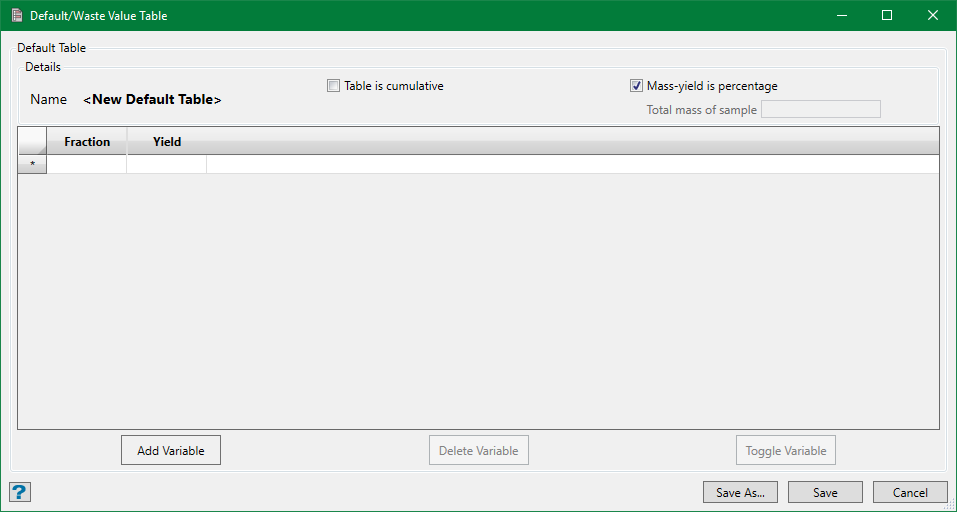
This panel is pre-filled with data if an existing table or a template was selected in the previous panel. However, you can add new fields and make settings from the scratch.
Table is cumulative
Select this option to make the default table a cumulative table. However, it is not recommended to use a cumulative table because of the loss of precision when reverting back to fractional form. This is also because the cumulative data would have already undergone some manipulation from the measured results. Yet, this option can be helpful if you are using an actual empirical example of measured waste material from a lab that only issues the results in cumulative form.
Mass-yield is percentage
This option is checked by default which means that the mass-yield is delivered in percentage. If not, uncheck this option but you'll need to supply the total mass of sample to check the yield values entered.
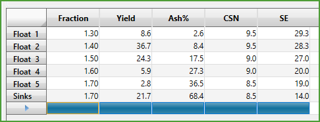
Fraction and Yield
First of all, set up the density fractions used and the yields obtained for these fractions. Insert the number of rows required using the right-click on the data-grid and enter the appropriate density and yield values. The last row is always labelled as 'Sinks' while other rows are 'Float'.
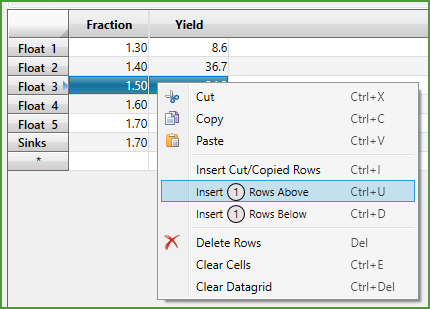
Note: The Sinks density should match with the last Float density or else the panel won't verify the data for saving.
Variables
The column(s) for variables can be set up as required. There are three panel buttons for controlling the variables:
Add Variable
Click this button and a pop-up panel shows up for defining a variable to the default table.
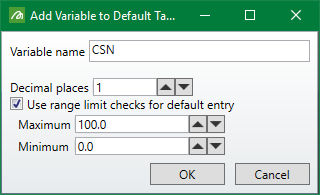
The variable name must be unique to the table and in order to use it in calculations, the name must match to one of the variable names in the standarisation specification. The name comparison is case-sensitive. Enter values in other fields as required and press OK. This will create a new column in the data-grid, which can be formatted as defined and validated for limits (if limits are specified).
You can add as many variables as required and enter appropriate values for these variables on the grid.
Note: The table structure (fractions) and variables specified here don't need to exactly match with the specification structure and variable list when these defaults are to be used. If the default table doesn't represent all specification variables, only the matching variables are used. However, the default table fractions must be capable of being reshaped to the specification structure (eg. if default sinks are 1.7 and specification sinks are 1.8, a problem arises).
Delete Variable
To remove a variable permanently from the default table, select the column header on the grid and click Delete Variable button. This button won't be active unless you select the column to be deleted. The deleted variable disappears from the data-grid.
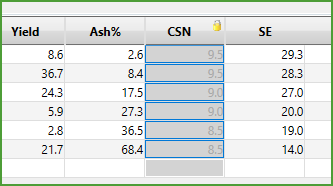
Toggle Variable
This option can be used if you don't want to delete a variable permanently but want to temporarily suspend it from use. Select the variable column you want to stop using and click Toggle Variable button. The column appears disabled with a lock icon on the header. If this setting is saved, the variable data will remain in the table but won't be used when this default is referenced. They can be instated for use by toggling again.
Click Save button to save the table to an existing name or a new name (if the name was left empty in the previous panel). A pop-up displays where you can supply a new name to the table or select an existing one from the drop-down list.

Click OK and the table is saved.
