Import Easimine Data
Instructions
On the File menu, click Import to display the Import panel.
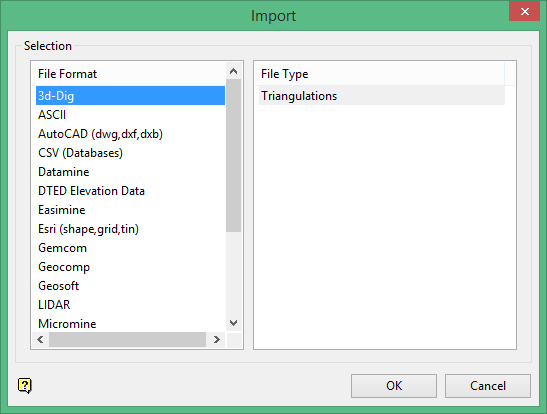
Click Easimine in the File Format column on the left.
Select Block Models/Design Strings/Triangulations from the File Type field on the right side of the panel.
Click OK to display the Import Easimine panel.
Select the type of Easimine file to import. You have the choice of importing a Facets triangulation file, a DTM triangulation file, a block model file, or a string file.
Click OK.
The panels or prompts that are then displayed depend on the type of data that is being imported into Vulcan.
Importing a Facets triangulation
Importing a Facets triangulation
Import Type
Facets Filename
Enter, or select from the drop-down list, the name of the Facets triangulation file that you want to import. The drop-down list contains all Facet triangulations found in your current working directory. Click Browse to select a file from another location.
Name triangulations based on header entity records
Select this option if you want the name of the resulting triangulation to be based on the unique header entity record stored in the selected Easimine file.
Name triangulations based on a prefix
Select this option if you want the name of the resulting triangulation to be based on a specified prefix. The resulting triangulations will have an increment number attached.
<prefix>1.00t and <prefix>2.00t.
The resulting triangulation file will be placed in your current working directory.
Display imported triangulation(s)
Select this check box to display the resulting triangulation once it has been imported into Vulcan.
Click OK.
Importing a DTM triangulation
Import Type
DTM Filename
Enter, or select from the drop-down list, the name of the DTM triangulation file ) that you want to import. The drop-down list contains all DTM triangulations found in your current working directory. Click Browse to select a file from another location.
Triangulation name
Enter the name of the triangulation that will be used store the imported data. The resulting triangulation file will be placed in your current working directory.
Display imported triangulation(s)
Select this check box to display the resulting triangulation once it has been imported into Vulcan.
Click OK.
Importing a block model

Import Type
Block Filename
Select the Easimine block model that you want to import. The drop-down list contains all Easimine block model files found in the current working directory. Click Browse to select a file from another location.
Block model name
Enter the name of the block model that will be used store the imported data. The resulting block model file will be placed in your current working directory.
Import block definition
Select this check box to extract information from the Easimine block model to create a Vulcan Block Definition file (.bdf). The name specified for the imported block model will be used for the resulting.bdf file.
If the name of the imported block model is ''blocka.bmf,' then the corresponding block model definition file will be named 'blocka.bdf'.
Click OK.
Importing a string file
Click Import to display the Select Easimine file panel.
Select the string file (.txt) that you want to import. The drop-down list contains all .txt files found in the current working directory. Click Browse to select a file from another location. You can also nominate the colour and line style that will be used when displaying the contents of the imported string file.
Click OK.
The following panel is then displayed.
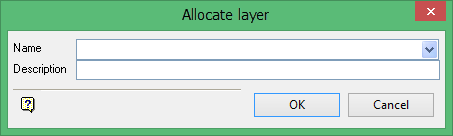
Name
Select the name of the layer from the Name drop-down list, or enter a new name to create a new layer. If you select an existing layer that is already loaded, subsequent digitising will be appended to this layer. If you select an existing layer that is not loaded, you will be prompted to specify whether you want to load the existing layer or overwrite its existing content.
Description
Enter a description of this layer. The description can contain up to 80 alphanumeric characters and can include spaces. If a description is not entered, a default description will be used instead. If the selected layer already has an assigned description, it displays when the layer is selected. Existing layer descriptions can be overwritten.
Click OK.
