Create Plot Resources
Allows automatic creation of drafting templates based on defined attributes for use in the Face Mapper > Post Processing > Plot Face tool. This tool must be run after all the previous 3 tools have been run in the Setup menu. It is advisable to remove any currently loaded layers prior to running this option.
Instructions
On the Face Mapper menu, point to Setup, then click Create Plot Resources.
A built in template is used for each Plot type, and this tool allows you to define which attribute fields you want to see displayed.
Follow these steps:
-
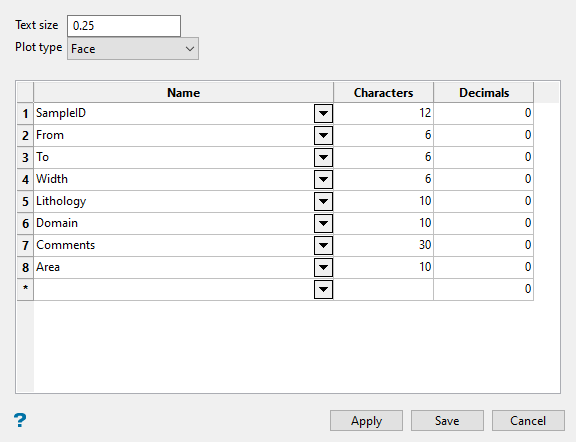
Enter the Text size to defines the size of the text objects that are created in the samples table.
-
Select the Plot type using the drop-down list. There are 3 different plot types:
-
Face – An A4 portrait template for use when only a face is mapped, with no backs or walls.
-
Face Backs Walls – An A3 portrait template for use when a face is mapped and includes walls and backs.
-
Walls – An A3 landscape template for use when a wall map is completed.
-
Back - An A3 portrait template for use when only a back is mapped, with no face or walls.
-
-
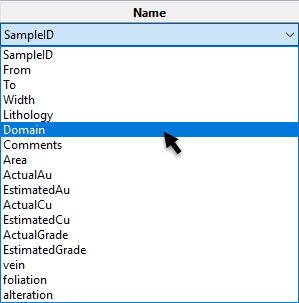
Select the Name of the attributes (as defined in the Create Resources and Configuration tools) to include in the samples table. These get written to the column header row and are selectable from the drop-down list of available options.
-
Enter the number of Characters to apply for each field. It is important to ensure that enough characters are allocated to account for the expected value lengths for each field. If too few characters are defined in the drafting template, field values will be truncated during plotting. Decimal places and the decimal point contribute to the total number of characters, so need to be factored when choosing an appropriate character limit.
-
Enter the number of Decimals to display in the plot for each attribute. Should be set to 0 for text fields.
-
Pressing the Apply button on the panel will generate a preview of the drafting template in the Vulcan view window based on the current panel settings (the Reset View
 and Zoom Data Extents
  buttons on the Vulcan Graphics toolbar may need to be pressed to align the view with the template).
 Note: If Apply has been pressed for one plot type without pressing Save, it is advisable before changing to another Plot type to remove any currently loaded layers.
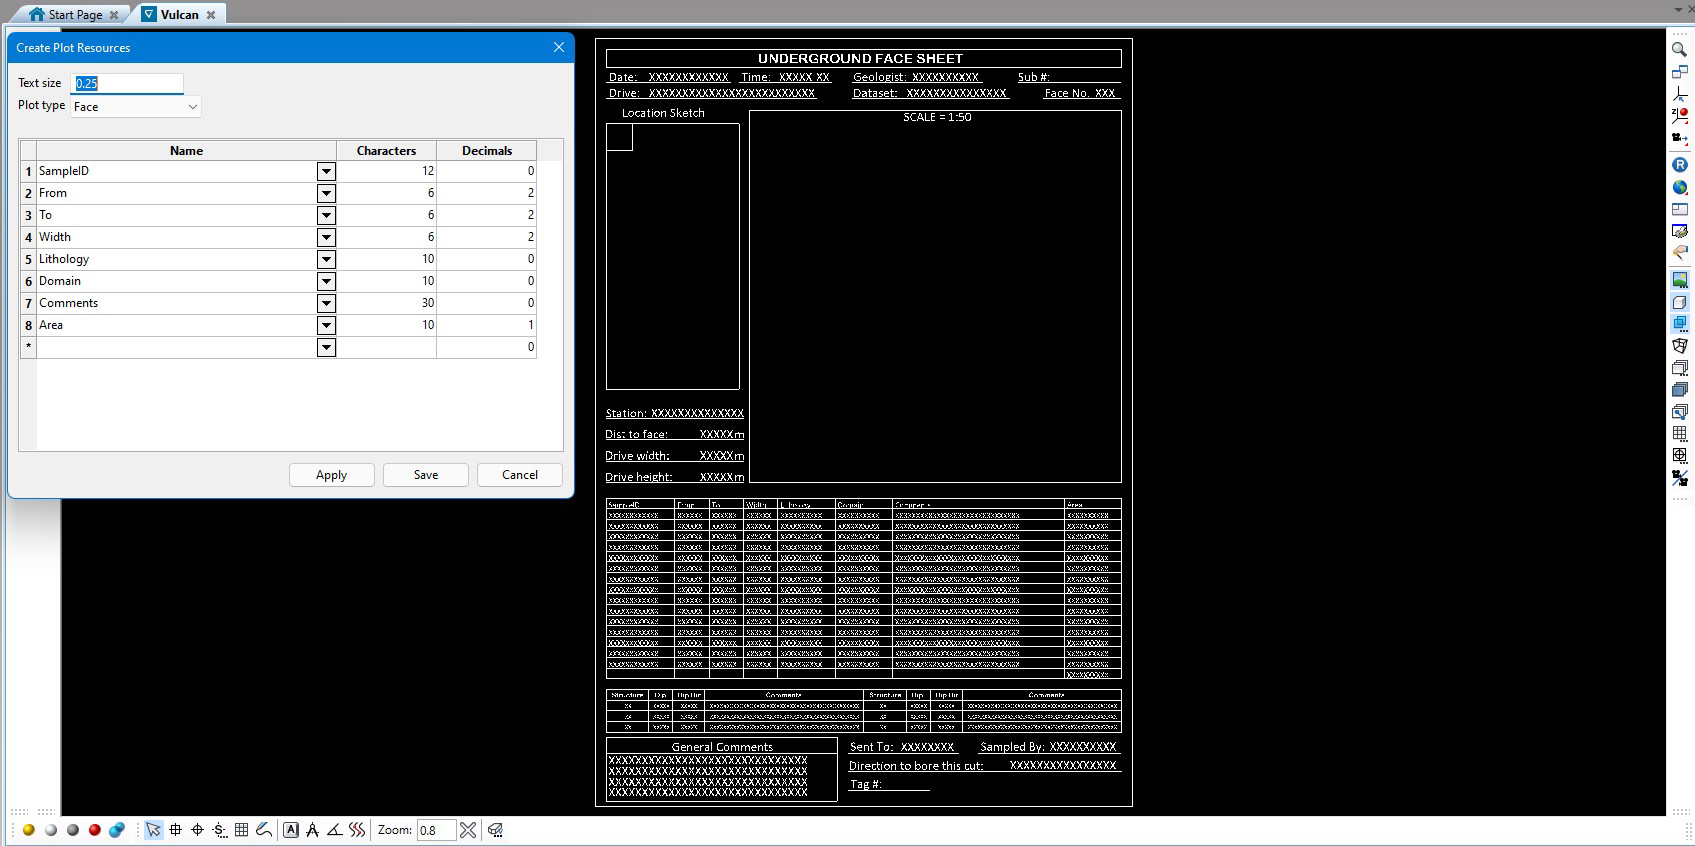
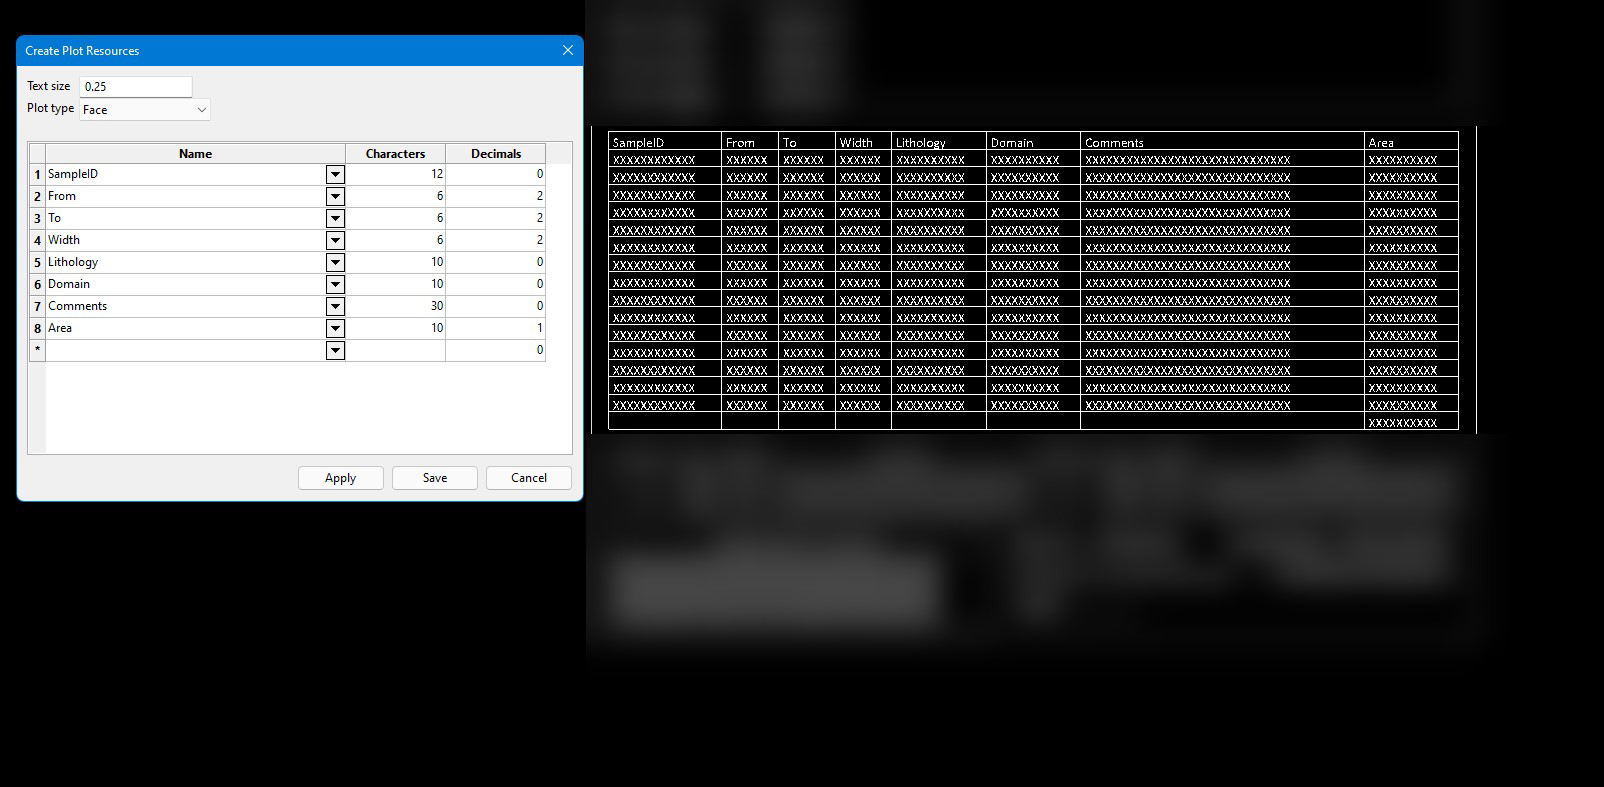
The settings in the panel only affect the samples grid, as highlighted in the image below.
-
Pressing the Save button will save the currently previewed drafting sheet into the
drafting.dgd.isisdrafting sheet database in the Vulcan Resources directory. -
Pressing the Cancel button will close the tool without saving any previewed changes.
