Import Gemcom Triangulations
Instructions
On the File menu, click Import to display the Import panel.
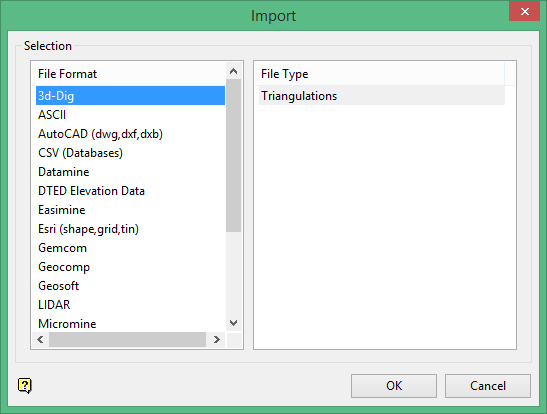
Click Gemcom in the File Format column on the left.
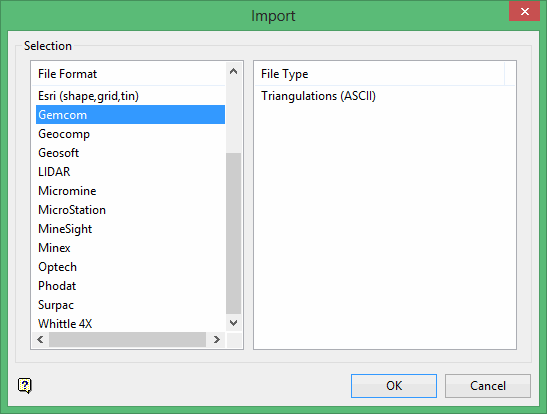
Select Triangulations (ASCII) from the File Type field on the right side of the panel.
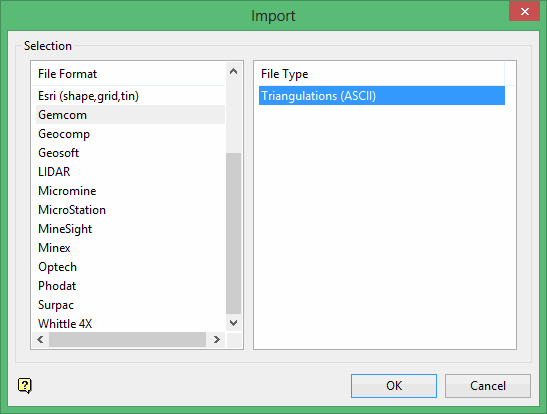
Click OK to display the Import Gemcom Triangulation to Pitboss panel.
This panel consists of two tabbed sections:
- Selection
- Options
All import triangulations use the default triangulation folder set in preferences, unless you have defined an alternate path.
Selection tab
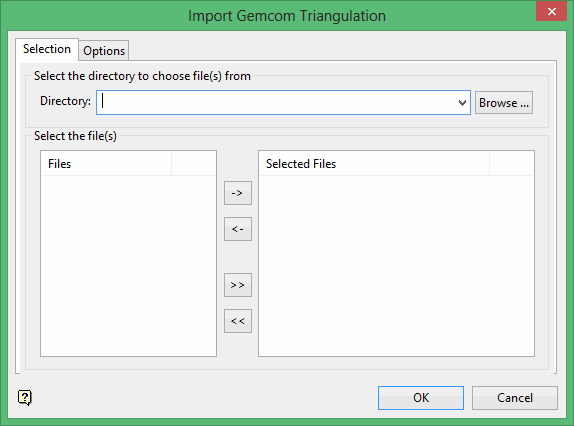
Select the Gemcom ASCII triangulation files (.tri) that you want to import.
- Click the -> button to move the highlighted file(s) to the selection list on the right.
- Click the >> button to move all files to the selection list.
- To highlight multiple files that are adjacent in the list, hold down the [ Shift ] key while you click on the first and last file names in the list.
- To highlight multiple non-adjacent files, hold down the Ctrl key while you click on the file names.
- To remove files from the selection list, highlight the file name(s) and click the < button or click the << button to remove all files from the selection list.
The resulting triangulations, which will be stored in your current working directory, will inherit the names of the selected Gemcom files. For example: if your Gemcom triangulation file is named surface.tri, then the resulting file will be named surface.00t.
Options tab
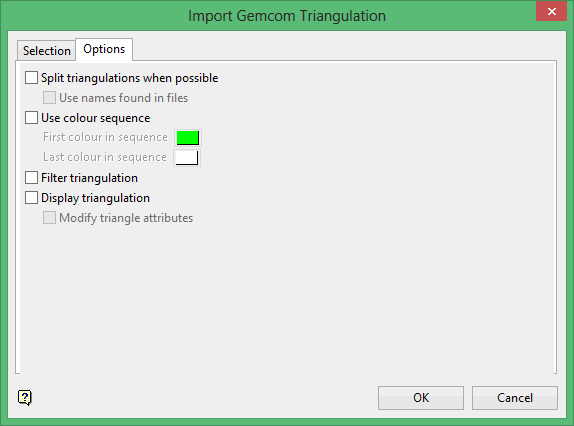
Display triangulation
Select this check box to display the triangulation on the screen once it has been imported into Vulcan.
Filter triangulation
Select this check box to filter the chosen triangulation.
Click OK.
Once the data has been imported, the Triangulation Attributes panel displays.
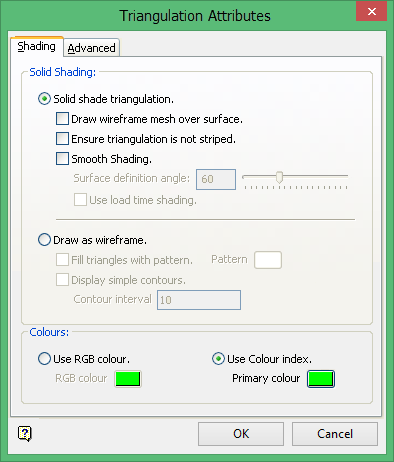
The Triangulation Attributes panel will allow you to specify display parameters, such as colour and shading, for the triangulation. Refer to Model > Triangle Utility > Attributes for more information on this panel.
