Spline Contour
Use Spline Contour to create a set of spline contours, which are more sophisticated than the standard contours created through the Contour option.
The resulting contours displays as an underlay if the Automatically display contours preference has been set, or if you are not saving the contours to a design database. Refer to the Preferences option for more information.
Instructions
On the Grid Calc menu, point to Contour and Limit Generation, and then click Spline Contour to display the Spline Contour panel
Intervals tab
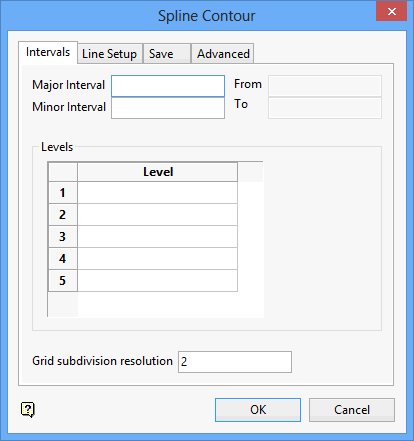
You can choose to contour a range values (in which case specify major and minor intervals and a from and to value) or specific levels (in which case specify the levels).
Major Interval
Enter the value for the major intervals. For example, if you want a major interval every 10 units, use the value 10.
Minor Interval
Enter a value for the minor intervals. For example, if you want a major interval every 10 units, and a minor interval every 5, use the value 5.
From
Enter a value for the lower boundary of the contours.
To
Enter a value for the upper boundary of the contours.
Levels
Use this section of the panel to specify single levels for contouring.
Enter the levels to contour.
Grid subdivision resolution
Specify the resolution. The resolution determines (in terms of the grid cell size) how often the contouring algorithm calculates a position.
Line Setup tab
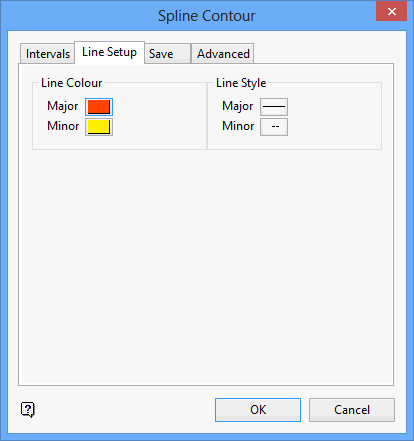
Line Colour
Select a colour for the major (upper) and minor (lower) contours. The colours are selected from the current colour table.
Line Style
Select a line style for the major and minor contour intervals. The line styles are selected from a list of line types delivered with Vulcan.
Save tab
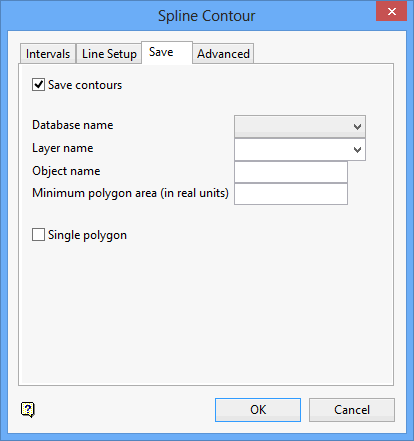
Save contours
Select this check box to save the contours to a Vulcan layer.
Database name
Enter the design database name.
Layer name
Enter, or select from the drop-down list, the name of layer that will be used to store the resulting contours.
Object name
Enter the object name in the box provided. The name will be incremented by one (1) for each object (i.e. object1, object2,...). If an object of the same name already exists, it will be overwritten.
Minimum polygon area (in real units)
Enter the minimum allowable area for a polygon. Stops the possibility of numerous small polygons being created.
Single polygon
Select this check box to save all polygons as a single polygon. Single polygons have an invisible bridge connecting the objects. This bridge makes them hard to edit. Single polygons are used in the Rsvute > Reserves > Report Reserves option.
Advanced tab
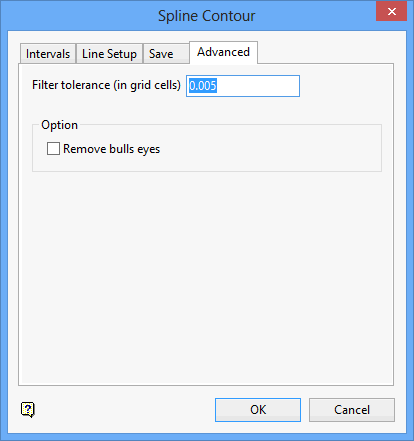
Filter tolerance (in grid cells)
Enter, in grid cells, the filter distance. This distance will be used to eliminate all points deviating less than this distance from the contour line thus reducing the number of points in the resulting polygons.
Options
Remove bulls eyes
Select this check box to remove the contours that overprint due to a bad data point or a true anomaly.
Click OK.
The contours are then displayed.
The resulting contours displays as an underlay if the Automatically display contours preference has been set, or if you are not saving the contours to a design database.
