Creating an ODBC Data Source from SQL Server
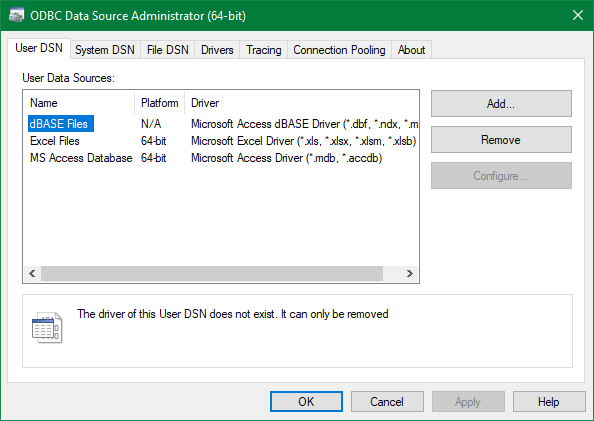
- Open the ODBC Data Source Administrator tool. To do that, navigate to Start > Programs > Windows Administrative Tools, and choose ODBC Data Sources (64-bit) or ODBC Data Sources (32-bit). Optionally, you can search for ODBC Data Source in the Windows Start menu and locate the tool. For Vulcan 2020 and onwards, 32-bit is not supported.
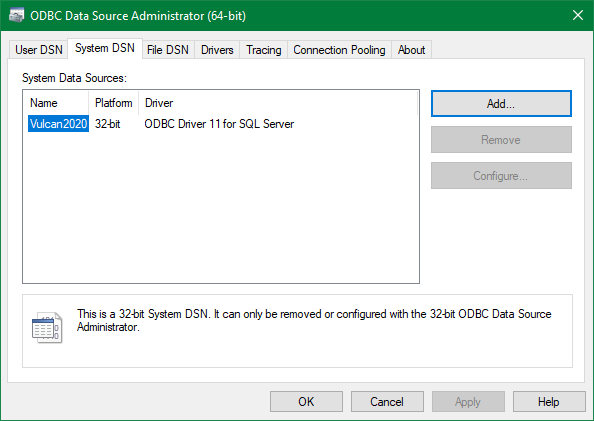
- Go to the System DSN tab and then click Add.
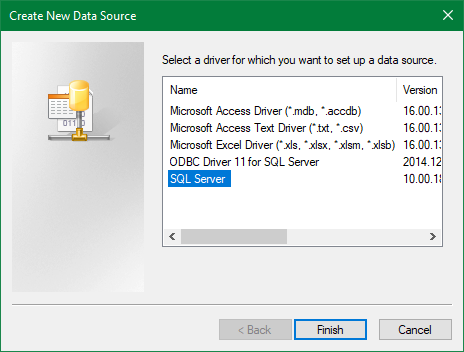
- Choose SQL Server and click Finish.
- Enter the name for your datasource (eg.
ODBC-Vulcanhere), some description (optional) and, then the SQL Server name that you want to connect to and click Next.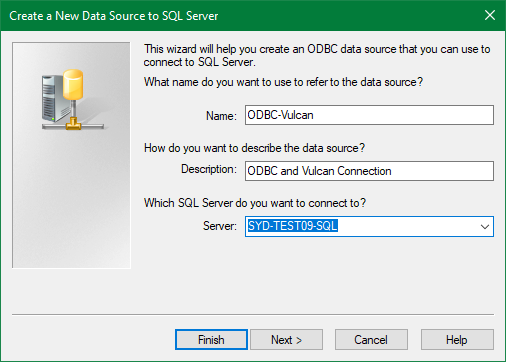
- Use Windows authentication if that is what you are using, or choose SQL Server Authentication and enter the user name/password.

- Check to change the default database to the database you want to connect to in the server and then click Next.Example, we are choosing a drillhole database here.
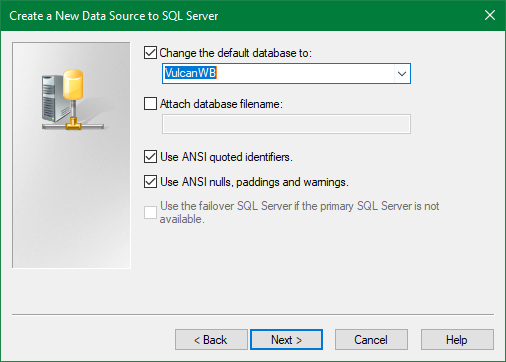
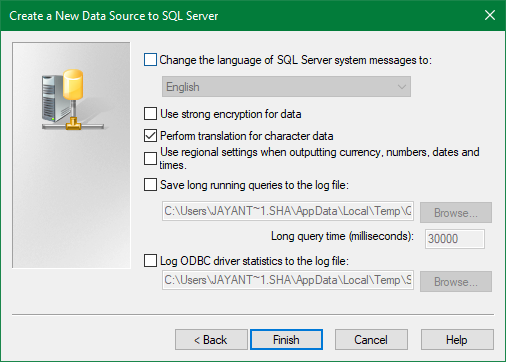
- Leave the settings as it is (unless you want to change something) and click Finish.
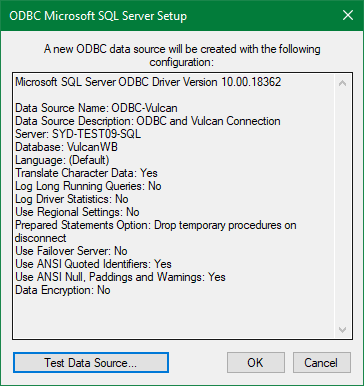
- The datasource is created. Click Test Data Source to test whether the connection has been established or not.
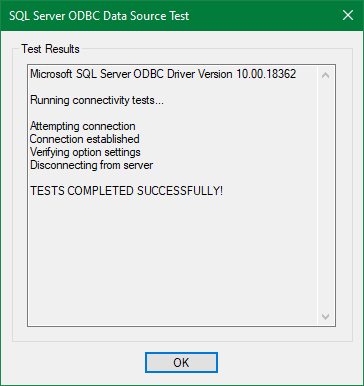
- Test Data Source should report back that the tests are completed successfully. If there are errors, please review the steps above as it may be security or network related.
Was this page helpful?
