Pre-Setup Process
Prior to running through the Face Mapper > Setup and configuration process there are some pre-setup steps that need to be taken.
Create Customisation File
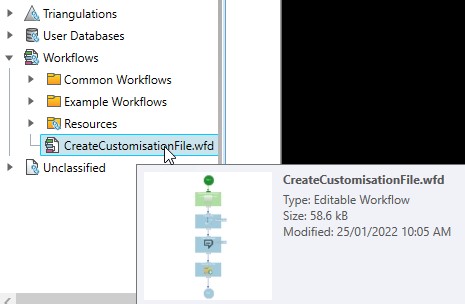
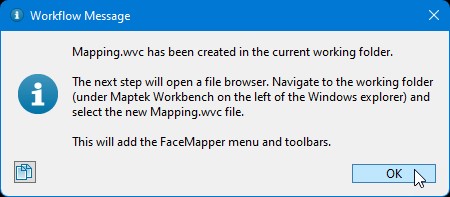
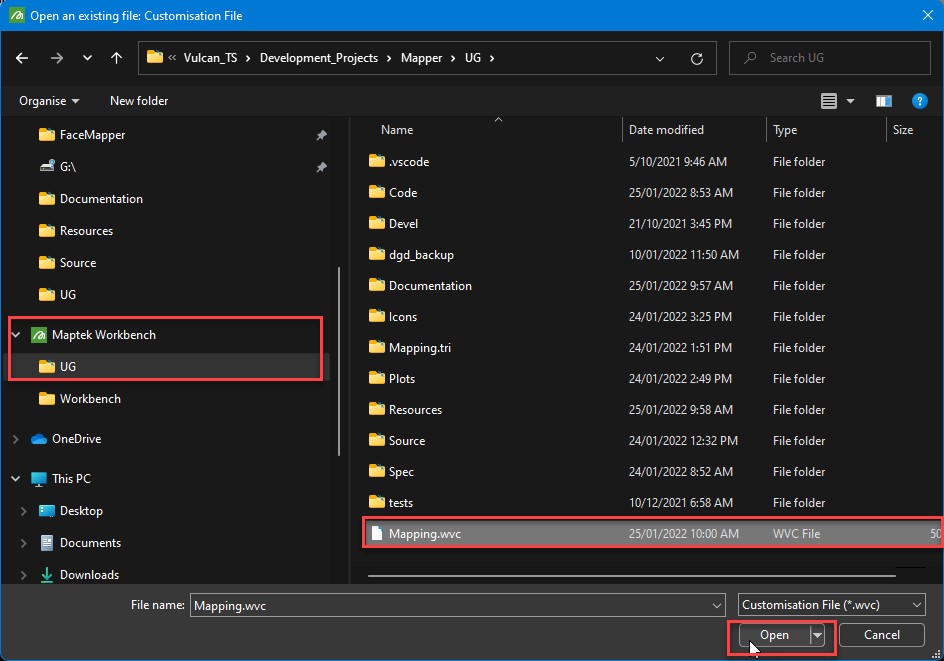
The first step in the setup is to run the Workflow included within the Vulcan project directory, called “CreateCustomisationFile.wfd”, by double-clicking on it in the Vulcan Data Explorer. This will create and load a Workbench Customisation file (Mapping.wvc) that will display the Face Mapper menu and toolbars. The Mapping.wvc file gets created in the current Vulcan project directory.
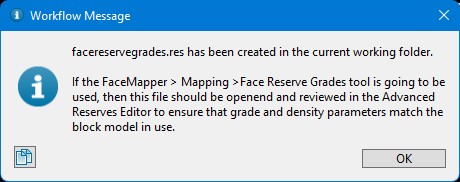
This tool will also create a ‘facereservegrades.res’ Advanced reserves spec file for use with Face Mapper > Mapping > Face Reserve Grades.
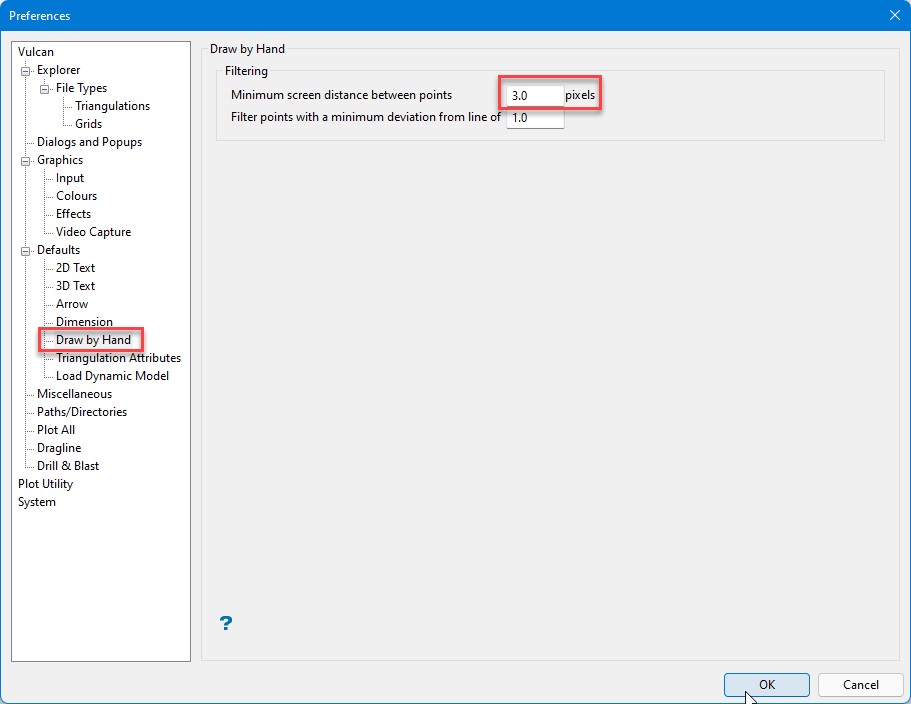
Draw by Hand preferences
Secondly, it is important to change the default Minimum screen distance between points value in the Vulcan preferences from 30, to 3. This is important as it still allows for smooth and accurate mapping polygons to be drawn, but minimises the potential for small “loops” and crossing polygons that can occur when drawing with a stylus on a tablet.
Vulcan Resources (ENVIS_RESO and HOME)
The third step is to create a dedicated local Vulcan Resources folder, so that the mapping resources persist for all future Vulcan installations on the tablet and to ensure that the HOME environment variable is set appropriately for Vulcan and Face Mapper. This can be done according to the following process.
Note: This process will require local administrator rights to the tablet/computer. This is required to setup “System Environment Variables” that can be used by all users that logon to the tablet, without requiring each user to manually set this themselves.
With Vulcan open to the mapping project directory:
-
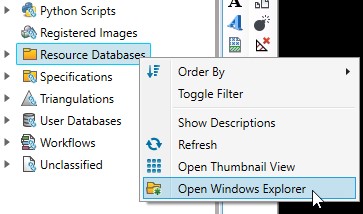
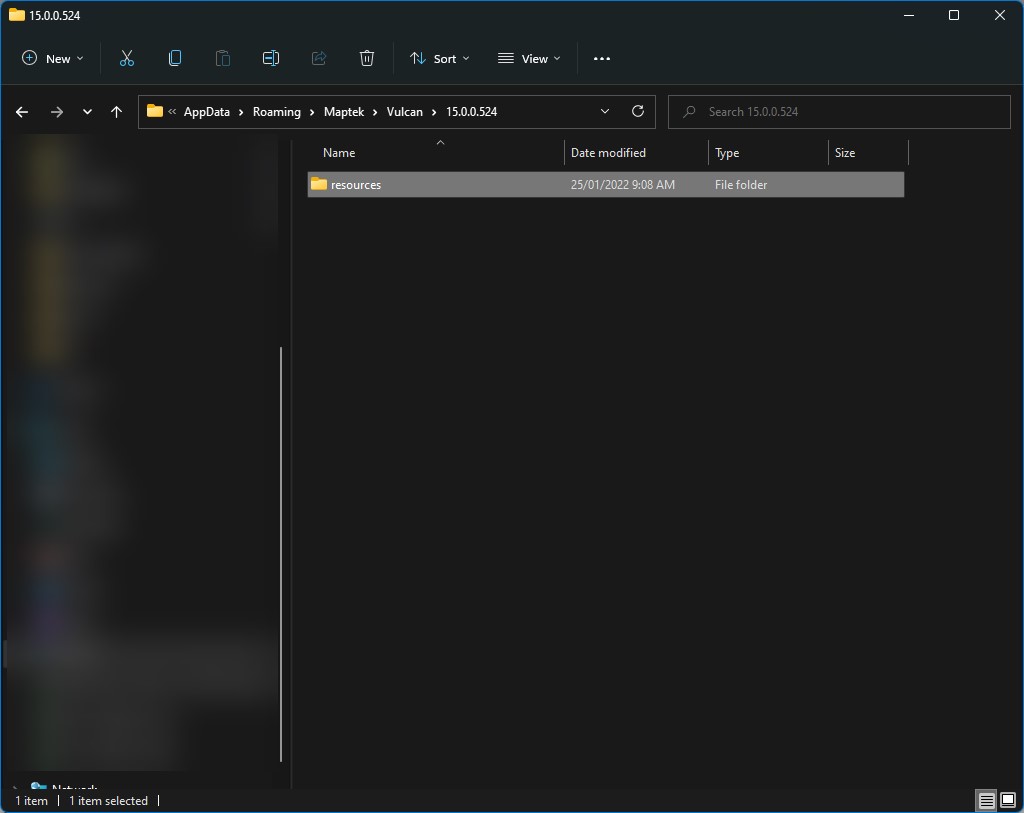
Right-clicking on the Resource Databases folder in the Vulcan Data Explorer and select Open Windows Explorer. This will open a Windows explorer, highlighting your currently defined Vulcan Resources folder.
-
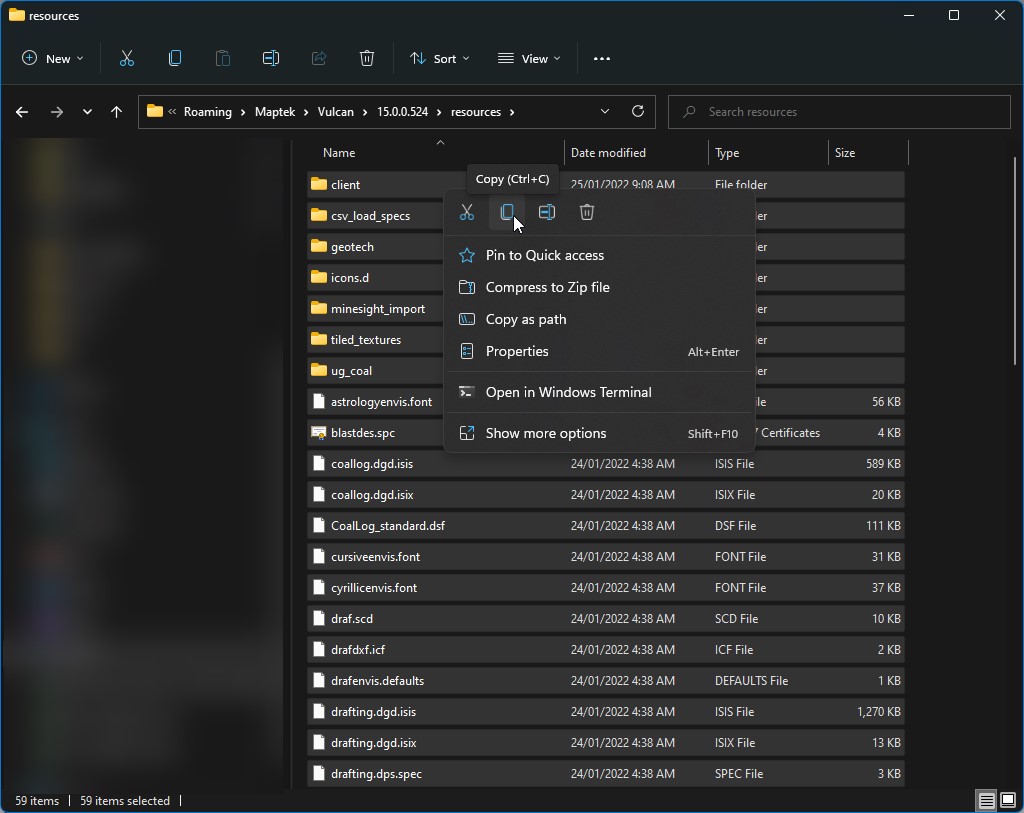
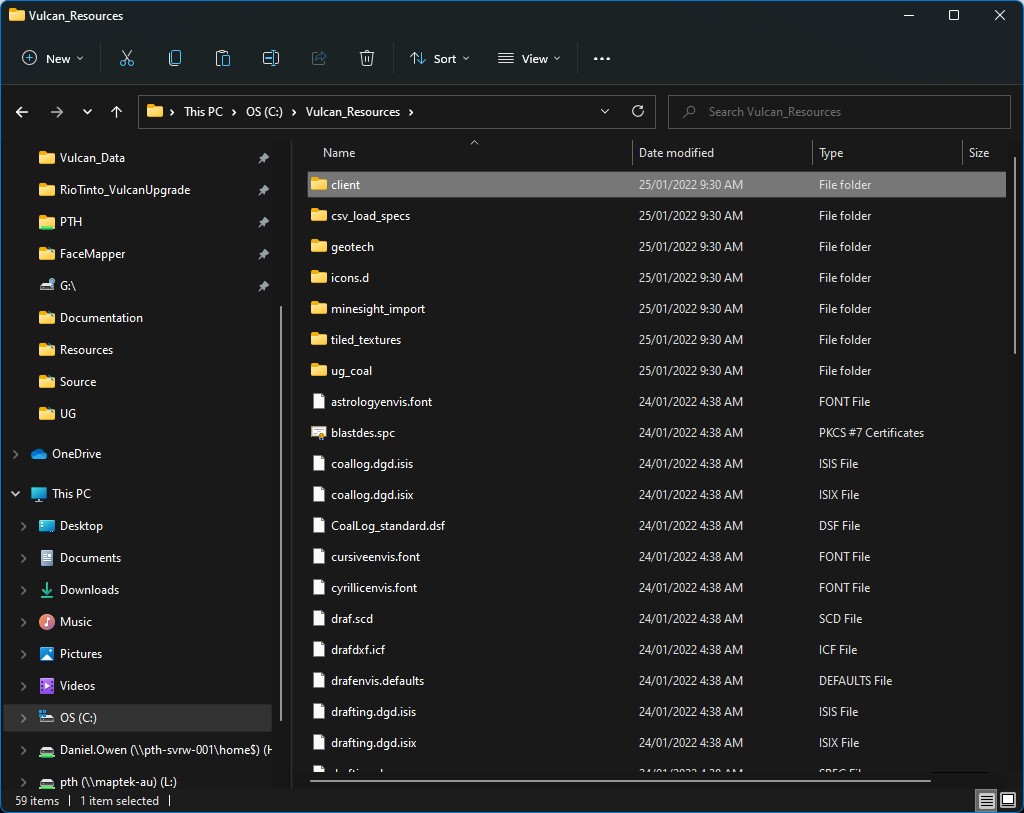
Open the highlighted resources folder and copy all the contents within that folder.
-
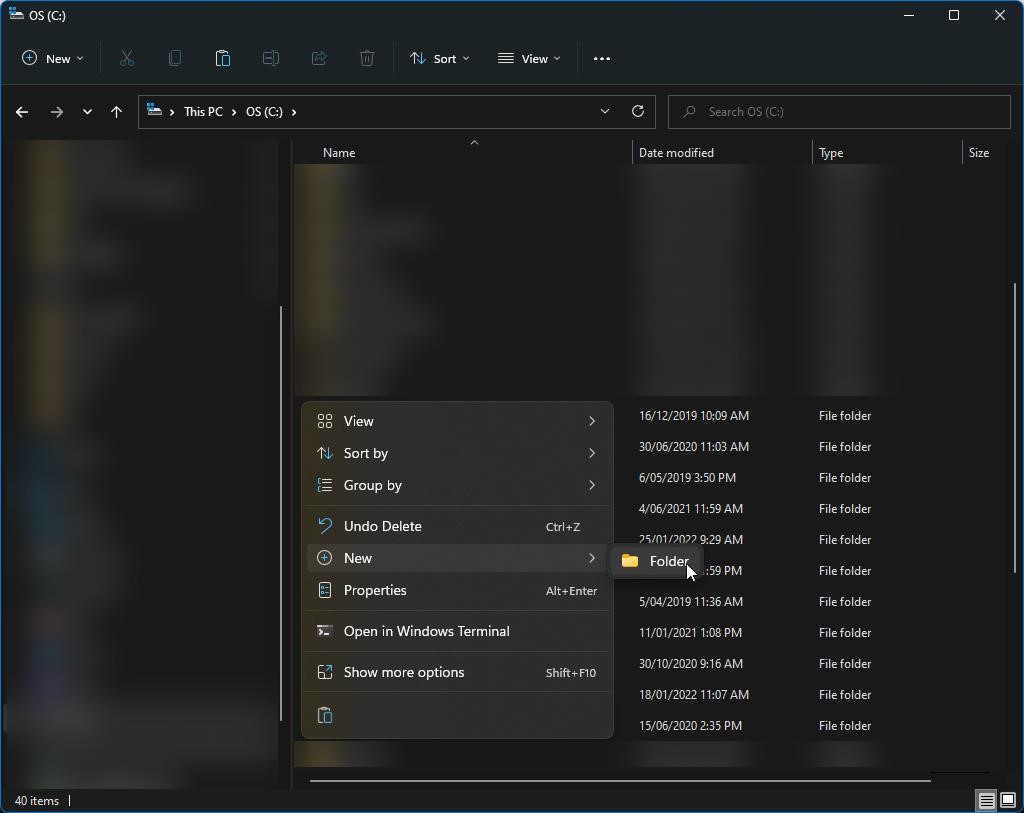
Create a new folder on the C:Drive of the tablet/computer and name it “Vulcan_Resources” (without the quotation marks).
-
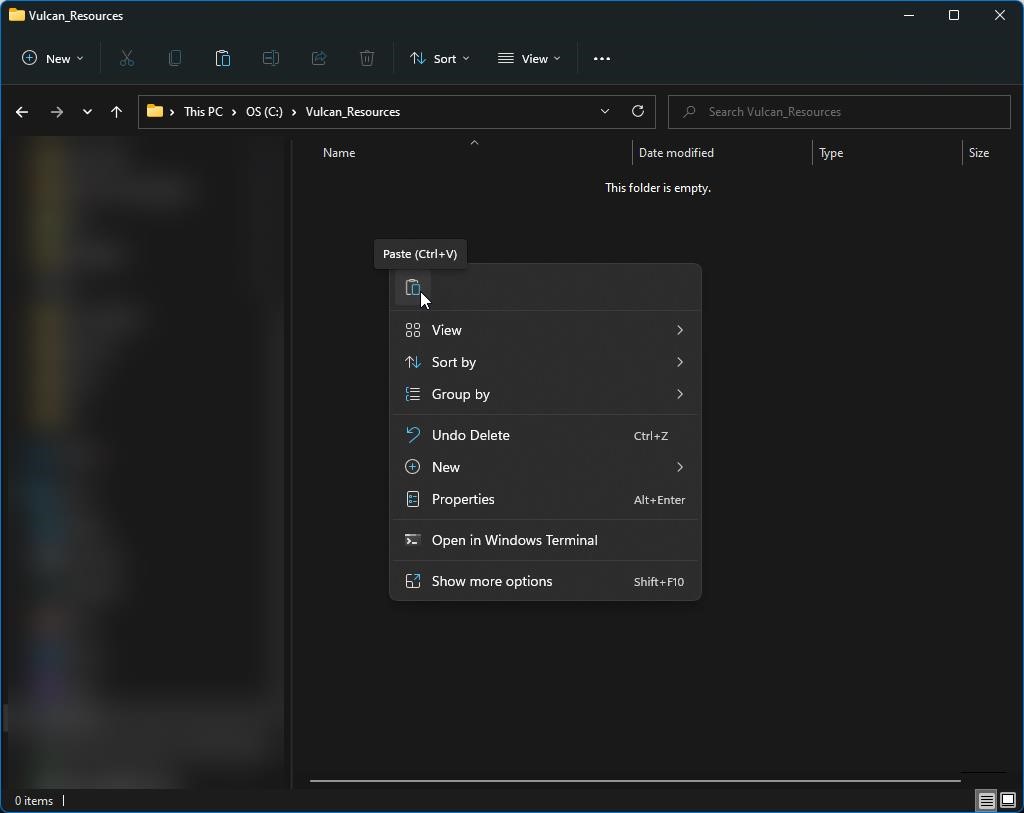
Paste all the contents previously copied from the existing resources folder into the new C:Vulcan_Resources folder.
-
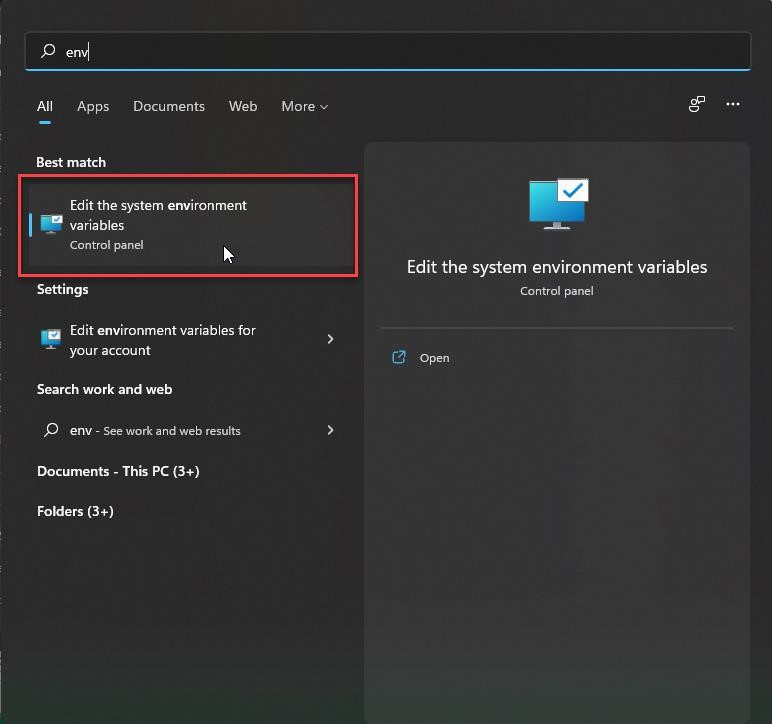
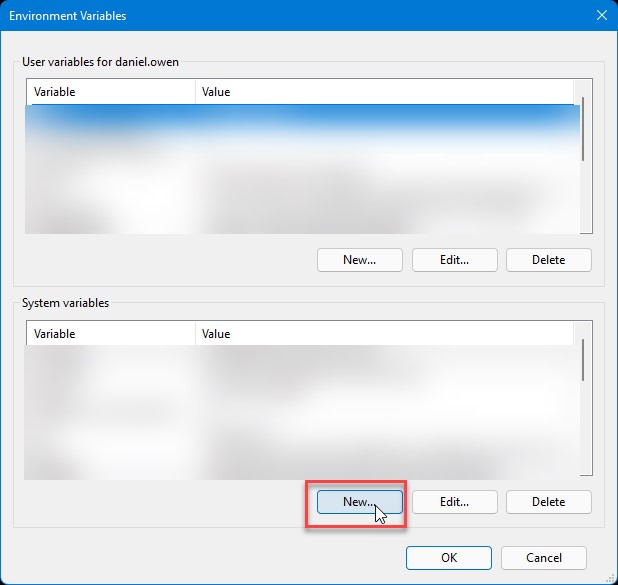
Click on the Windows logo on the Windows Taskbar and start typing “env”, then select the “Edit the system environment variables” option (Note: This will require local administrator rights, but is necessary to ensure all users on the tablet access the same settings, without each user having to set this up manually).
-
-
Select the “New” button under the System variables section.
-
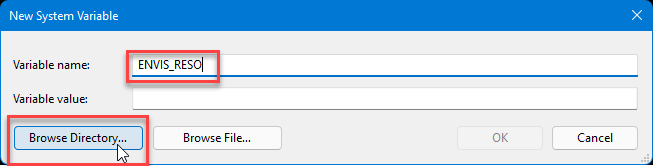
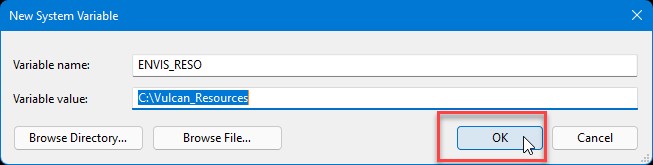
Type “ENVIS_RESO” (without the quotation marks) into the Variable name field and then use the “Browse Directory” option to navigate to and select the newly created C:Vulcan_Resources folder. Then select OK on the panels to save the new environment variable.
-
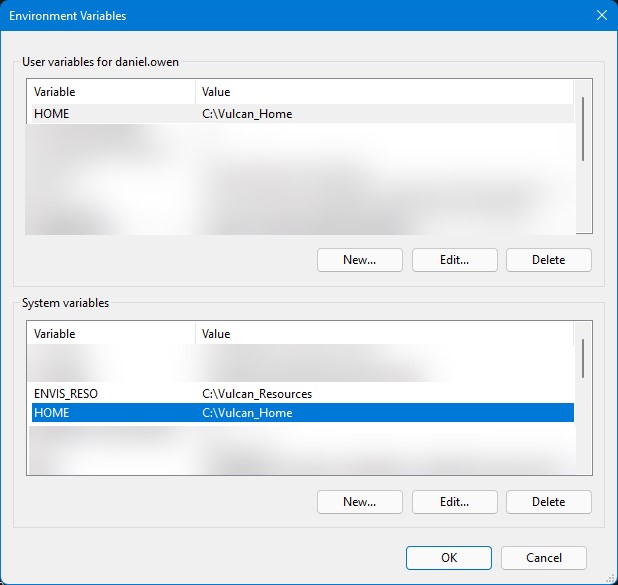
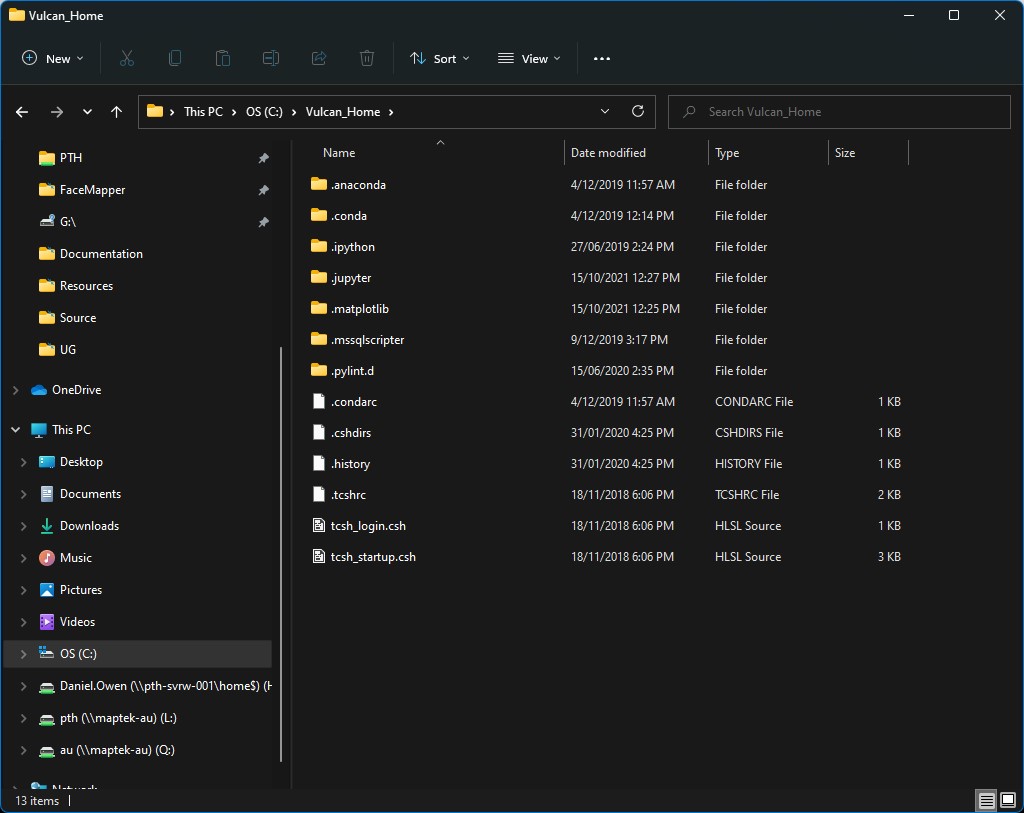
Ensure that the HOME environment variable is set to “C:\Vulcan_Home”, which should only contain the following files, and not be a Vulcan working directory.
-
-
Close and restart Vulcan for the changes to take effect.
